Making A Welding Table From Scrap Metal. Part 1.
What is a welding table you may ask. For small welding and fabrication tasks, a normal bench with a good vice and a folding ‘Work Mate’ will normally suffice. But for bigger projects a welding table is a huge help. Made of metal, the table should be nice and heavy so that the mass of metal helps to take heat away from the welded areas of the project and reduce or eliminate distortion due to excess heat. Another advantage is that, for any form of electric welding (stick welding, MIG or TIG welding), the table can act as one of the electrical terminals; so getting rid of the constant need to attach and reattach the ‘earth’ or ‘ground’ lead to the project itself.
Some welding tables have a thick solid metal top drilled all over with holes to which clamping devices can be attached. Others are made up of metal slats far enough apart that cheap clamps can be used to keep the work-piece steady. As I already have a few cheap clamps and don’t have the money to invest in either a stout sheet of steel for a top, nor the inclination to drill hundreds of holes (let alone make or buy clamps to fit the holes) I have gone for slats.
My workshop is small and so there were two other considerations; the table should be able to be dismantled and flat-packed so I can transport it and it must have castors so it can easily be moved around the workshop. When finished and equipped with the TIG welder and tools it will be too heavy to lift.
My decision was also very much guided by the scrap metal I had. About a year ago, a valued customer gave me an old steel decorator’s scaffold that was rusty, rickety and ready for scrap. More recently, before the lock-down, my partner gave me a couple of dozen short lengths of square section tube steel from her lock-up that had been parts of several market stall frames. Here are some pictures of the scrap I was given.
In the first picture I’ve laid out some of the tubes and one of the tops of the scaffold assembly to see if I had enough to make a good slatted table top and a nice strong table. I’ve measured the length of the legs and then cut all four of them so the welding table will be the same height as my work bench.
Here are the off-cuts from the legs; they’ll come in handy later.
I’ve cleaned up one of the scaffold assembles to get rid of the rust and to make sure they retain enough strength to do the job.
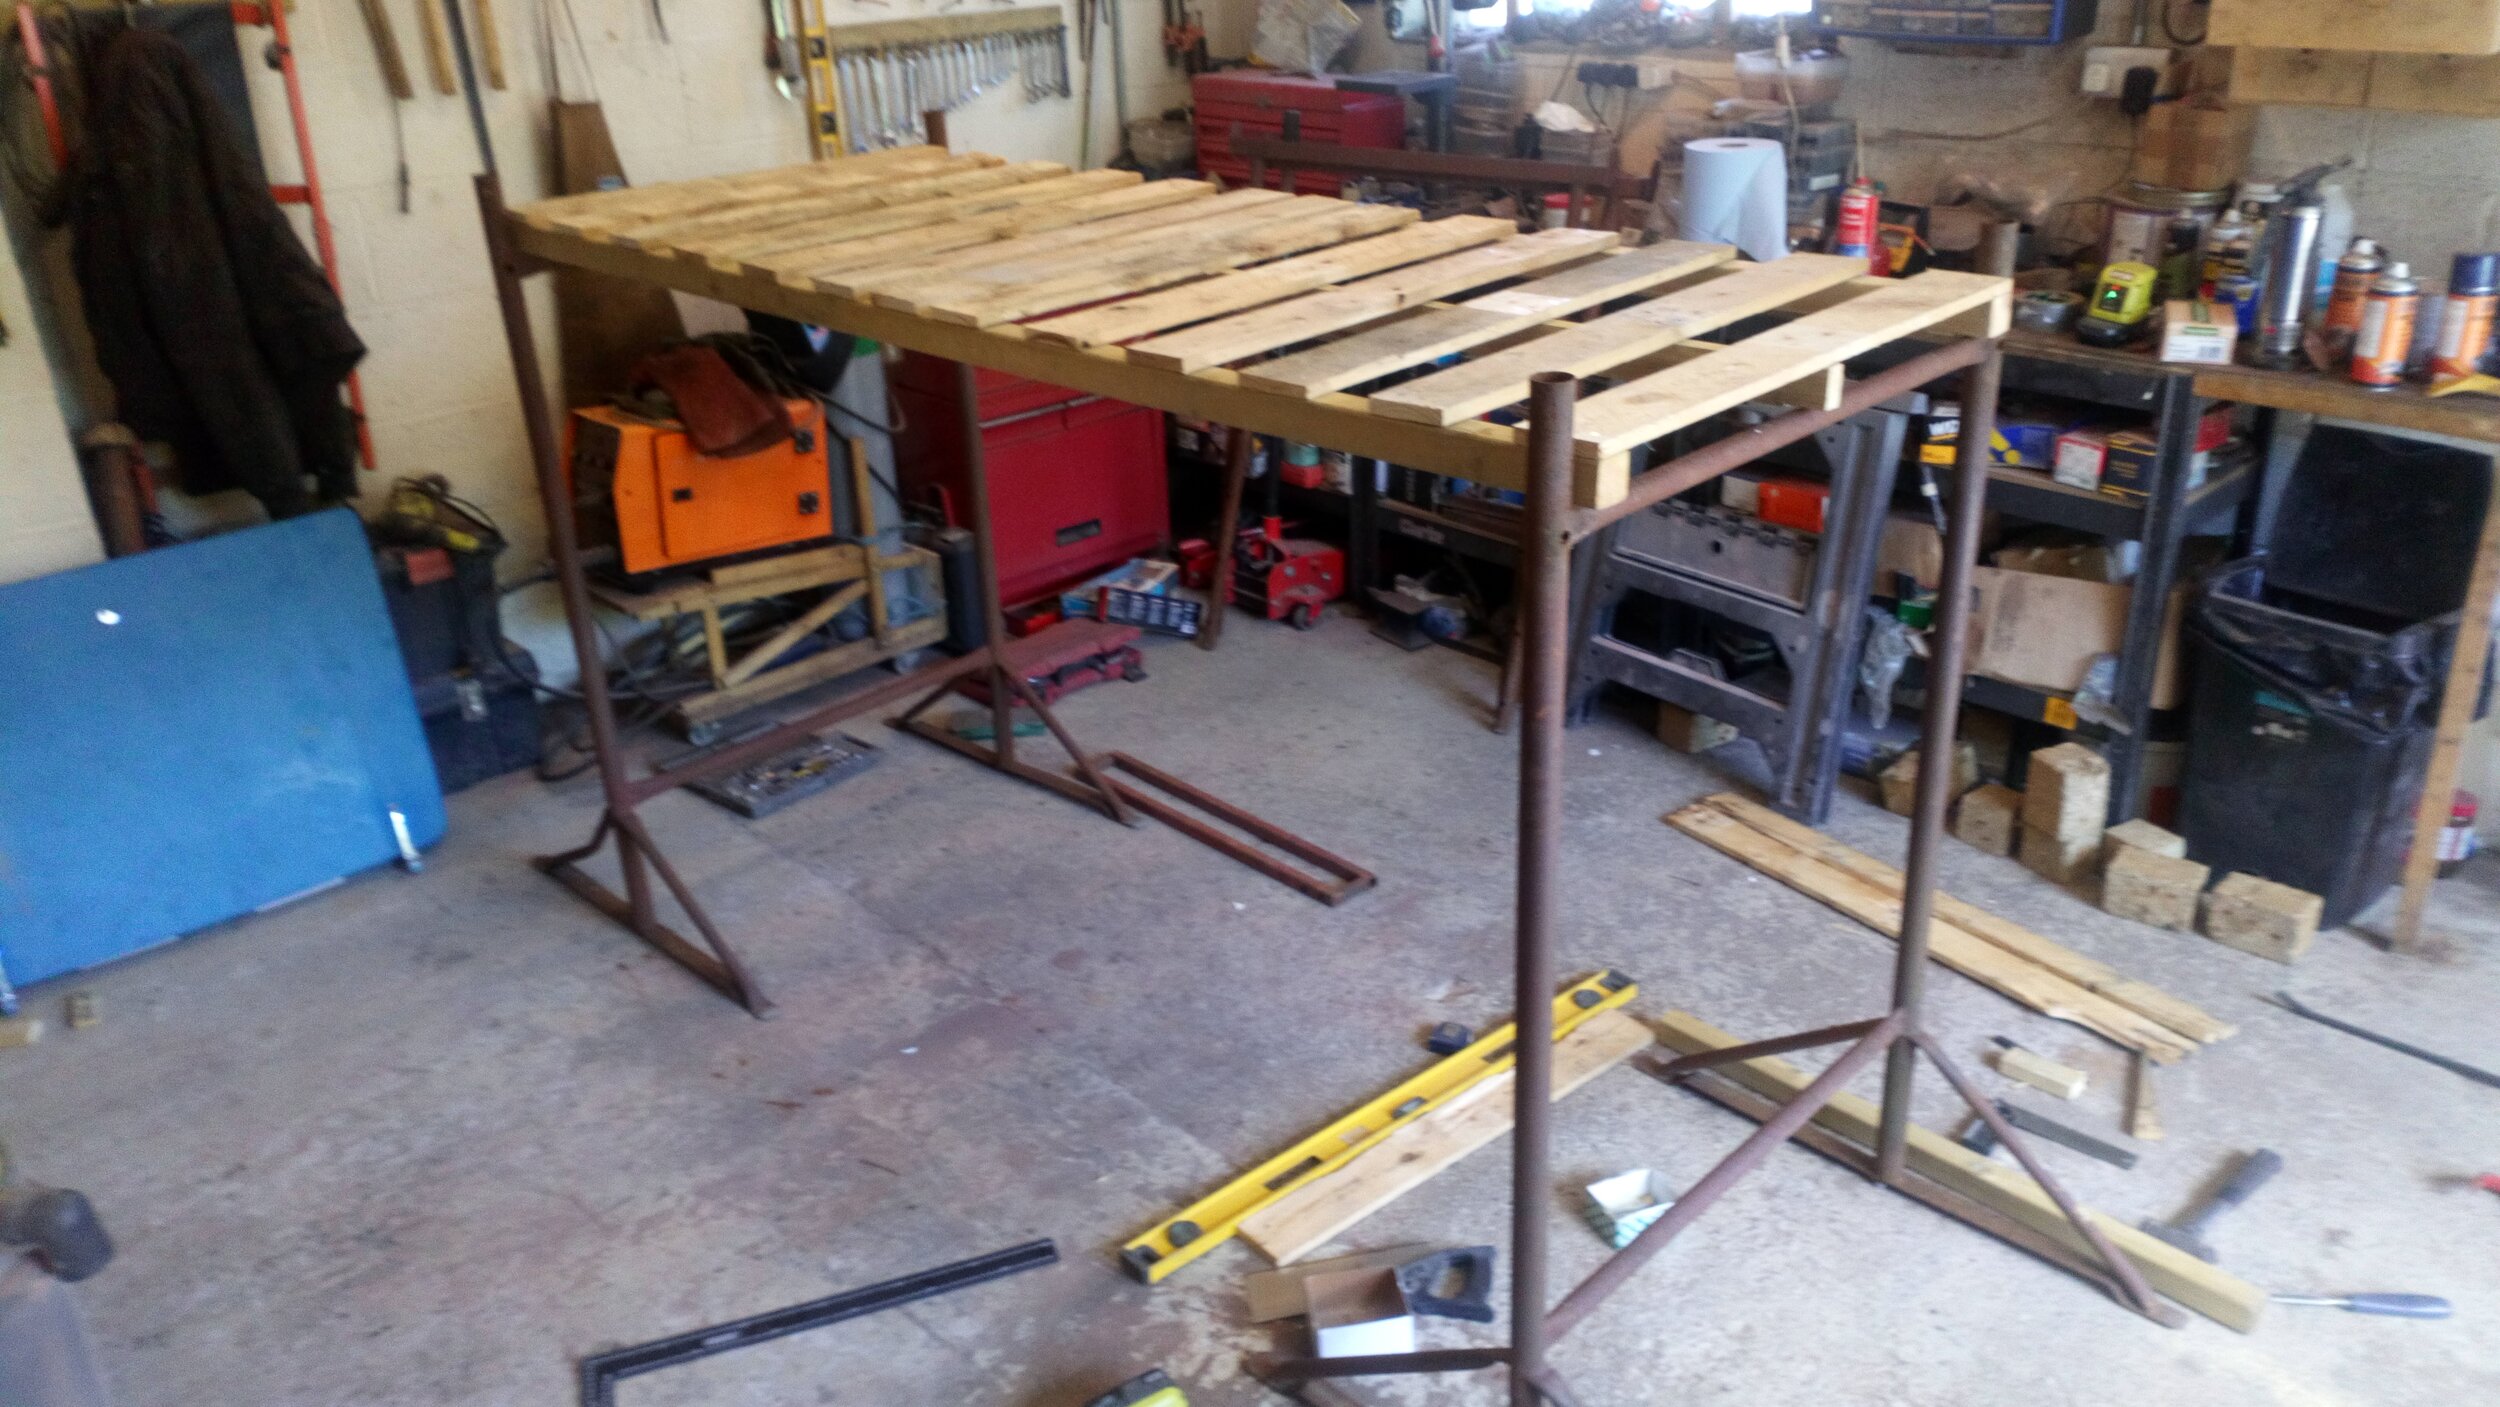
I used the bases of the scaffold to make a big shelf. I used two lengths of 2”x2” timber and one length of 2”x1” I happened to have already. The wooden slats are made of out of an old pallet.
You can see that each tube from the market stalls has a little leg attached to one end. I didn’t need them but, as weight and mass are all good things in a welding table, I decided to leave them on. The tubes fell into to two categories, some tubes being quite a bit longer than the others; I paired them off so that they would make an oblong table top.
Here two pairs are all cleaned up. I initially used a rotary wire brush in an angle grinder. But that took too long and didn’t remove all the rust so I switched to an abrasive flap disk (60 grit) in the angle grinder.
MAKING THE TABLEHaving decided on the design, I went through all the tubes and picked out the ones that were less bent than others and were near enough the same overall length. I had to lop a little bit off some of them but I wasn’t too concerned with huge accuracy at this stage. With that done and all the rust removed, I swept the floor and found the flattest bit of floor in the workshop and laid out the tubes to my design. Using a long builder’s spirit level, I made sure they could be welded together so the table top was reasonably flat in spite of all the bends and twists in the metal.
Here, one of the shorter tubes has been clamped to one of the scaffold tops so that it will be flush when part of the table top. positions for the screws that will hold it all together were marked out, then centre-punched and drilled. A digression: I’m so fed up with the quality of HSS twist drills these days. Yes, they are cheap but they are also really rubbish. When I was a lad, working with my grandfather making all sorts of things - well, mostly mowers and garden tools - we used to be able to drill about 50 holes (say, using a 1/4” drill through 1/8” steel) before we would need to resharpen the bits. These days, a new drill bit might only drill a dozen holes before it is almost useless. As I don’t currently have a bench grinder I have been out of the habit of sharpening drills ‘by hand’ and so, a few years ago, I bought a cheap drill sharpening machine. Now that machine has stopped working correctly so it was a struggle to drill the holes all the way through 4 layers. But luckily my step-drill bit is still sharp - it can’t do several layers at once (though tube) but it did save the day in the end.
The two pairs on each end of the row have been welded together while the middle two await trimming and welding.
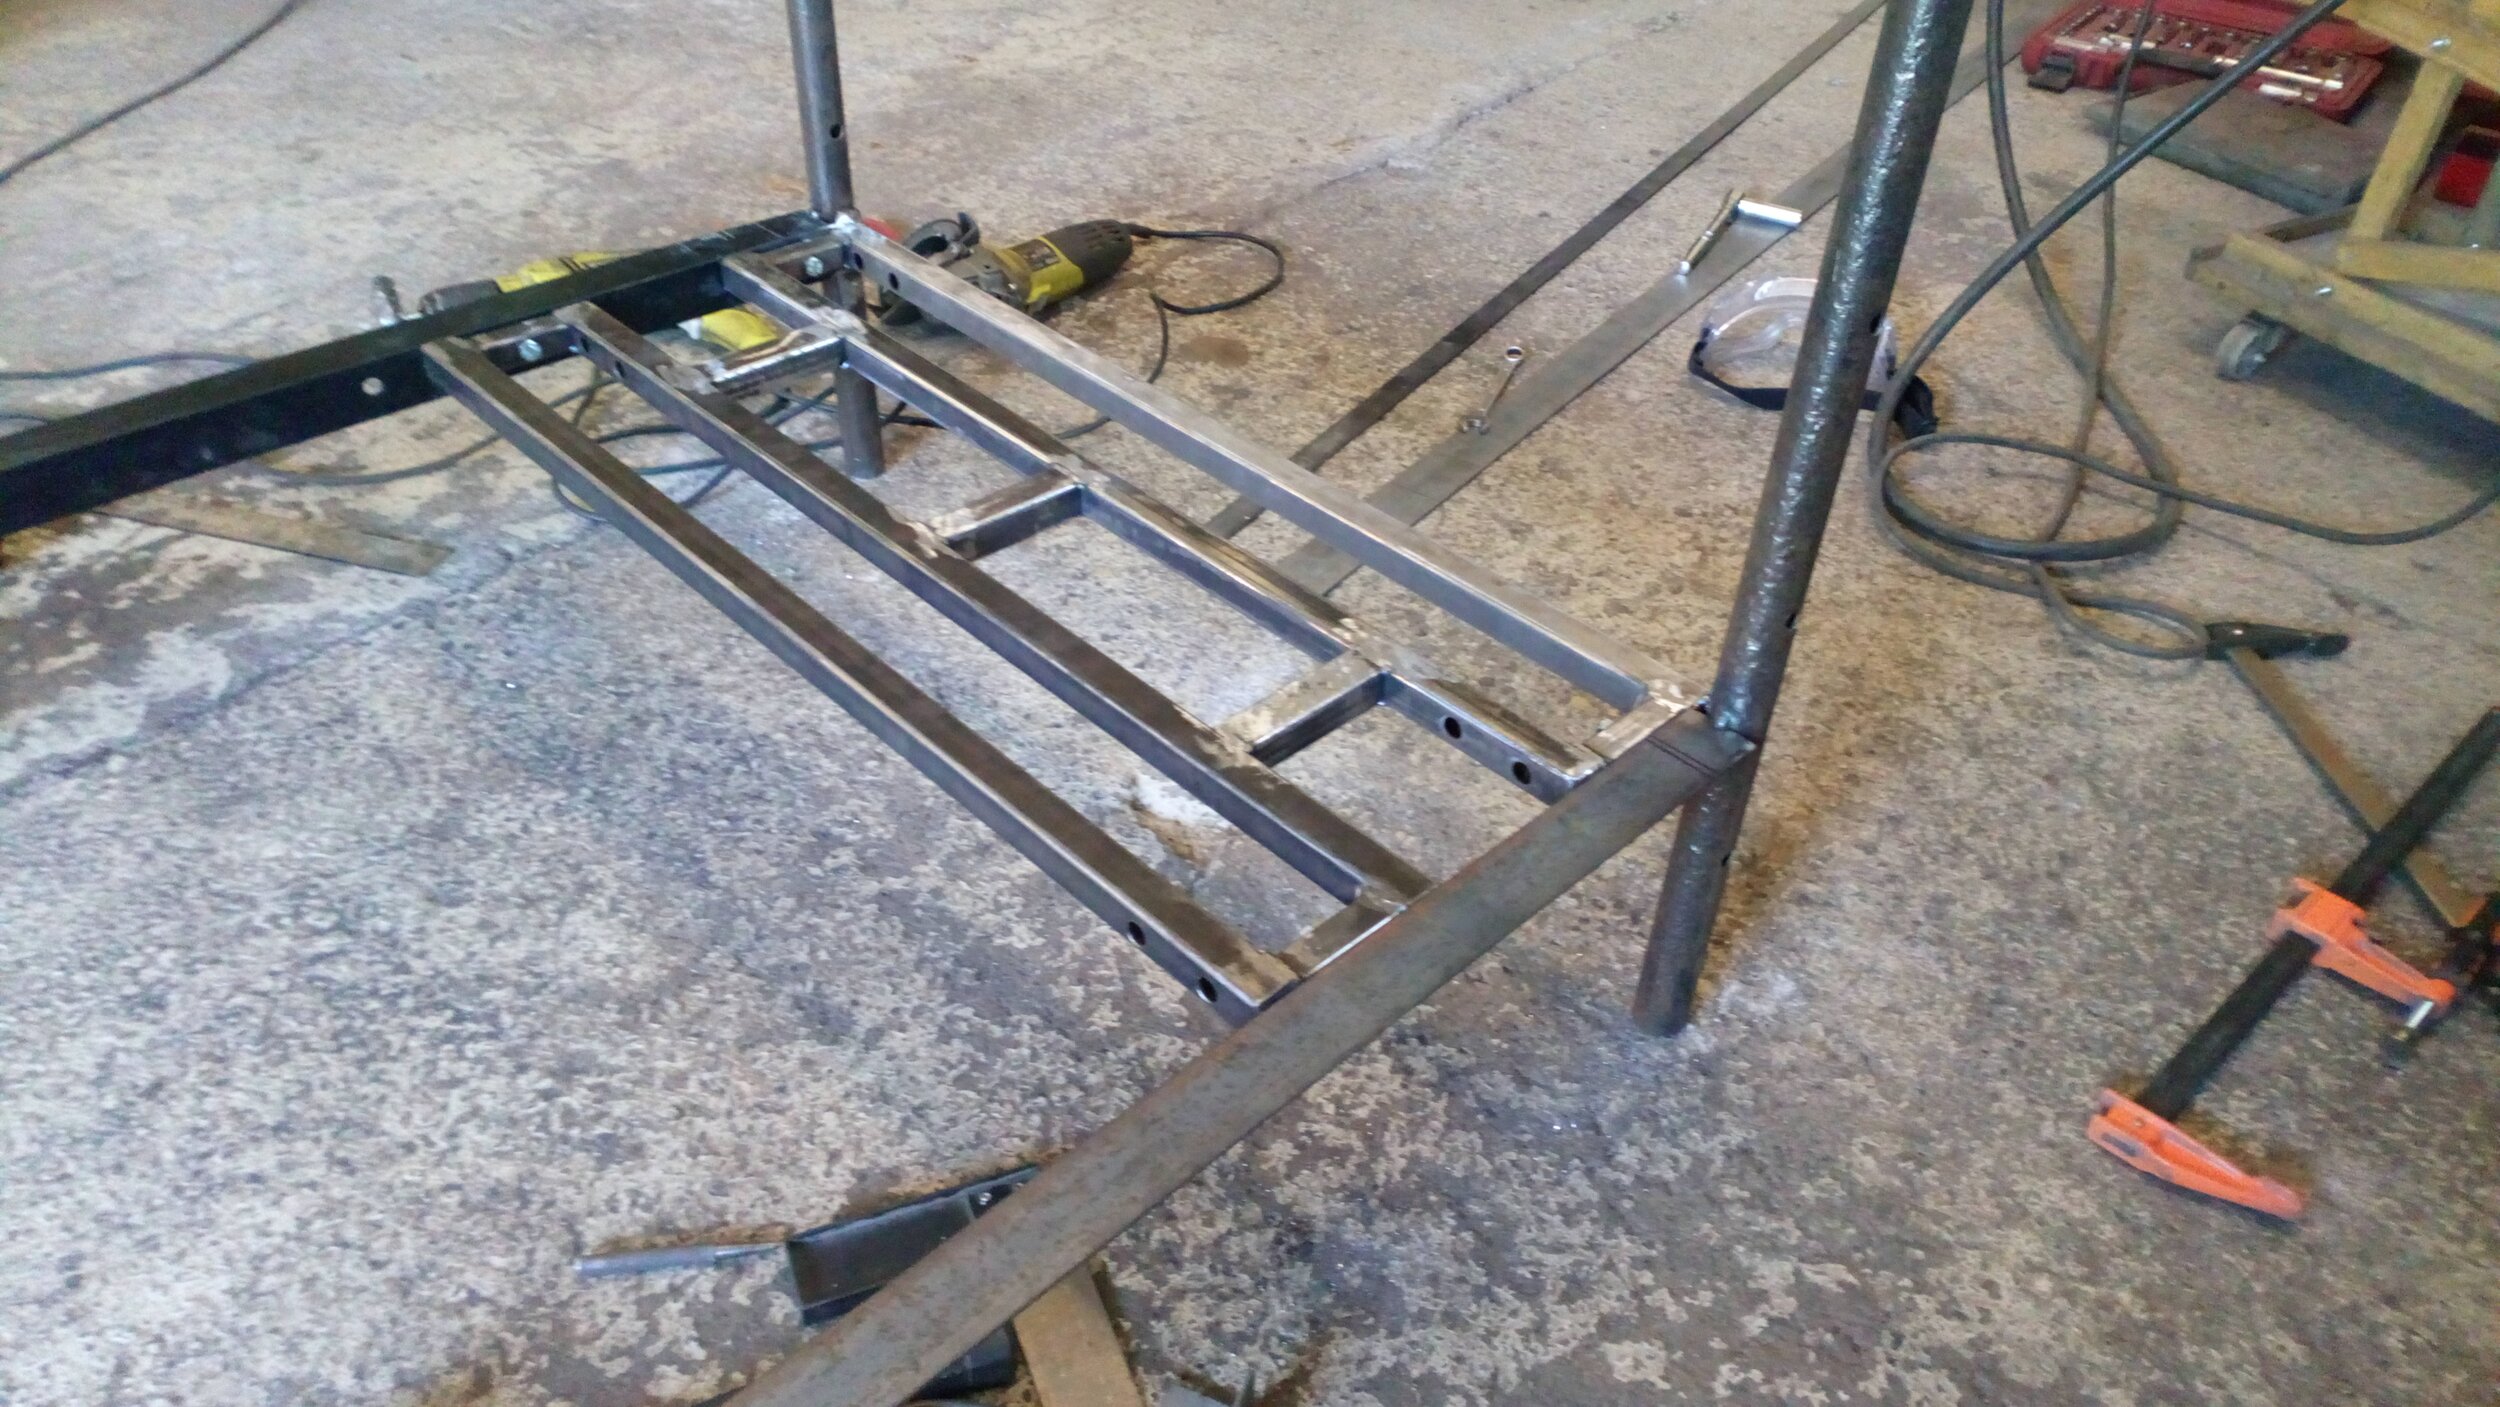
Eight shorter tubes were welded into 4 units and 4 longer tubes were welded into 2 units. The six units were all tacked together on a flat piece of floor and I used various washers under the tubes to make up for the floor’s unevenness and the slight difference in the thickness of each tube. The four outer units were tacked together first, making sure they were at 90 degrees using builder’s square.
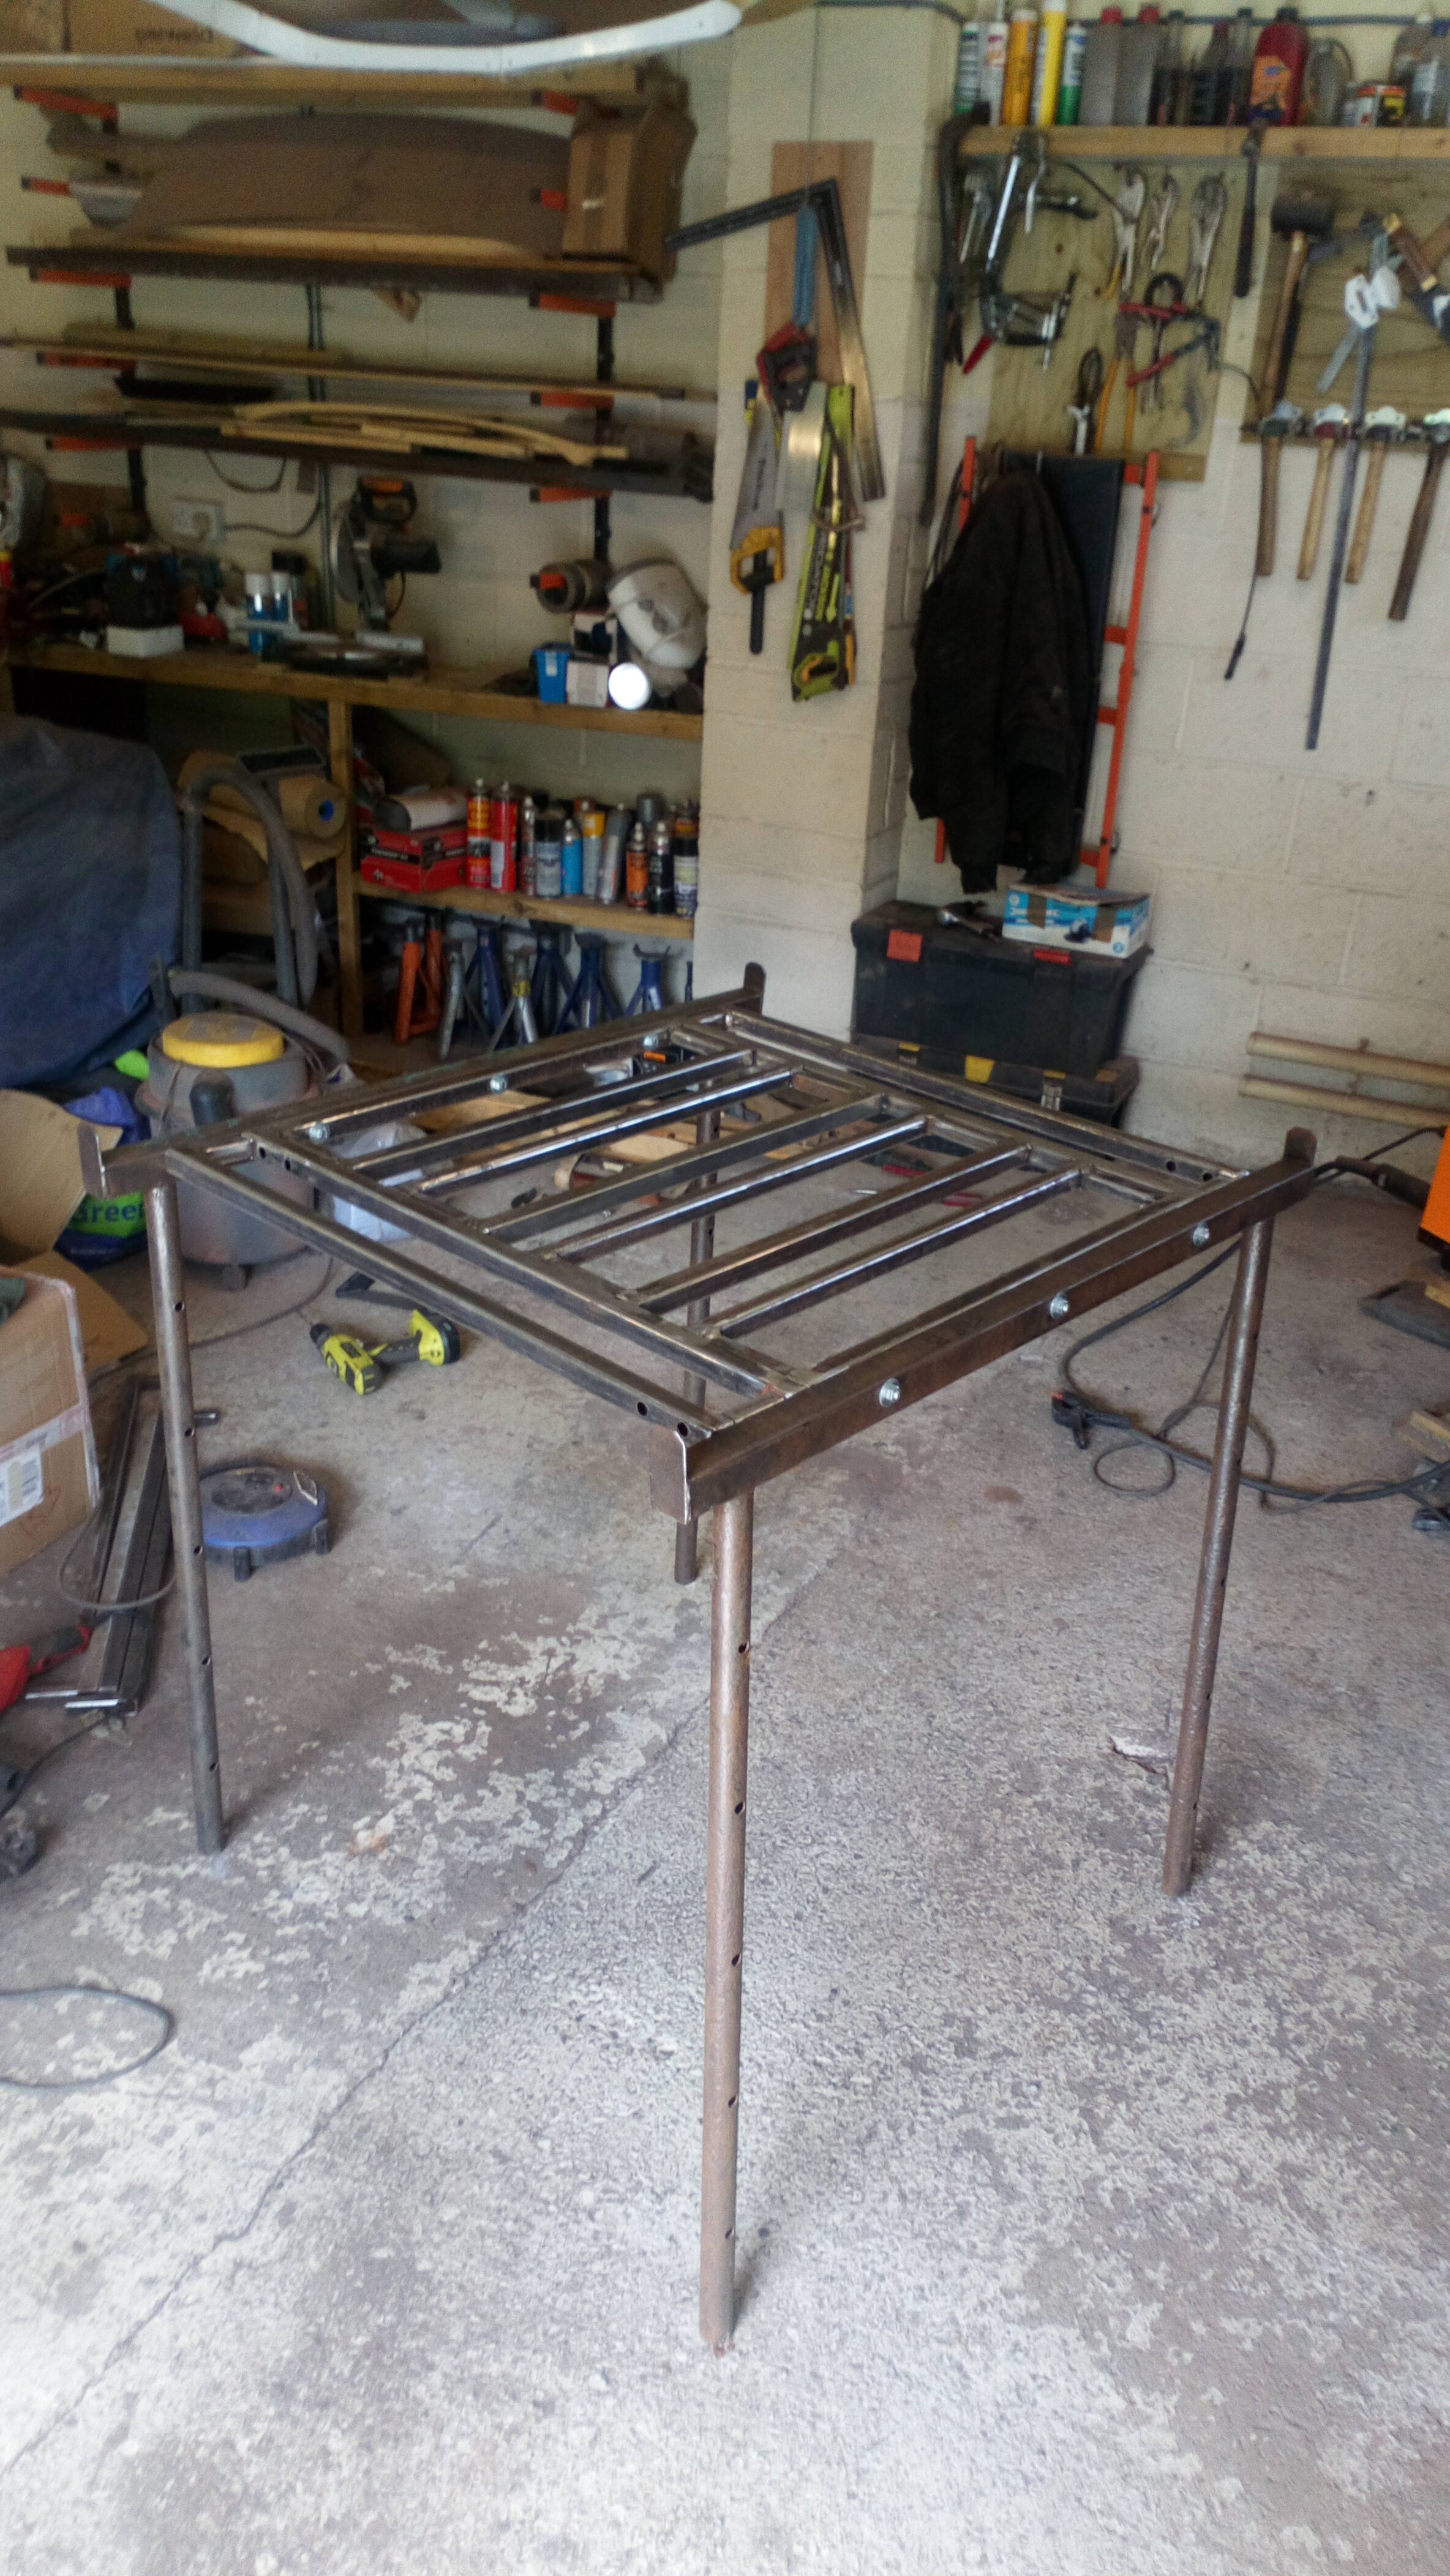
The top was fully welded then bolted to the legs with M8 screws, nuts and washers. It was checked again for overall flatness with a long builder’s spirit level. At this stage, the legs are all out of true with one set splayed by about 60 mm compared to the other in one direction and about 30mm at 90 degrees to the first splay. Both sets of legs would need bracing and I had to resort to one piece of new angle iron I had in stock and a second scrap piece I found a while ago.
The first angle iron brace was cut to length and a small square was cut out at each end to enable the remaining tabs to be curled around the legs. I had to use a length of rope as a Spanish Windlass to pull the legs together as I didn’t have a sash clamp that was long enough, but I could have used a ratchet strap.
The angle iron was tacked on and then hammered around the curve while still hot from the weld. Then the tabs were more fully welded in their new positions.
With both braces welded in, I used 4 longer tubes to make two units and cut three pieces off one of the bent tubes to join the units together, They were marked and drilled, as were the braces, and bolted in position. As the legs were still 30 mm adrift, I used a long bolts through the drillings to ease the legs into position. Once done, they stayed pretty much in the right place and I could replace the long bolts with shorter ones the correct length.
Now the welding table had a shelf for the welder, braced legs and a sturdy top. With the leg units welded up, there was no movement front to back but, because the bolts go through hollow sections with no crush-tubes, there was some annoying sway side to side. All that was needed was a diagonal brace at the back. I used a piece of steel strap about 3mm thick and 25 mm wide, cut it to length, drilled it at each end and bolted it on.
The table is far from finished and needs all the fastenings and fixings for the welder and associated tools. But here’s why I need a table in the first place - to make jigs for my bespoke suspension system. The item on the table is a rear axle casing for an MG Midget.


