Groovey Together; Kitten Part 7, Body Meets Chassis
It’s been a while since I posted news of the Reliant Kitten. Thus far the chassis had been pretty much completed and fitted with its suspension, steering, engine, gearbox, fuel tank and various ancillaries. Last year the body had also received most of its repairs and it was time to fit it and prepare it for paint. Ideally, the body would have been painted before fitting it to the chassis but for a lot of logistical reasons, one of which being cost, it made sense to fit it before paint..
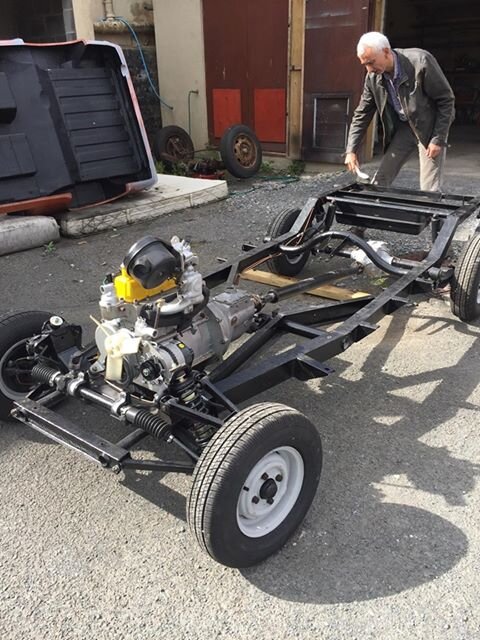


Dusting off the chassis before we lifted the body onto it.
The owner, his wife, brother and a friend and I simply lifted the body over the chassis and with a bit of adjustment here and there it fitted very easily. I’m pleased the body was so light as none of us are young! Once in the workshop, the body was bolted down with new 8mm nuts and bolts and some good sized washers.
One of the first things to be fixed was the handbrake mechanism to make sure the car could be safely maneuvered on my sloping yard. I had new cables but needed to restore the pulley mechanism and the mounting plate.
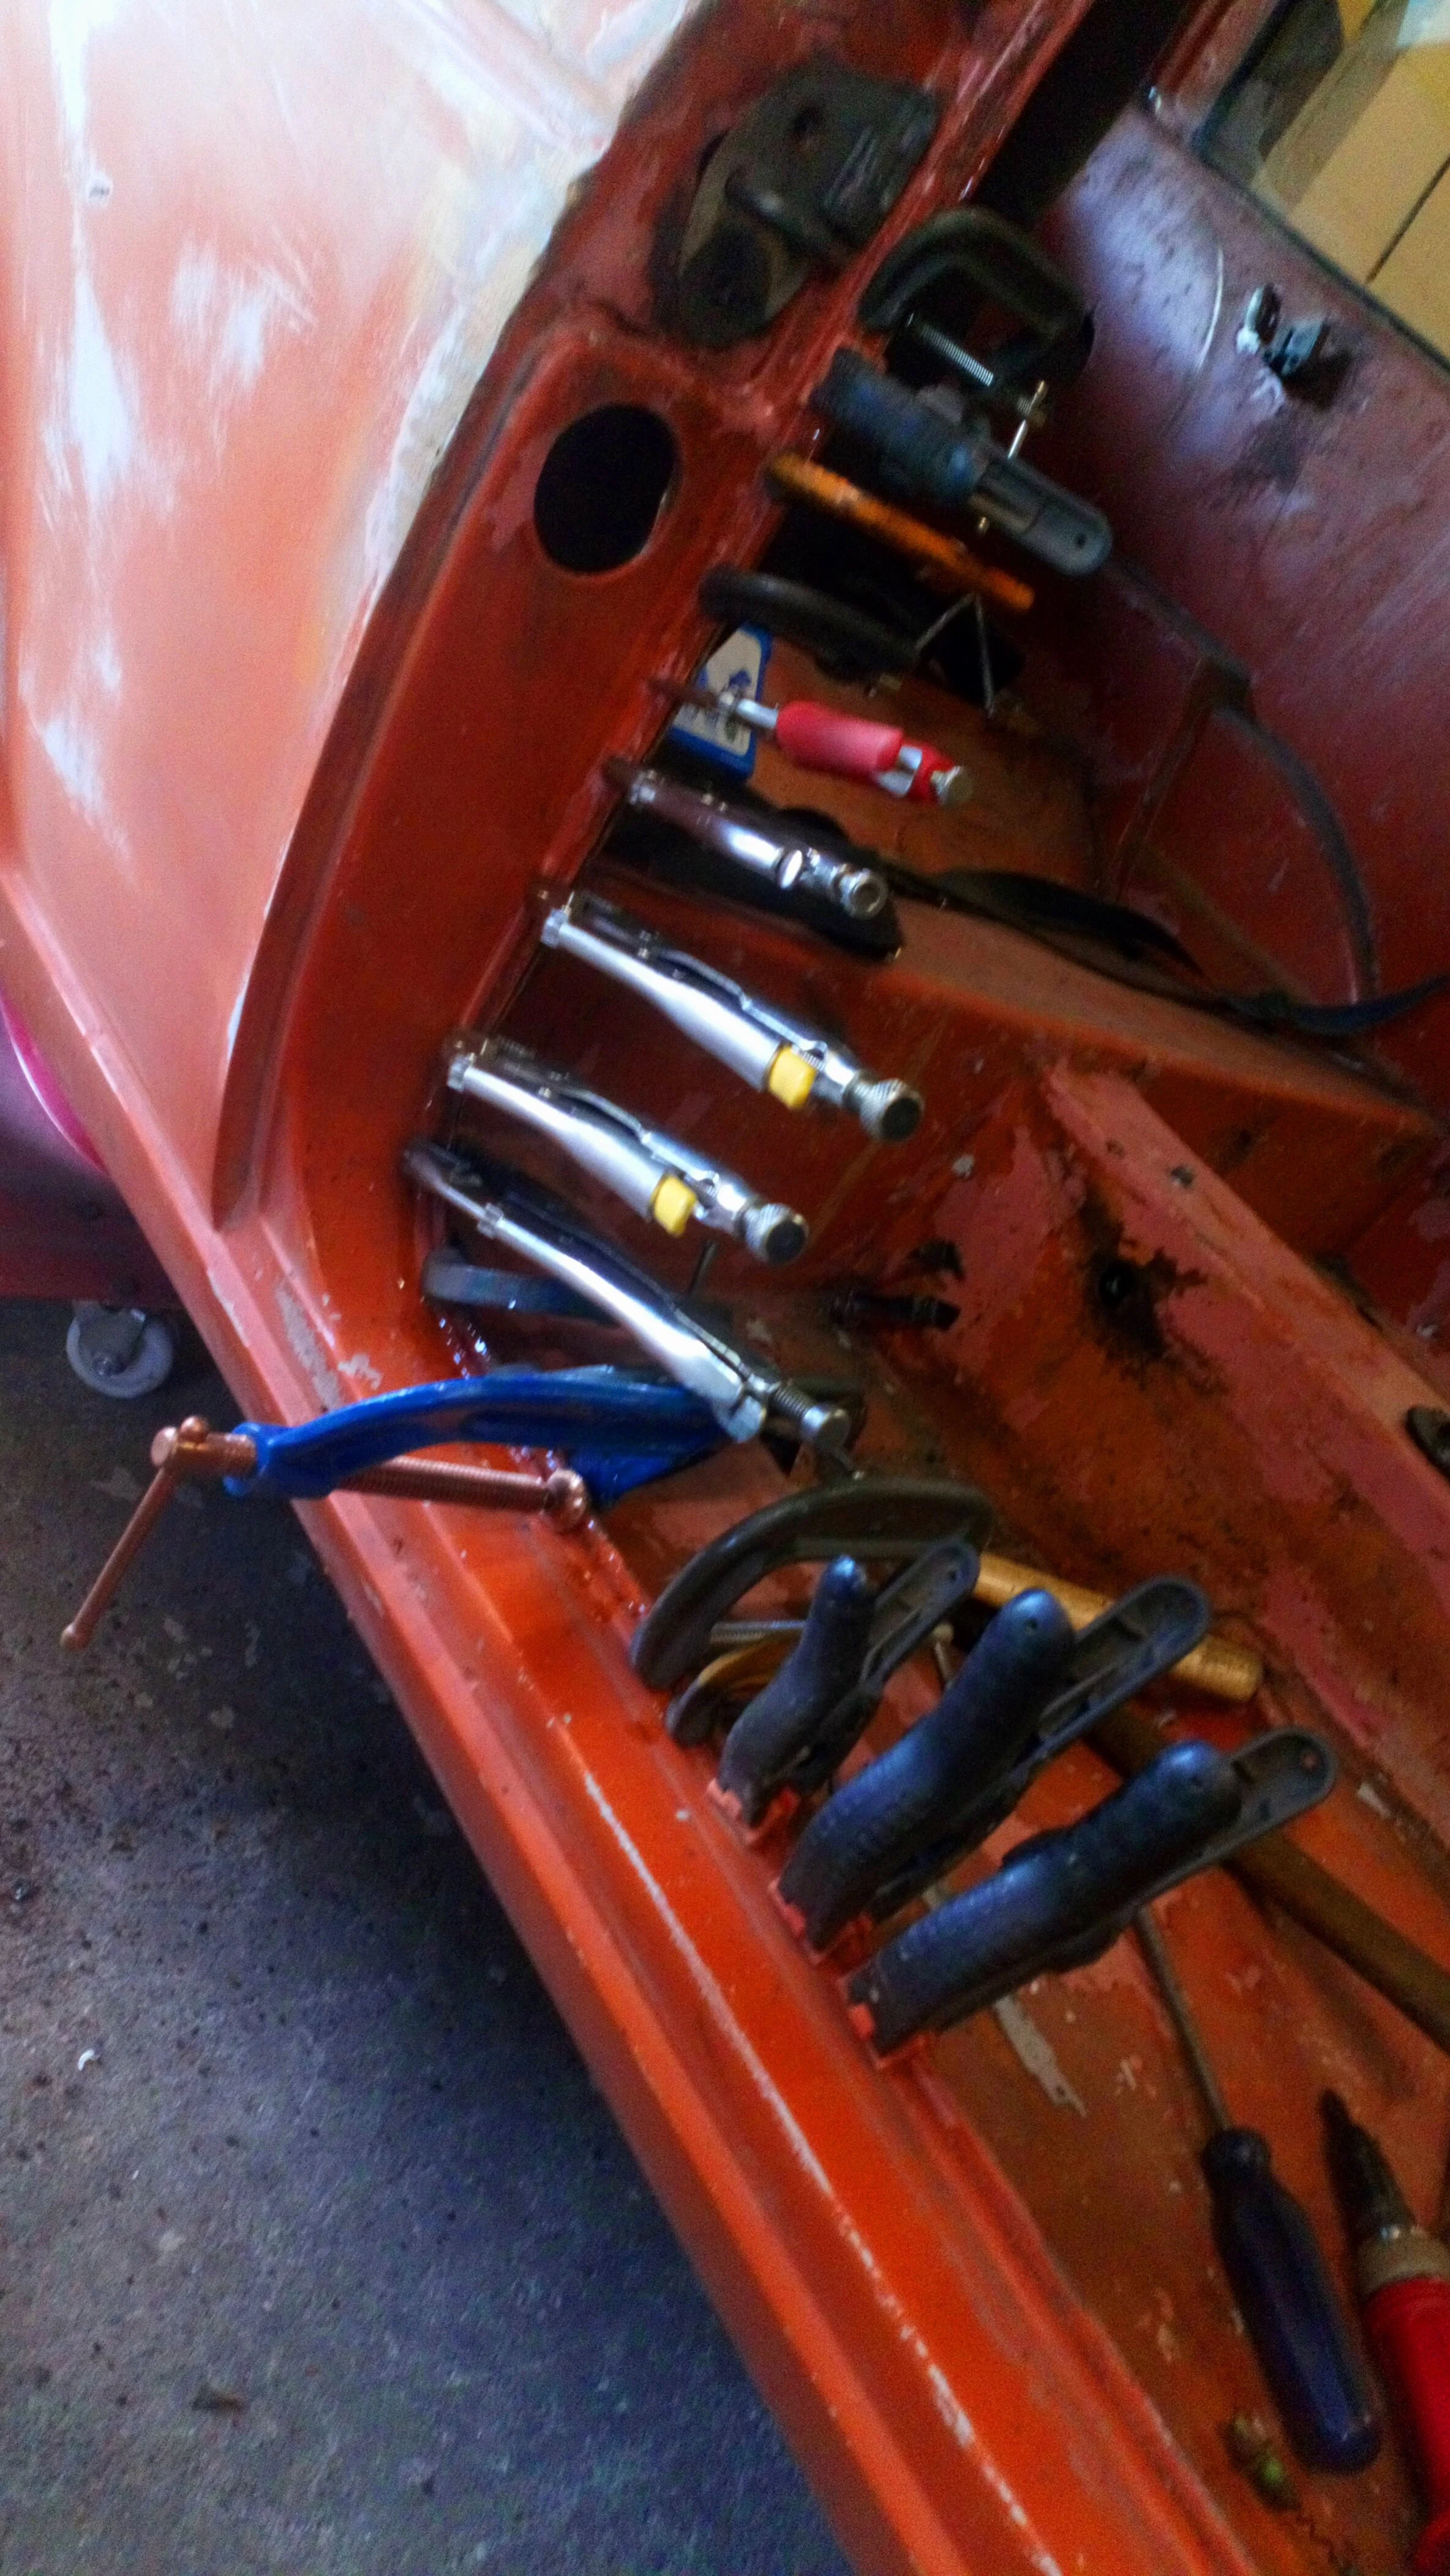
When the car’s body had been on its side , there was obviously a side I couldn’t get to. There were a number of repairs that needed attention. The outer and inner panels had separated and required bonding back together - lots of clamps!
Here a chunk of the outer wheel arch was missing. I ground the edges of the repair, made a clay former in situ and layed up some fibreglass over it. When the fibre-glass was set, I removed the clay from behind the repair, trimmed it, added a thin layer of filler, sanded it to match the shape of the arch and gave it a coat of primer.
That’s better!
The door shut panel on the B post was also damaged and was similarly repaired.
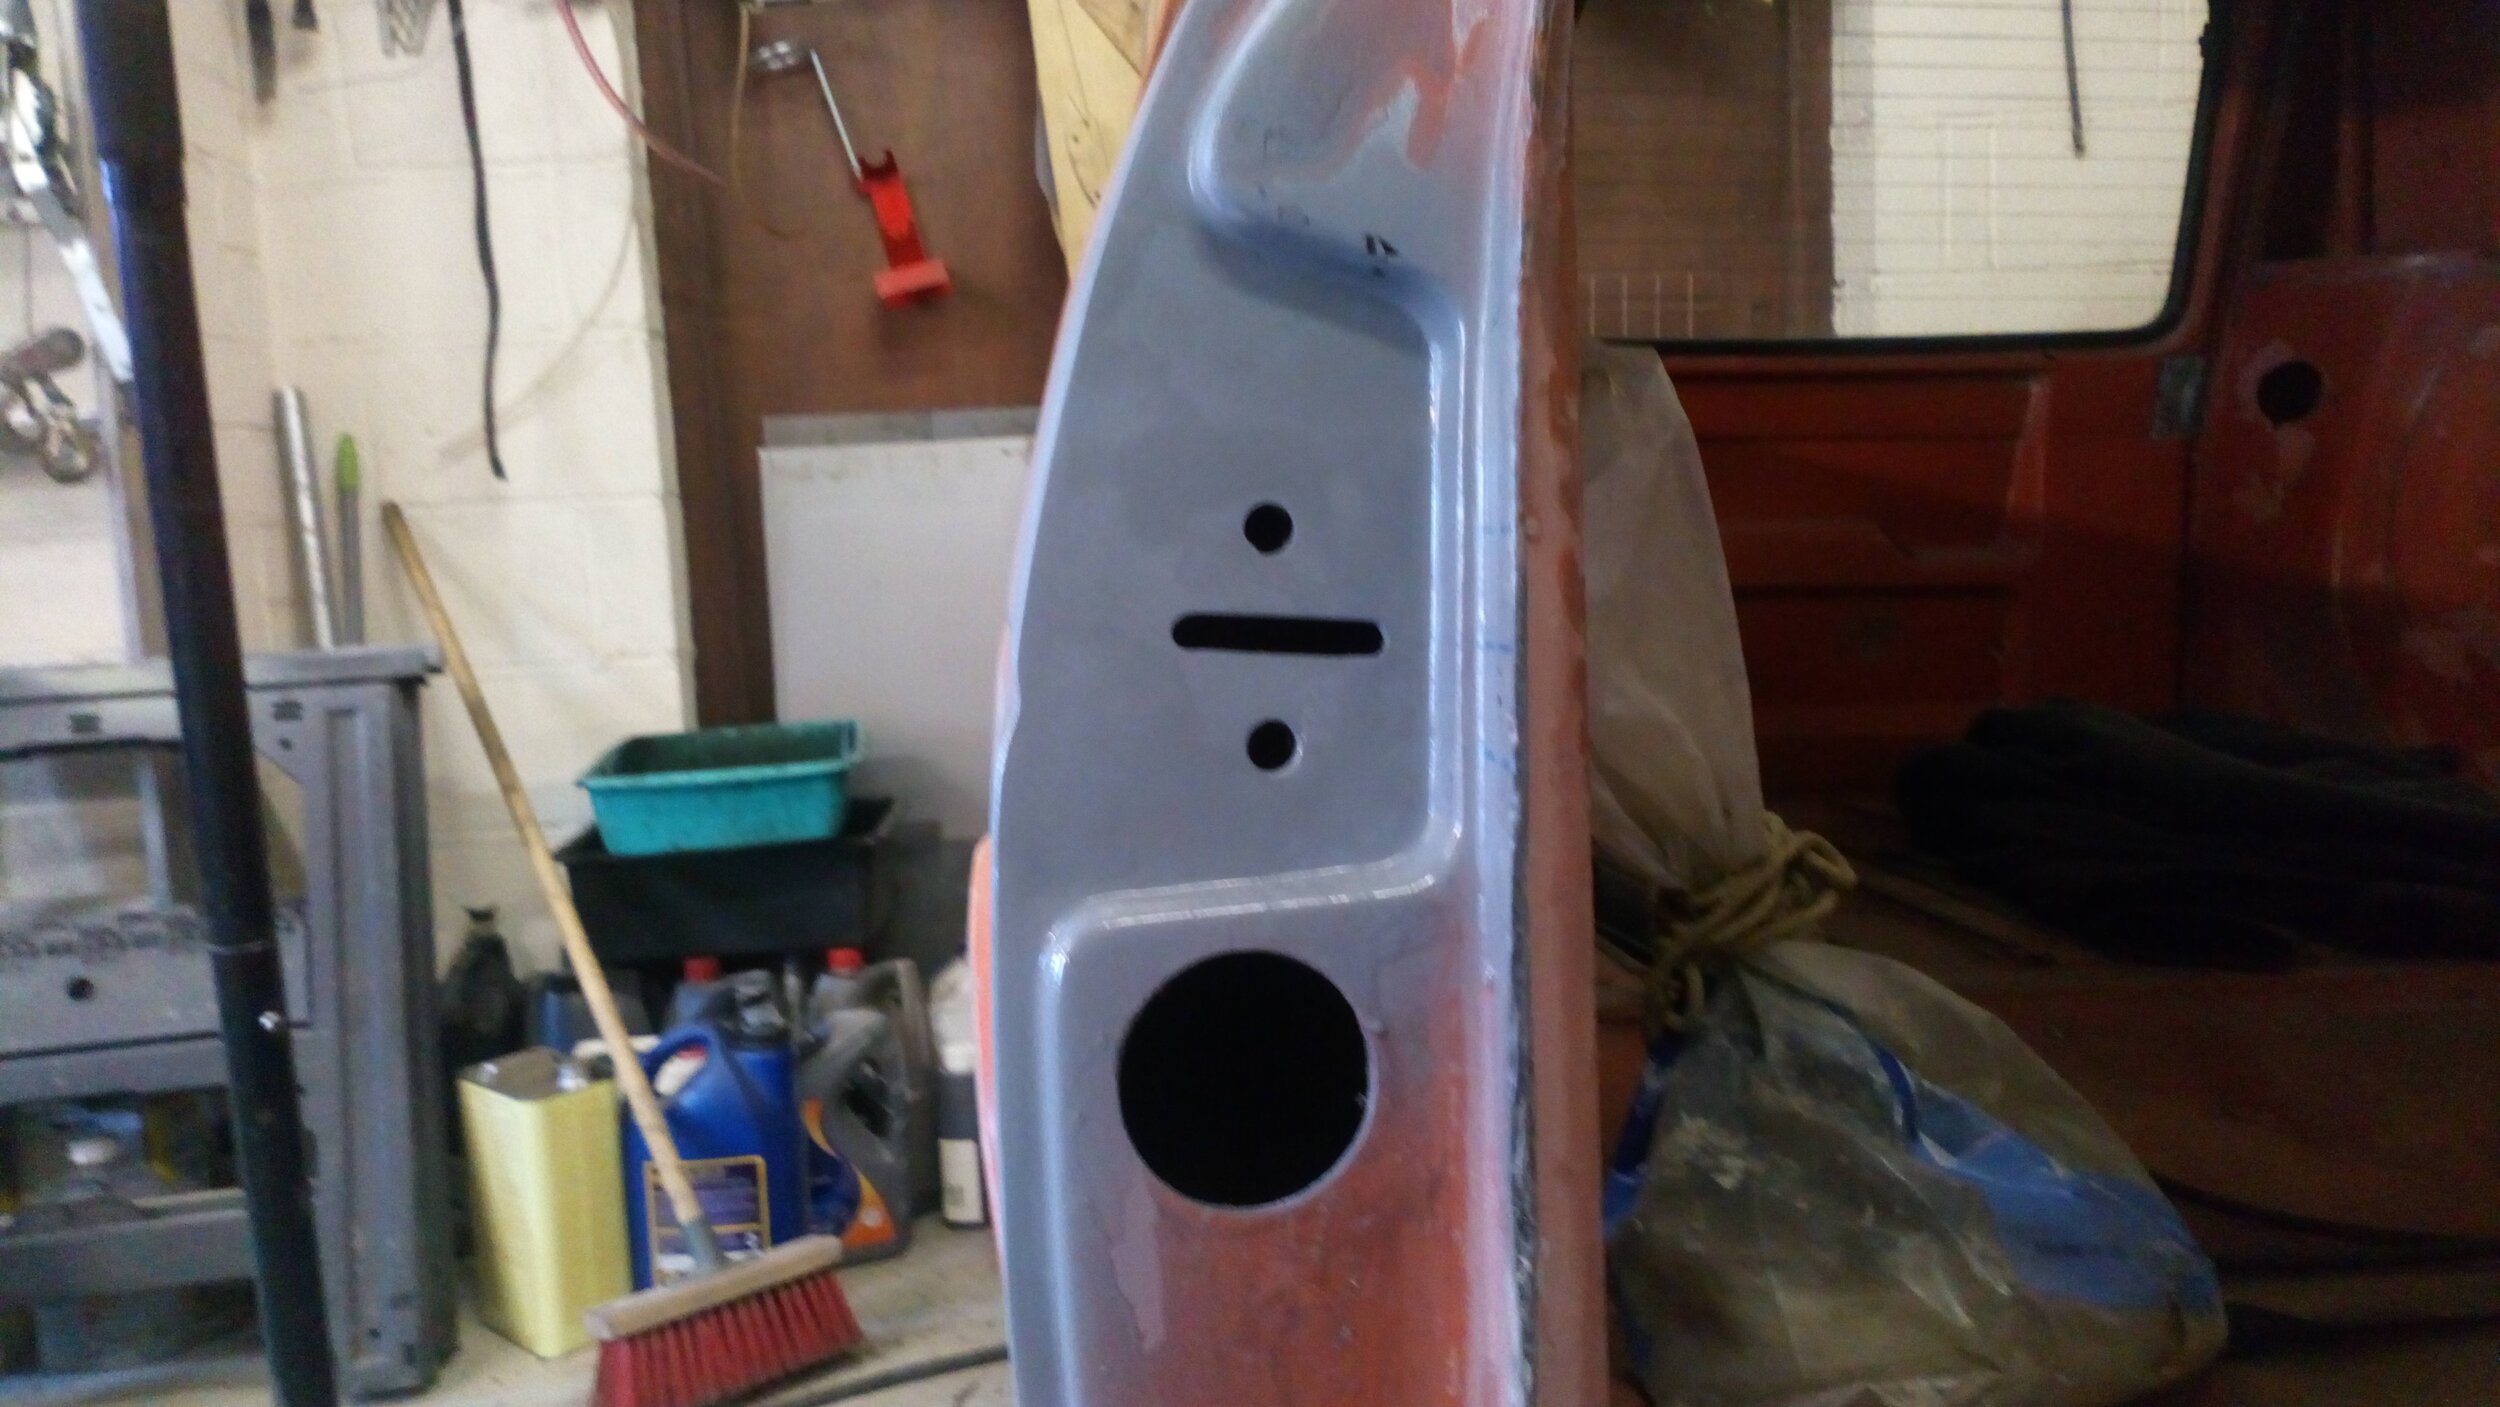
The door latch striker plate mountings were a mess.
Again, that’s better!
The near-side (left) door was in reasonable condition and was later stripped down to allow the window mechanism, lock and hinges to be refurbished.
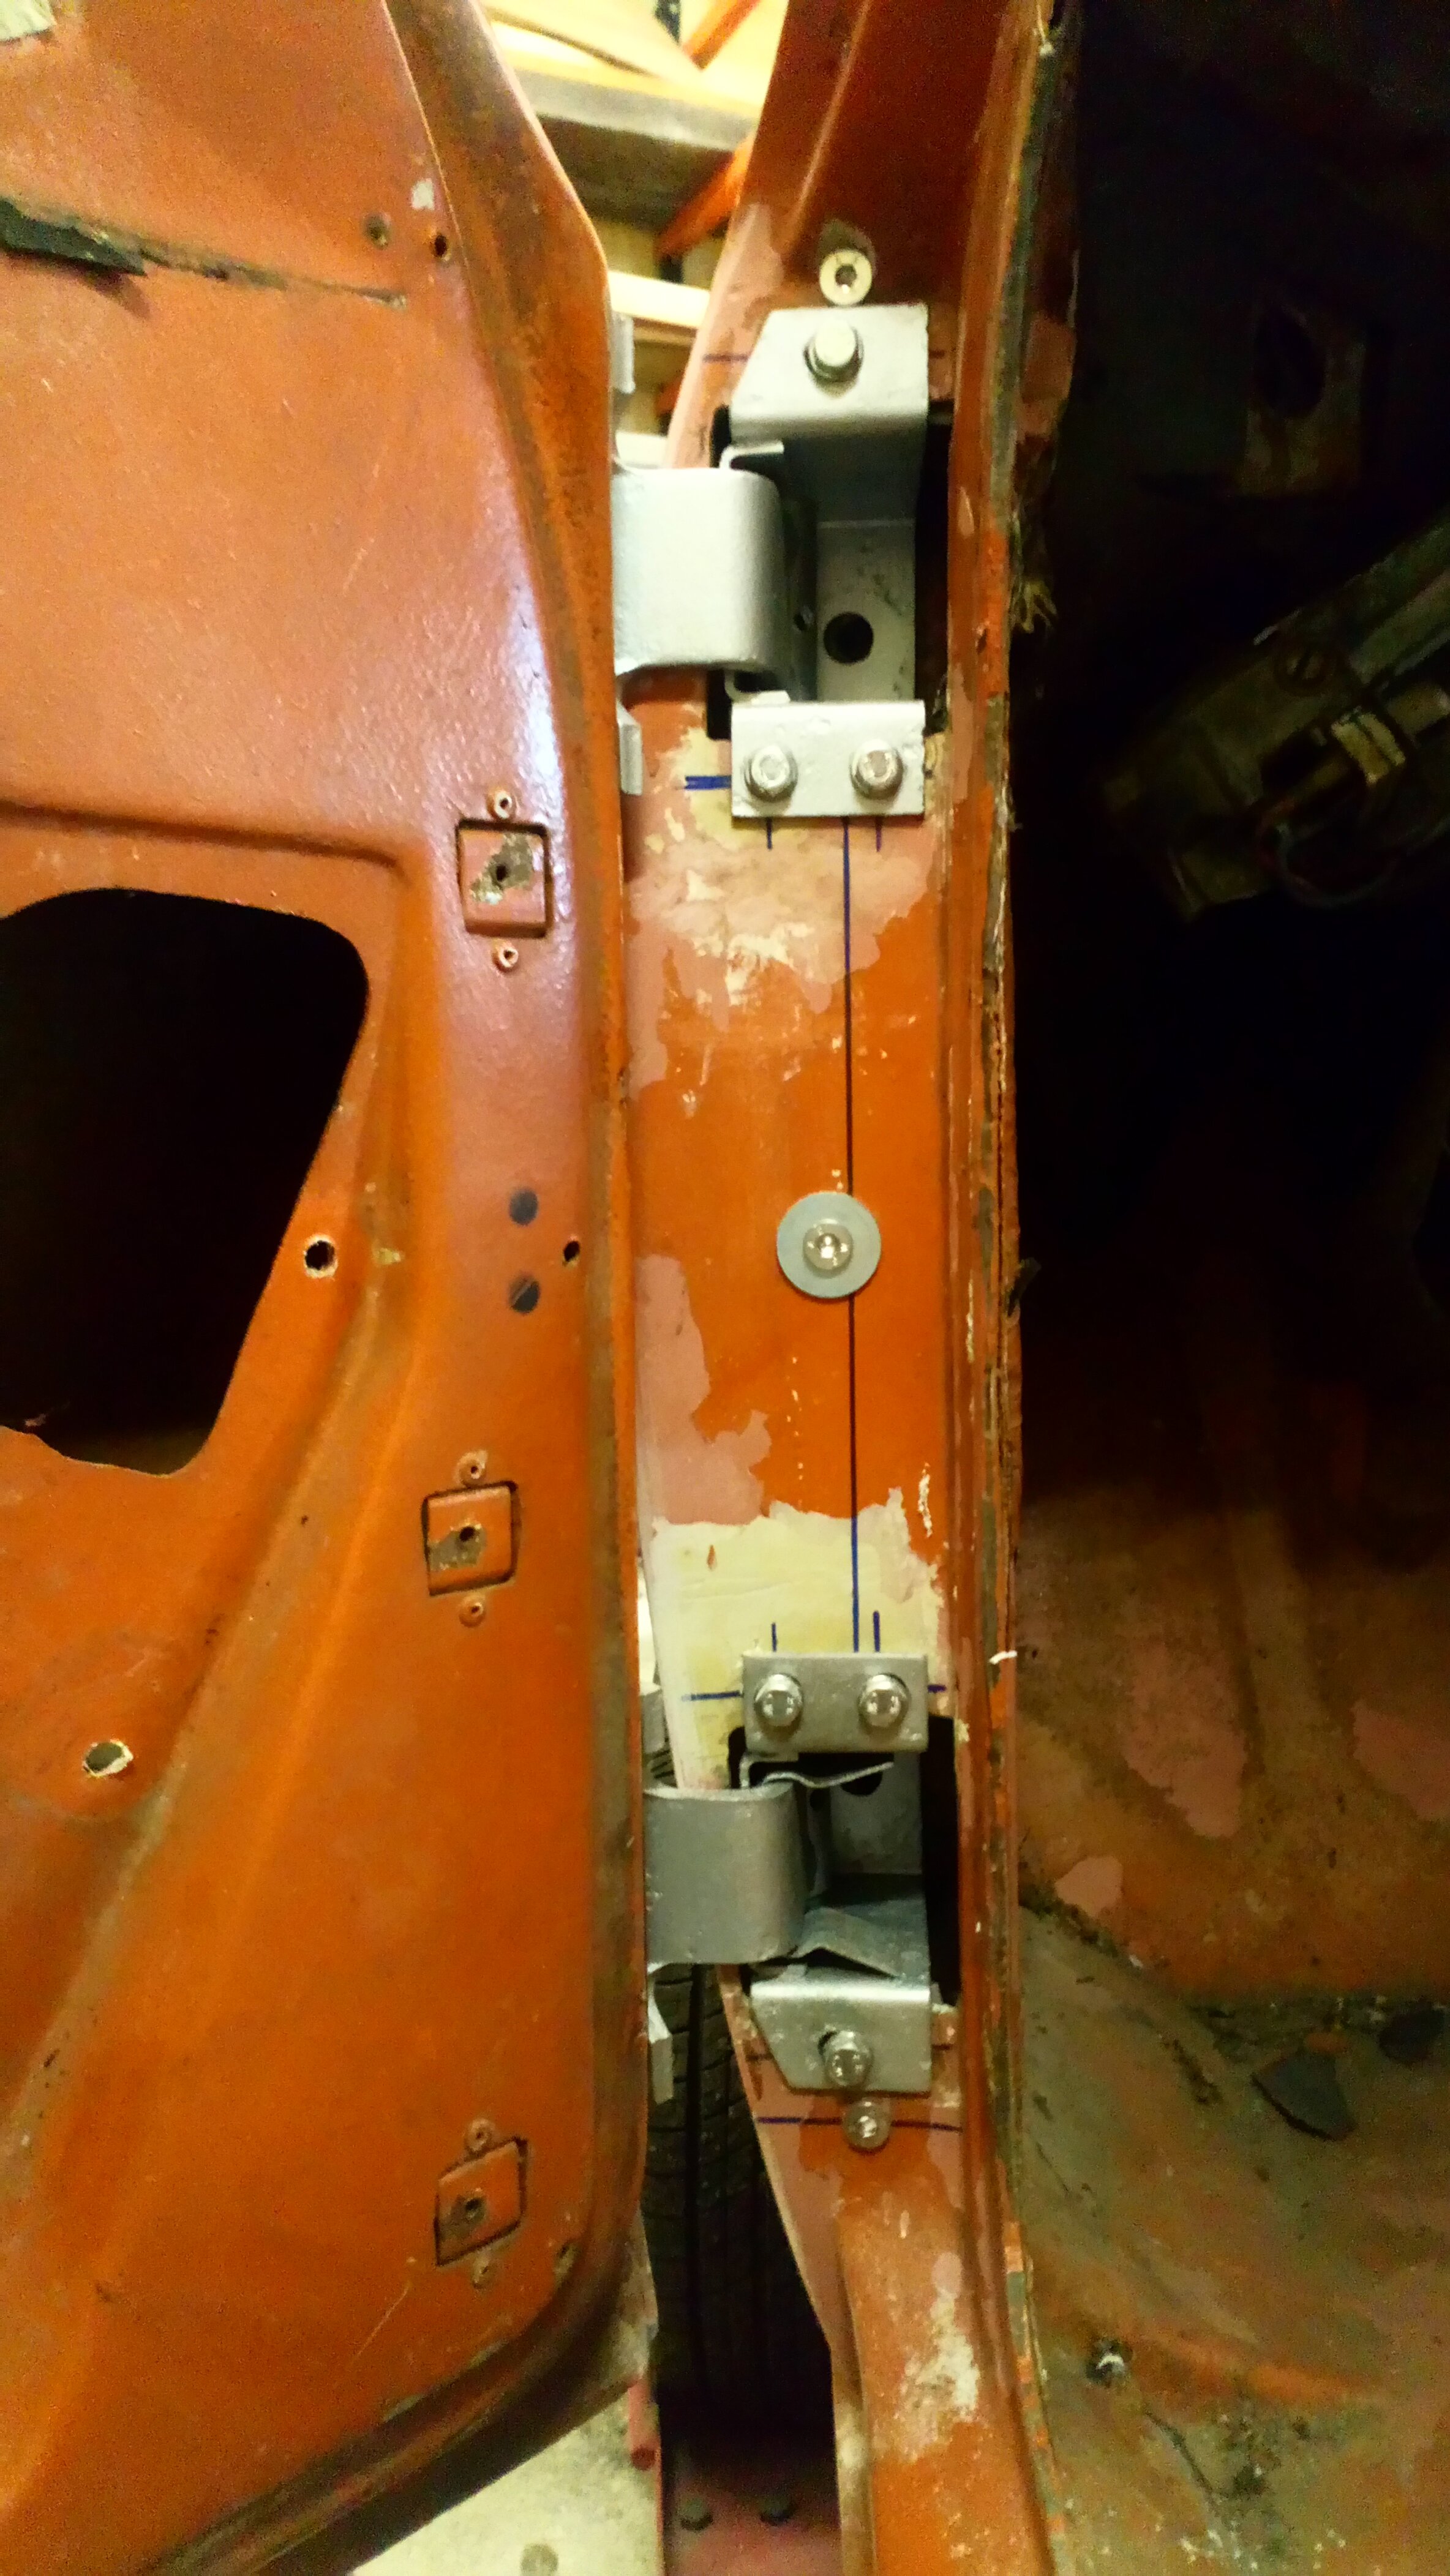
The hinge backing plates that fit to the door were rusted out at one end so they were repaired and fitted with new captive nuts.
The hinge backing plates that fit to the body were redesigned and made from scratch because the originals were either missing or rusted beyond repair. Here’s the full set with refurbished hinges.
The nearside (left hand) door fitting required an awful lot of measuring to ensure the custom backing plates all lined up. When eventually done, after many trial fits and measurements, those dimensions were able to be transferred in mirror image to the off-side (right hand).
A good fit was obtained with acceptable shut-lines and no sag using custom made shims.
The right hand, off-side door hinge area was repaired and the door fitted.
The original right hand, drivers, door was cracked and seriously damaged so we found a second hand one from a specialist supplier. But it turned out to be not much better and was expensive. It required a lot of repairs including re-doing previous repairs. It’s very disheartening when a supplier claims to have a good part and then sends something badly repaired and badly damaged. Unlike metal panels, fibre glass ones don’t rust or dent when damaged, they tend to crack, splinter and can shred but often spring back to their original shape - they can look OK even when badly damaged. Specialists know that. Grrrr.
Meanwhile, I fitted a few things to the engine compartment.
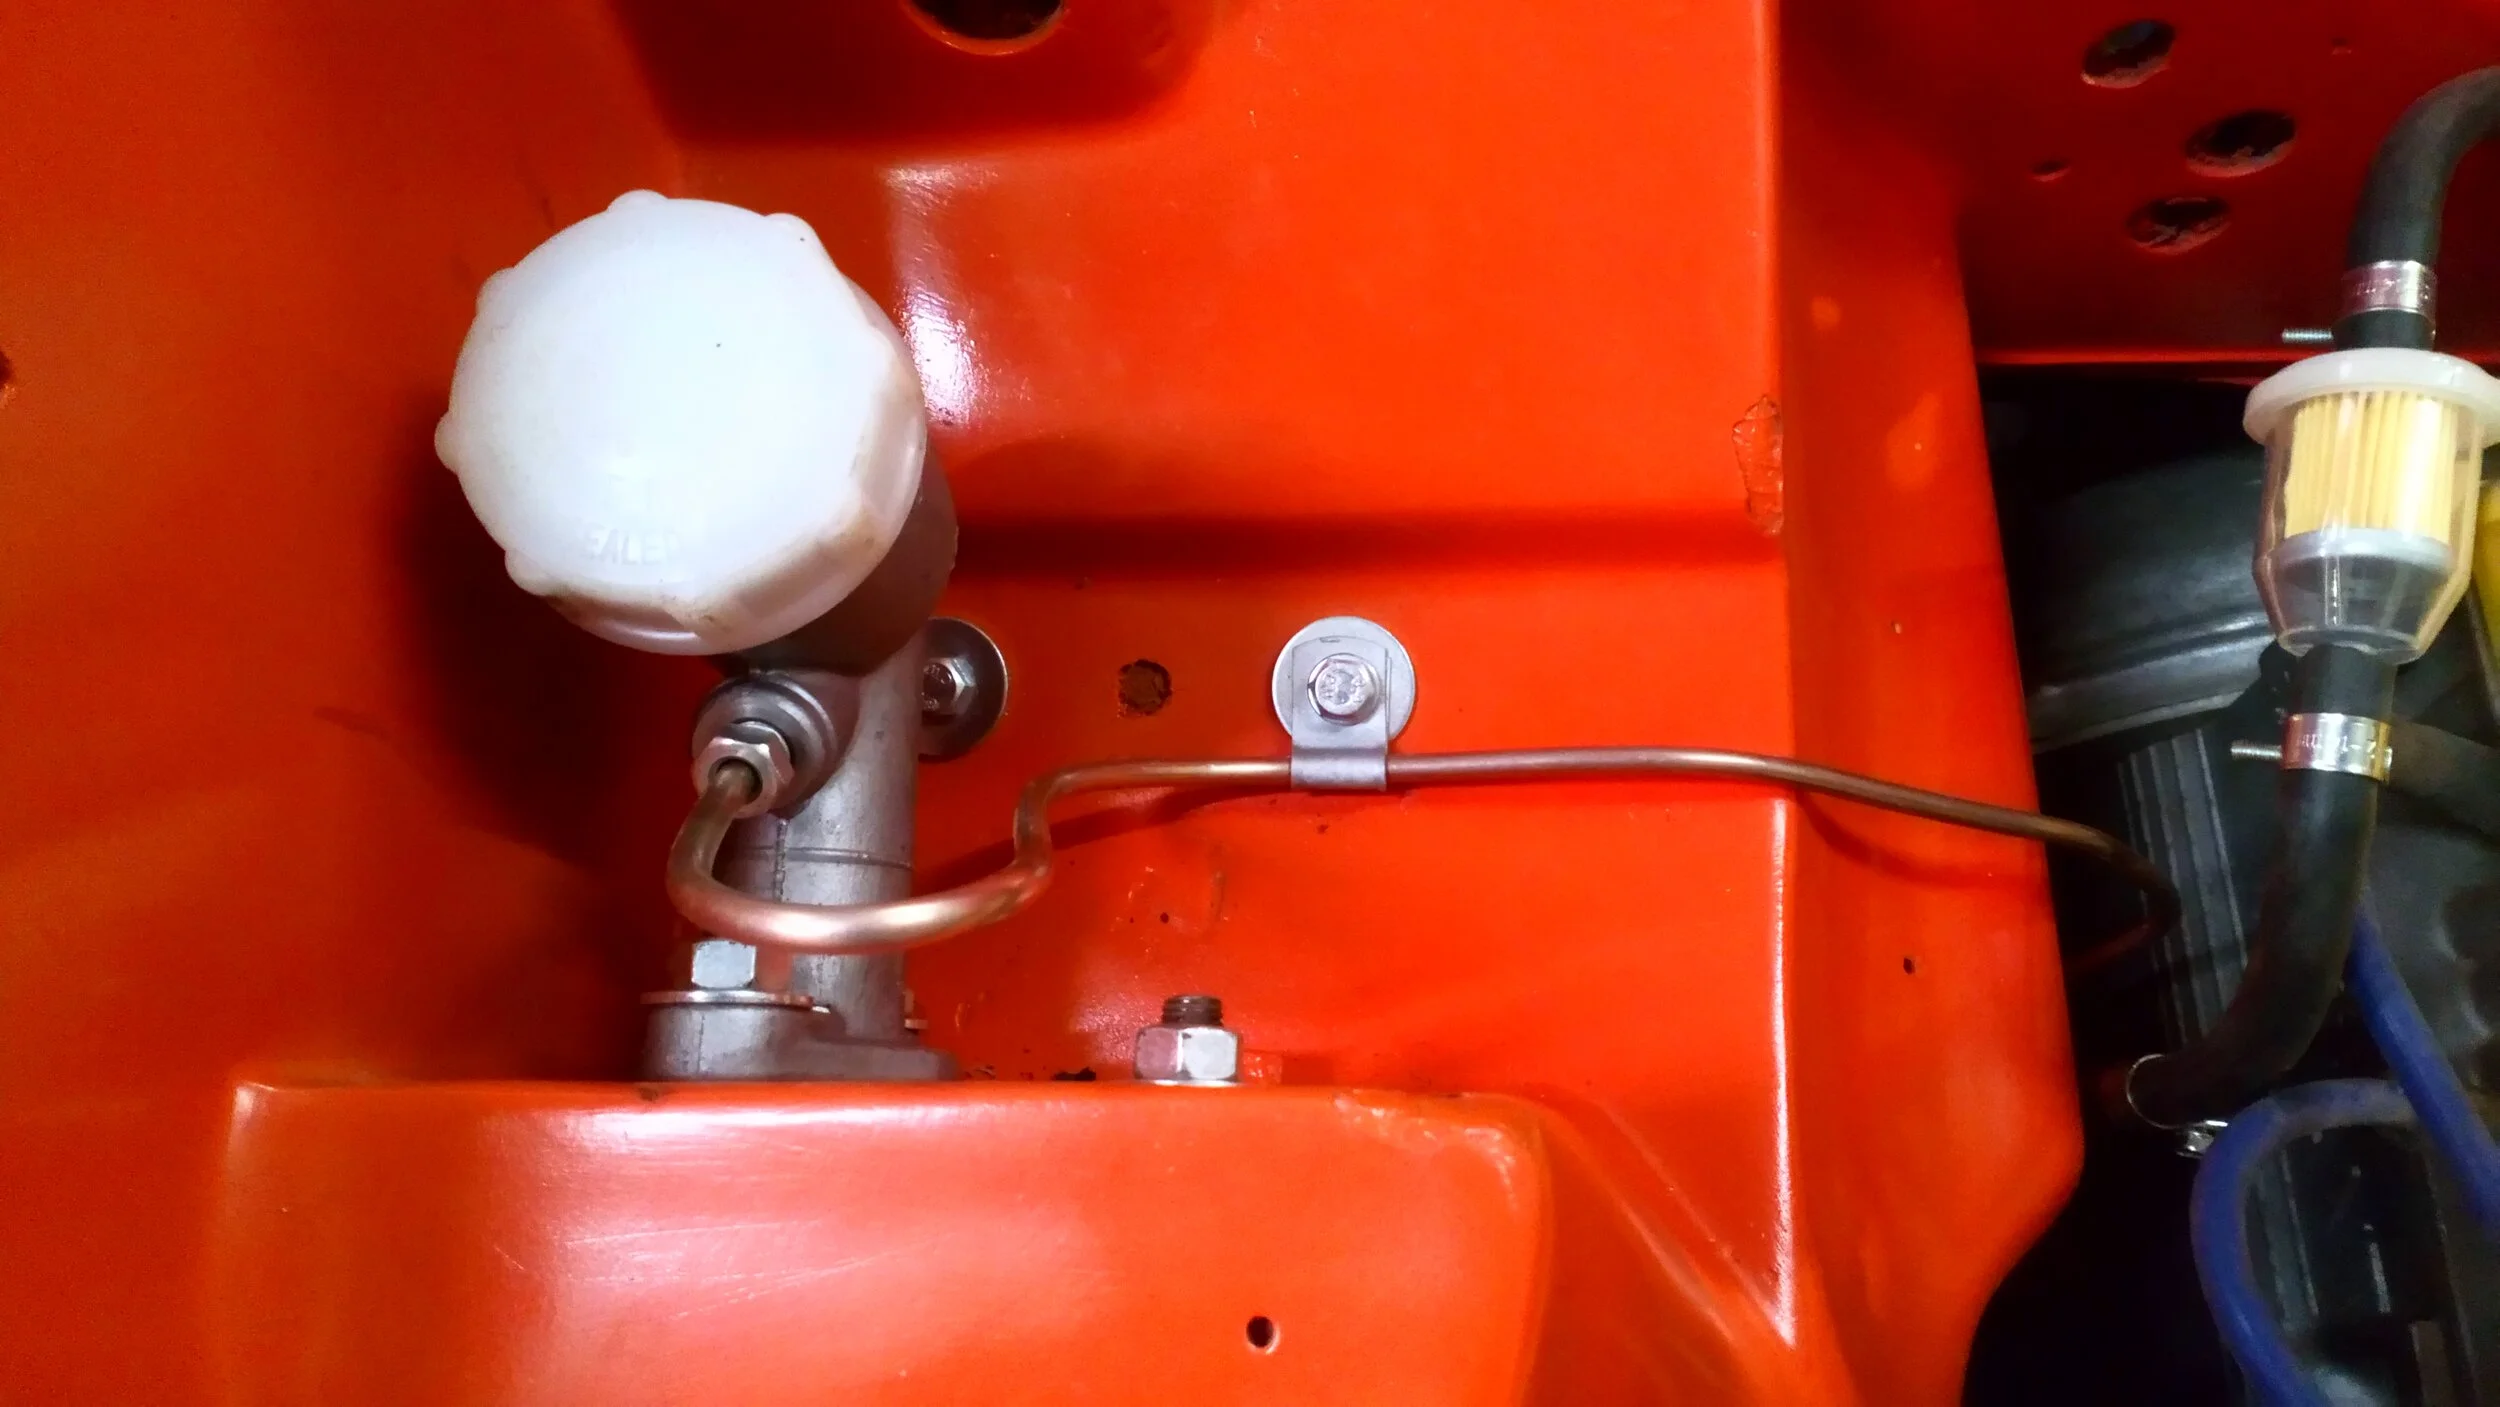
Here the old brake master cylinder is swapped for a new one. The correct push-rod from the old cylinder was fitted to the new cylinder.
A new brake pipe was made up to connect to the all-new system on the chassis.
The coil bracket was painted and fitted.
The new accelerator cable needed a new swivel to connect it to the carburettor lever so I made a small split screw to accept the cable.
Well, that’s all for the moment. stay well everyone and …
Stay tuned