A Groovy Body: fibre-glass repairs to the Kitten: Part 6
While this project is being done to a good standard, it is not a ‘concours’ restoration: making everything exactly as the car left the factory is often prohibitively expensive. For example, chassis repairs did not have their welds ground flat except where clearance for the body was required. Non-original parts have been used and many of the fastenings are now metric instead of imperial. Pipework and wiring will not follow the same paths as the originals (not that I had an original for reference) and many jobs will be done to be good and adequate rather than exactly as original.
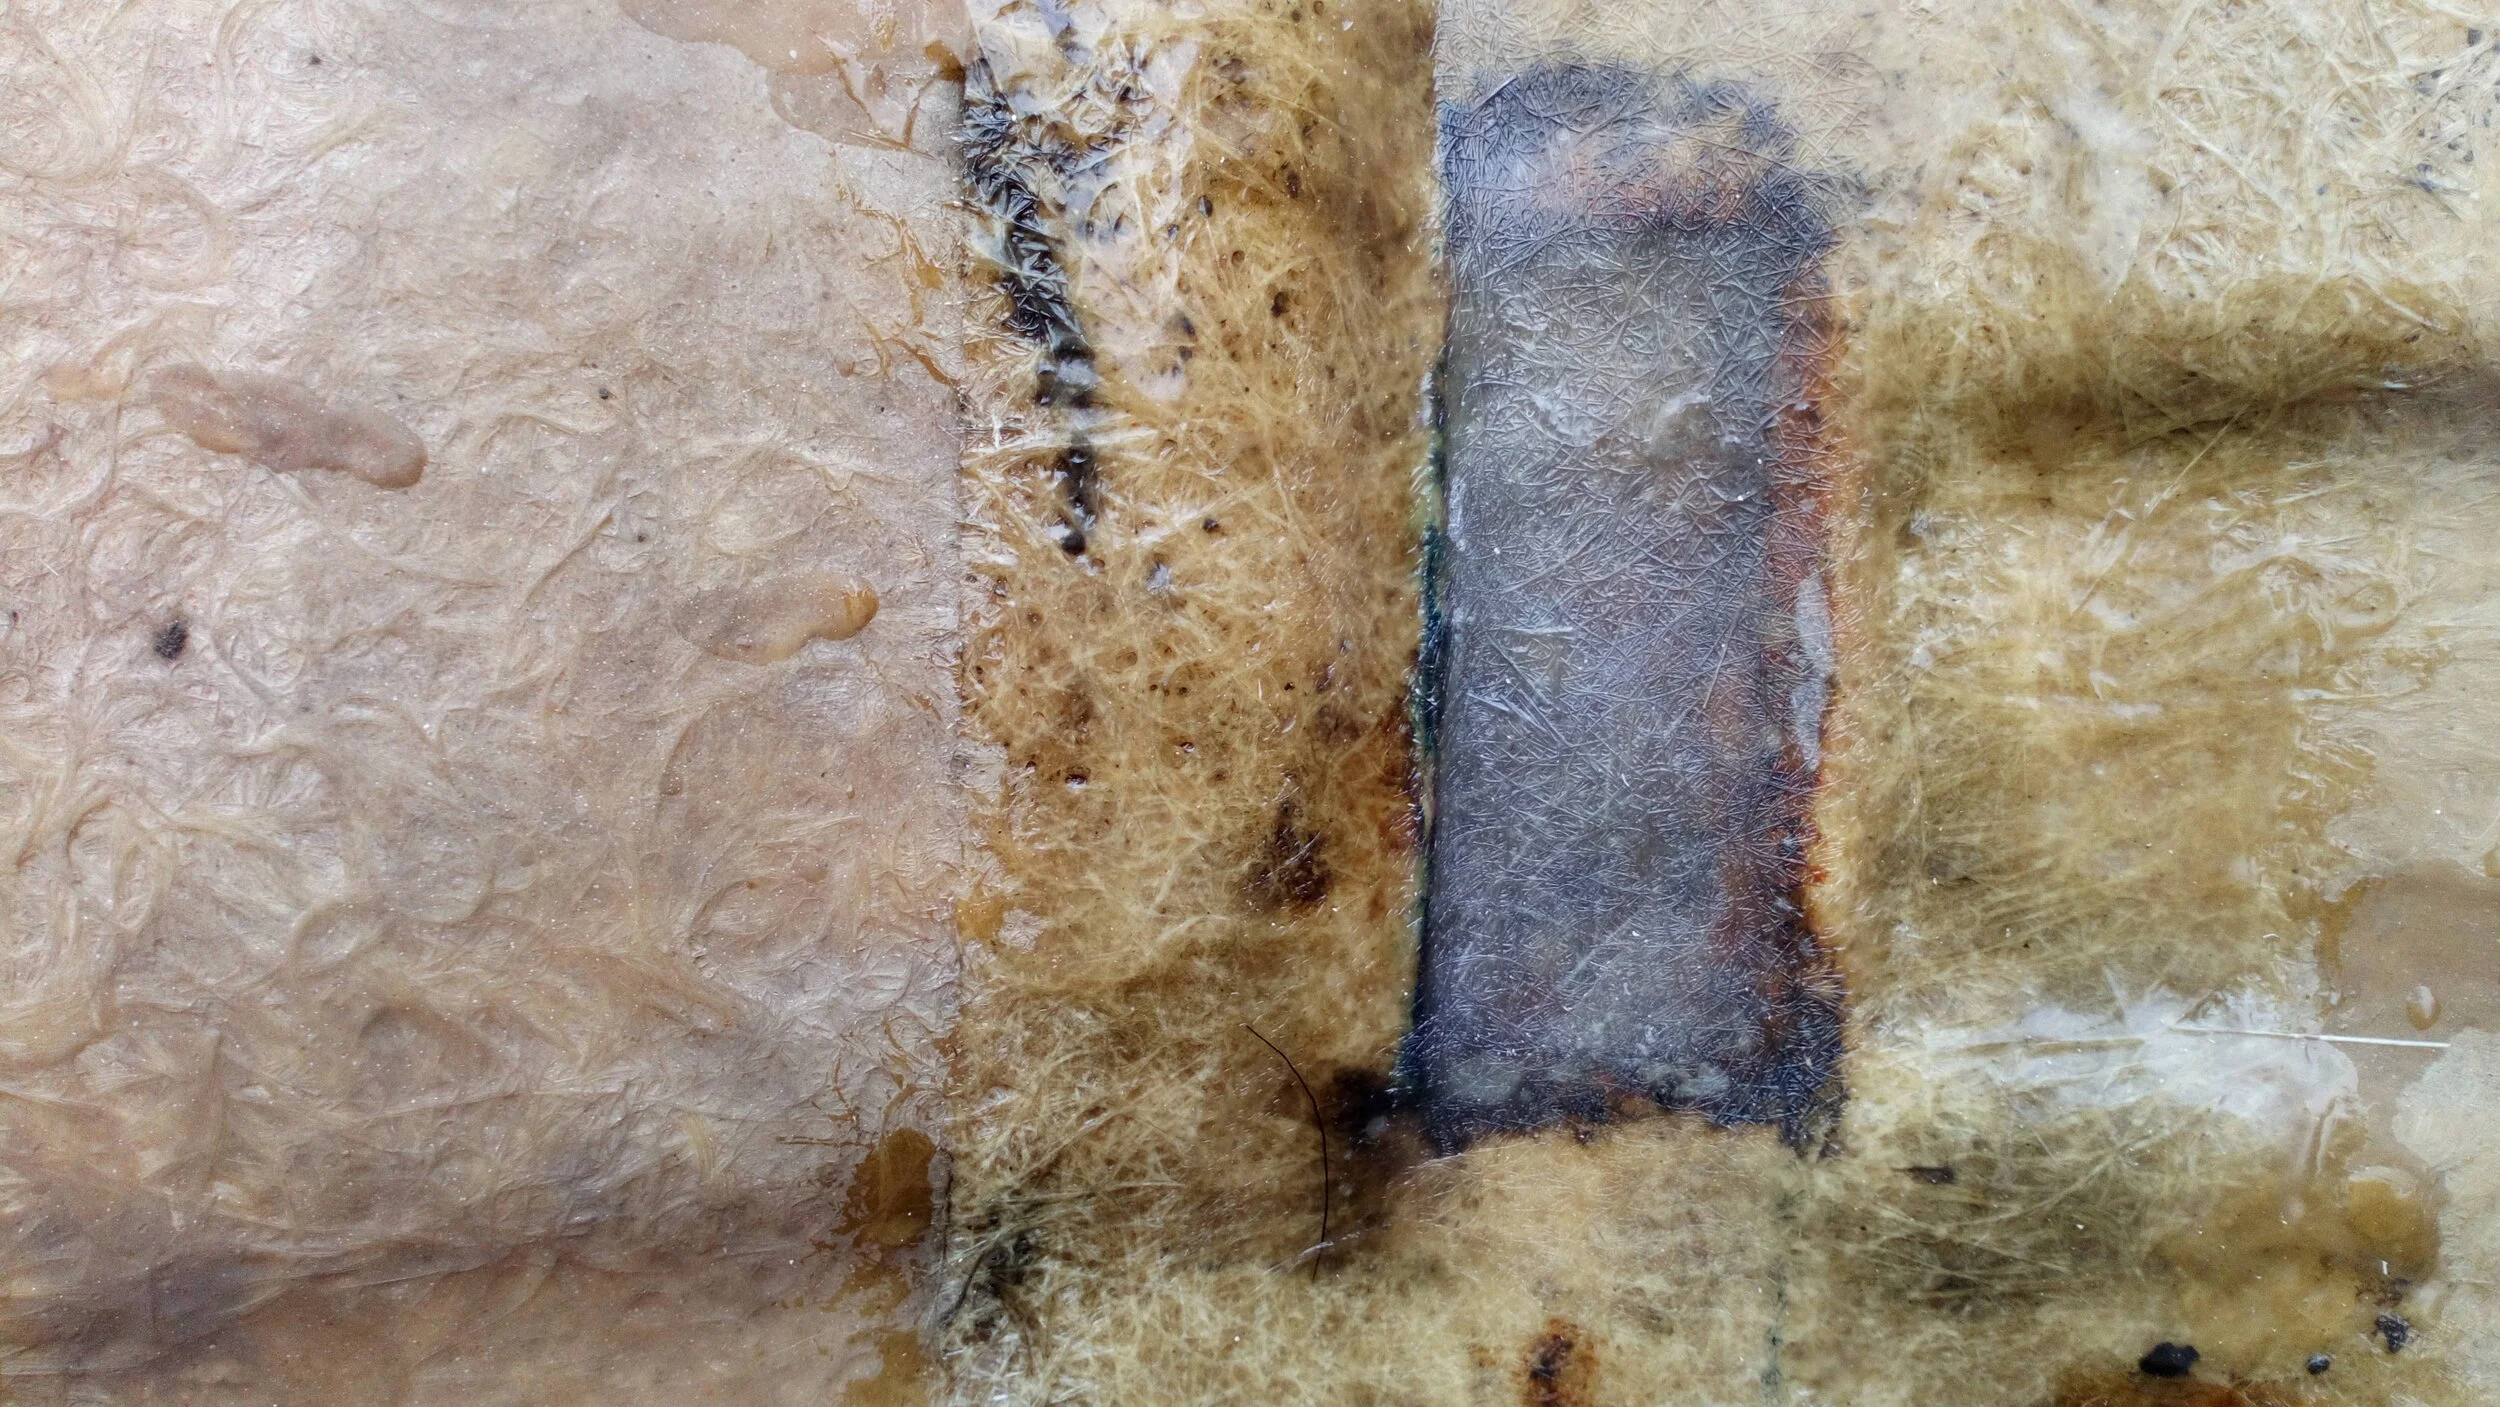
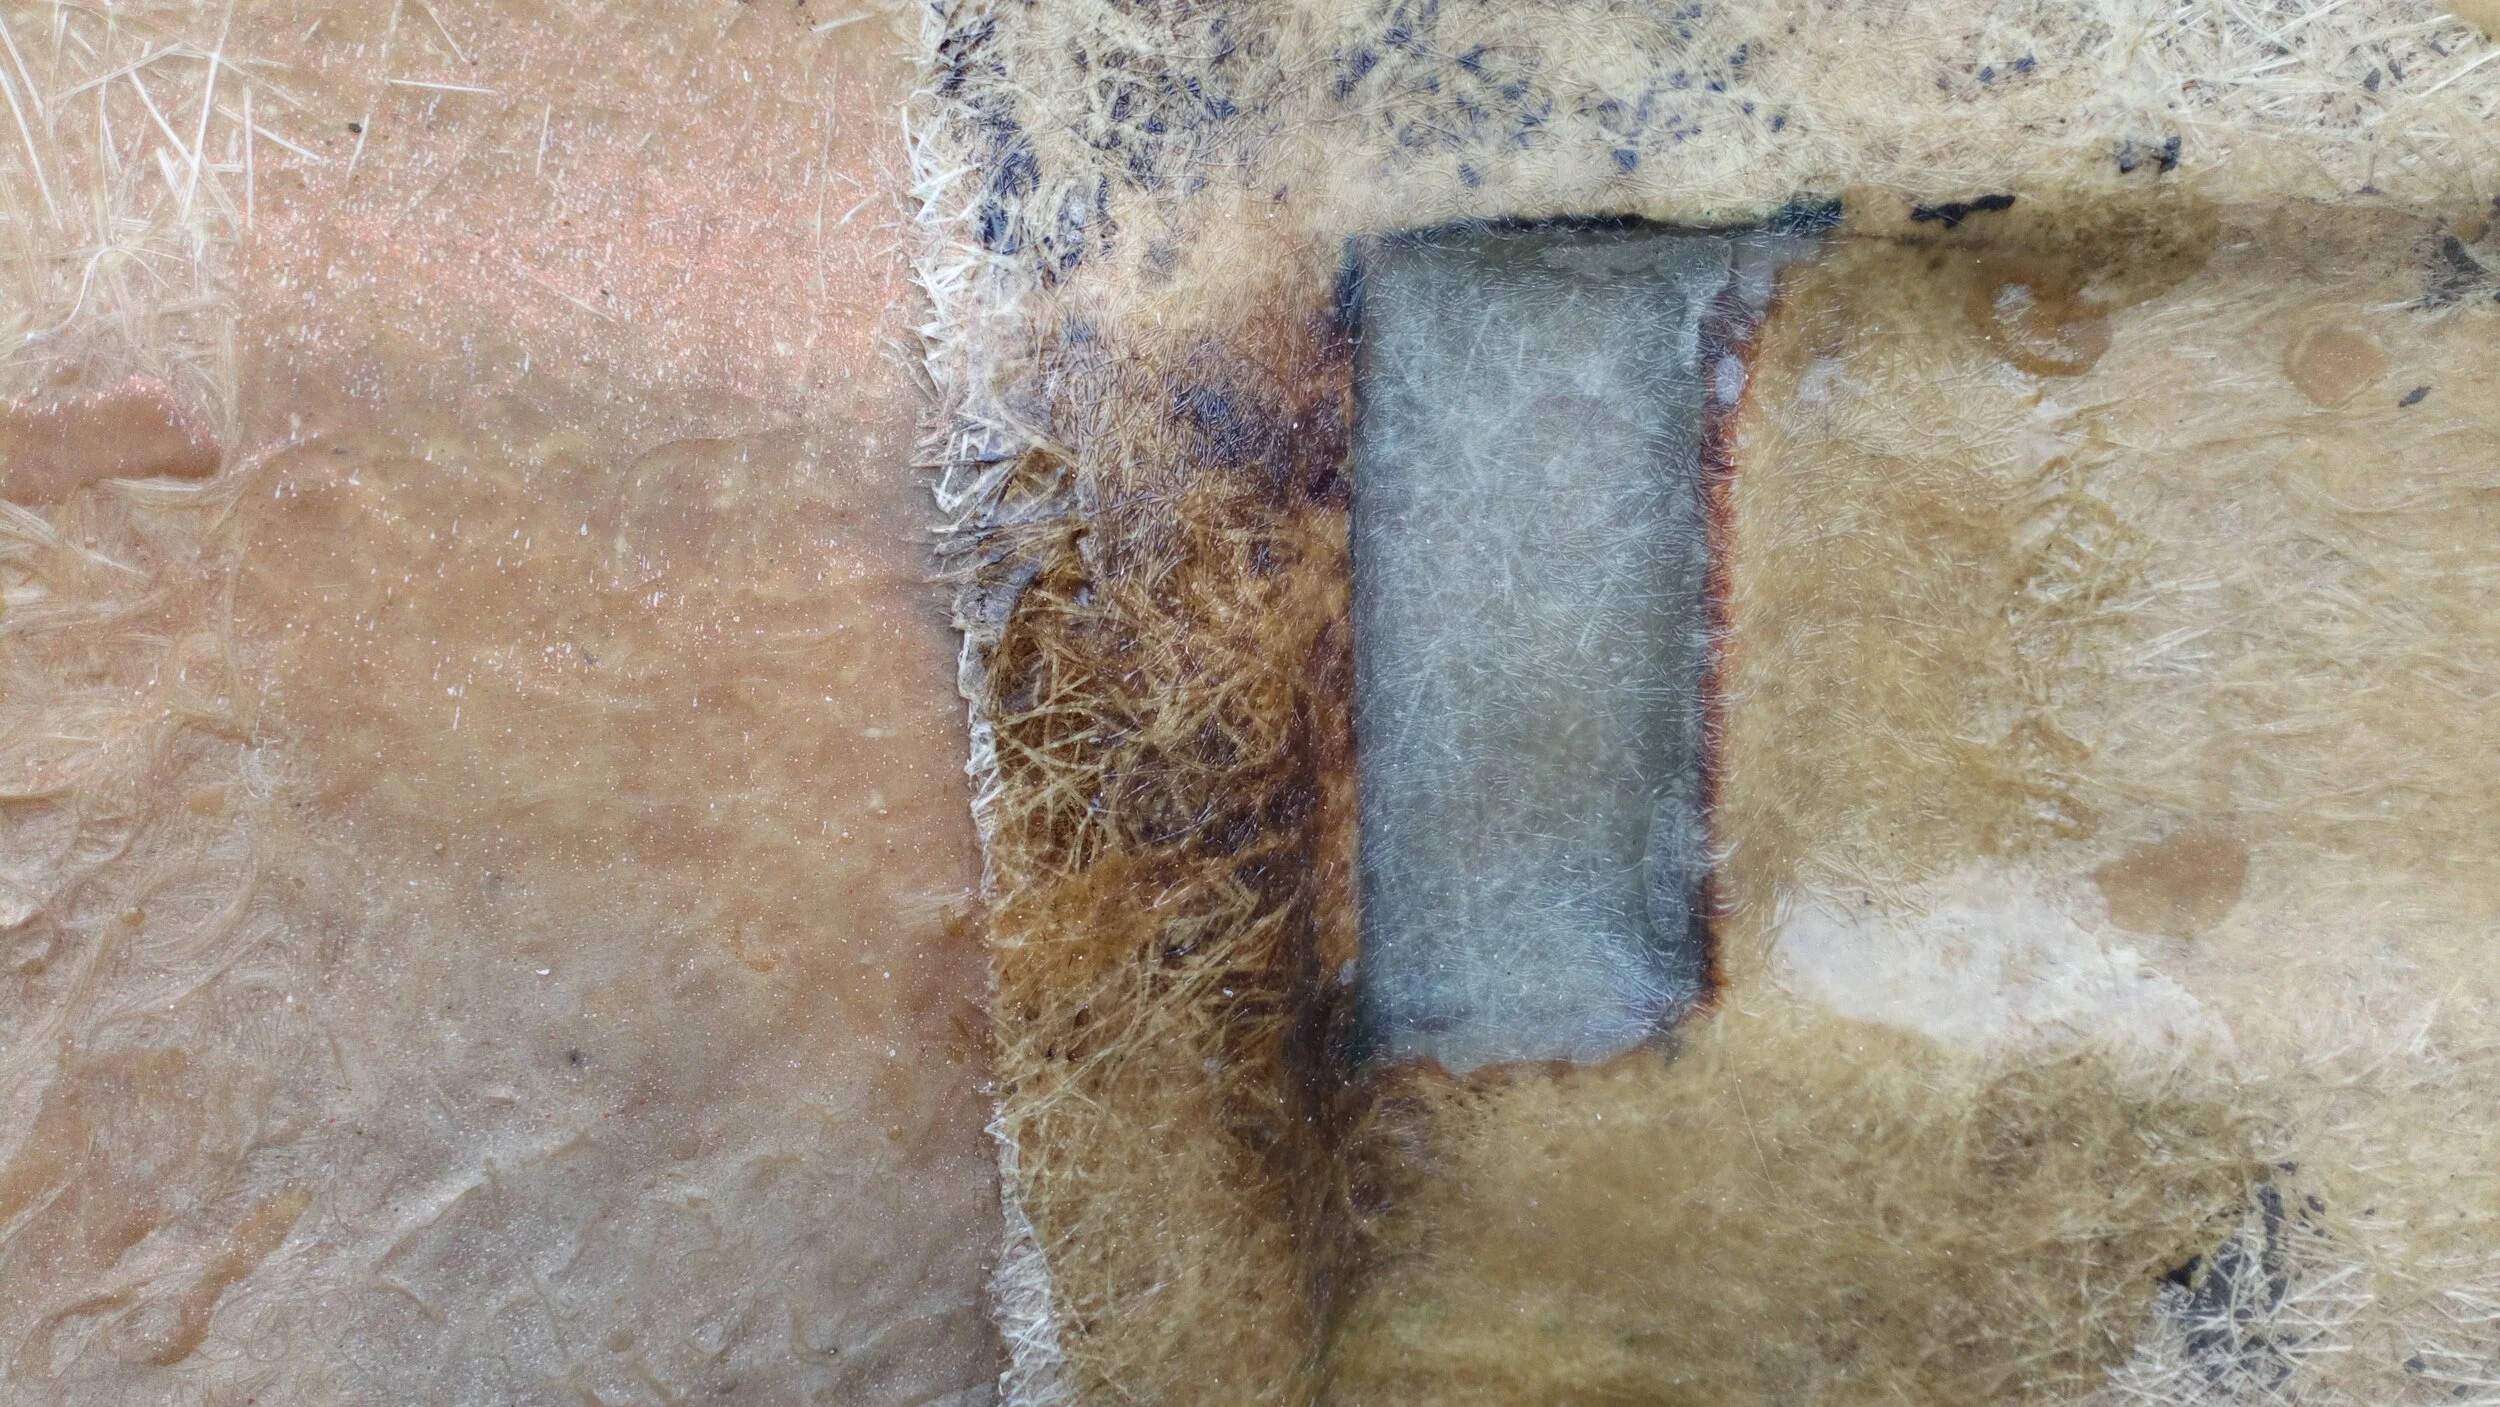
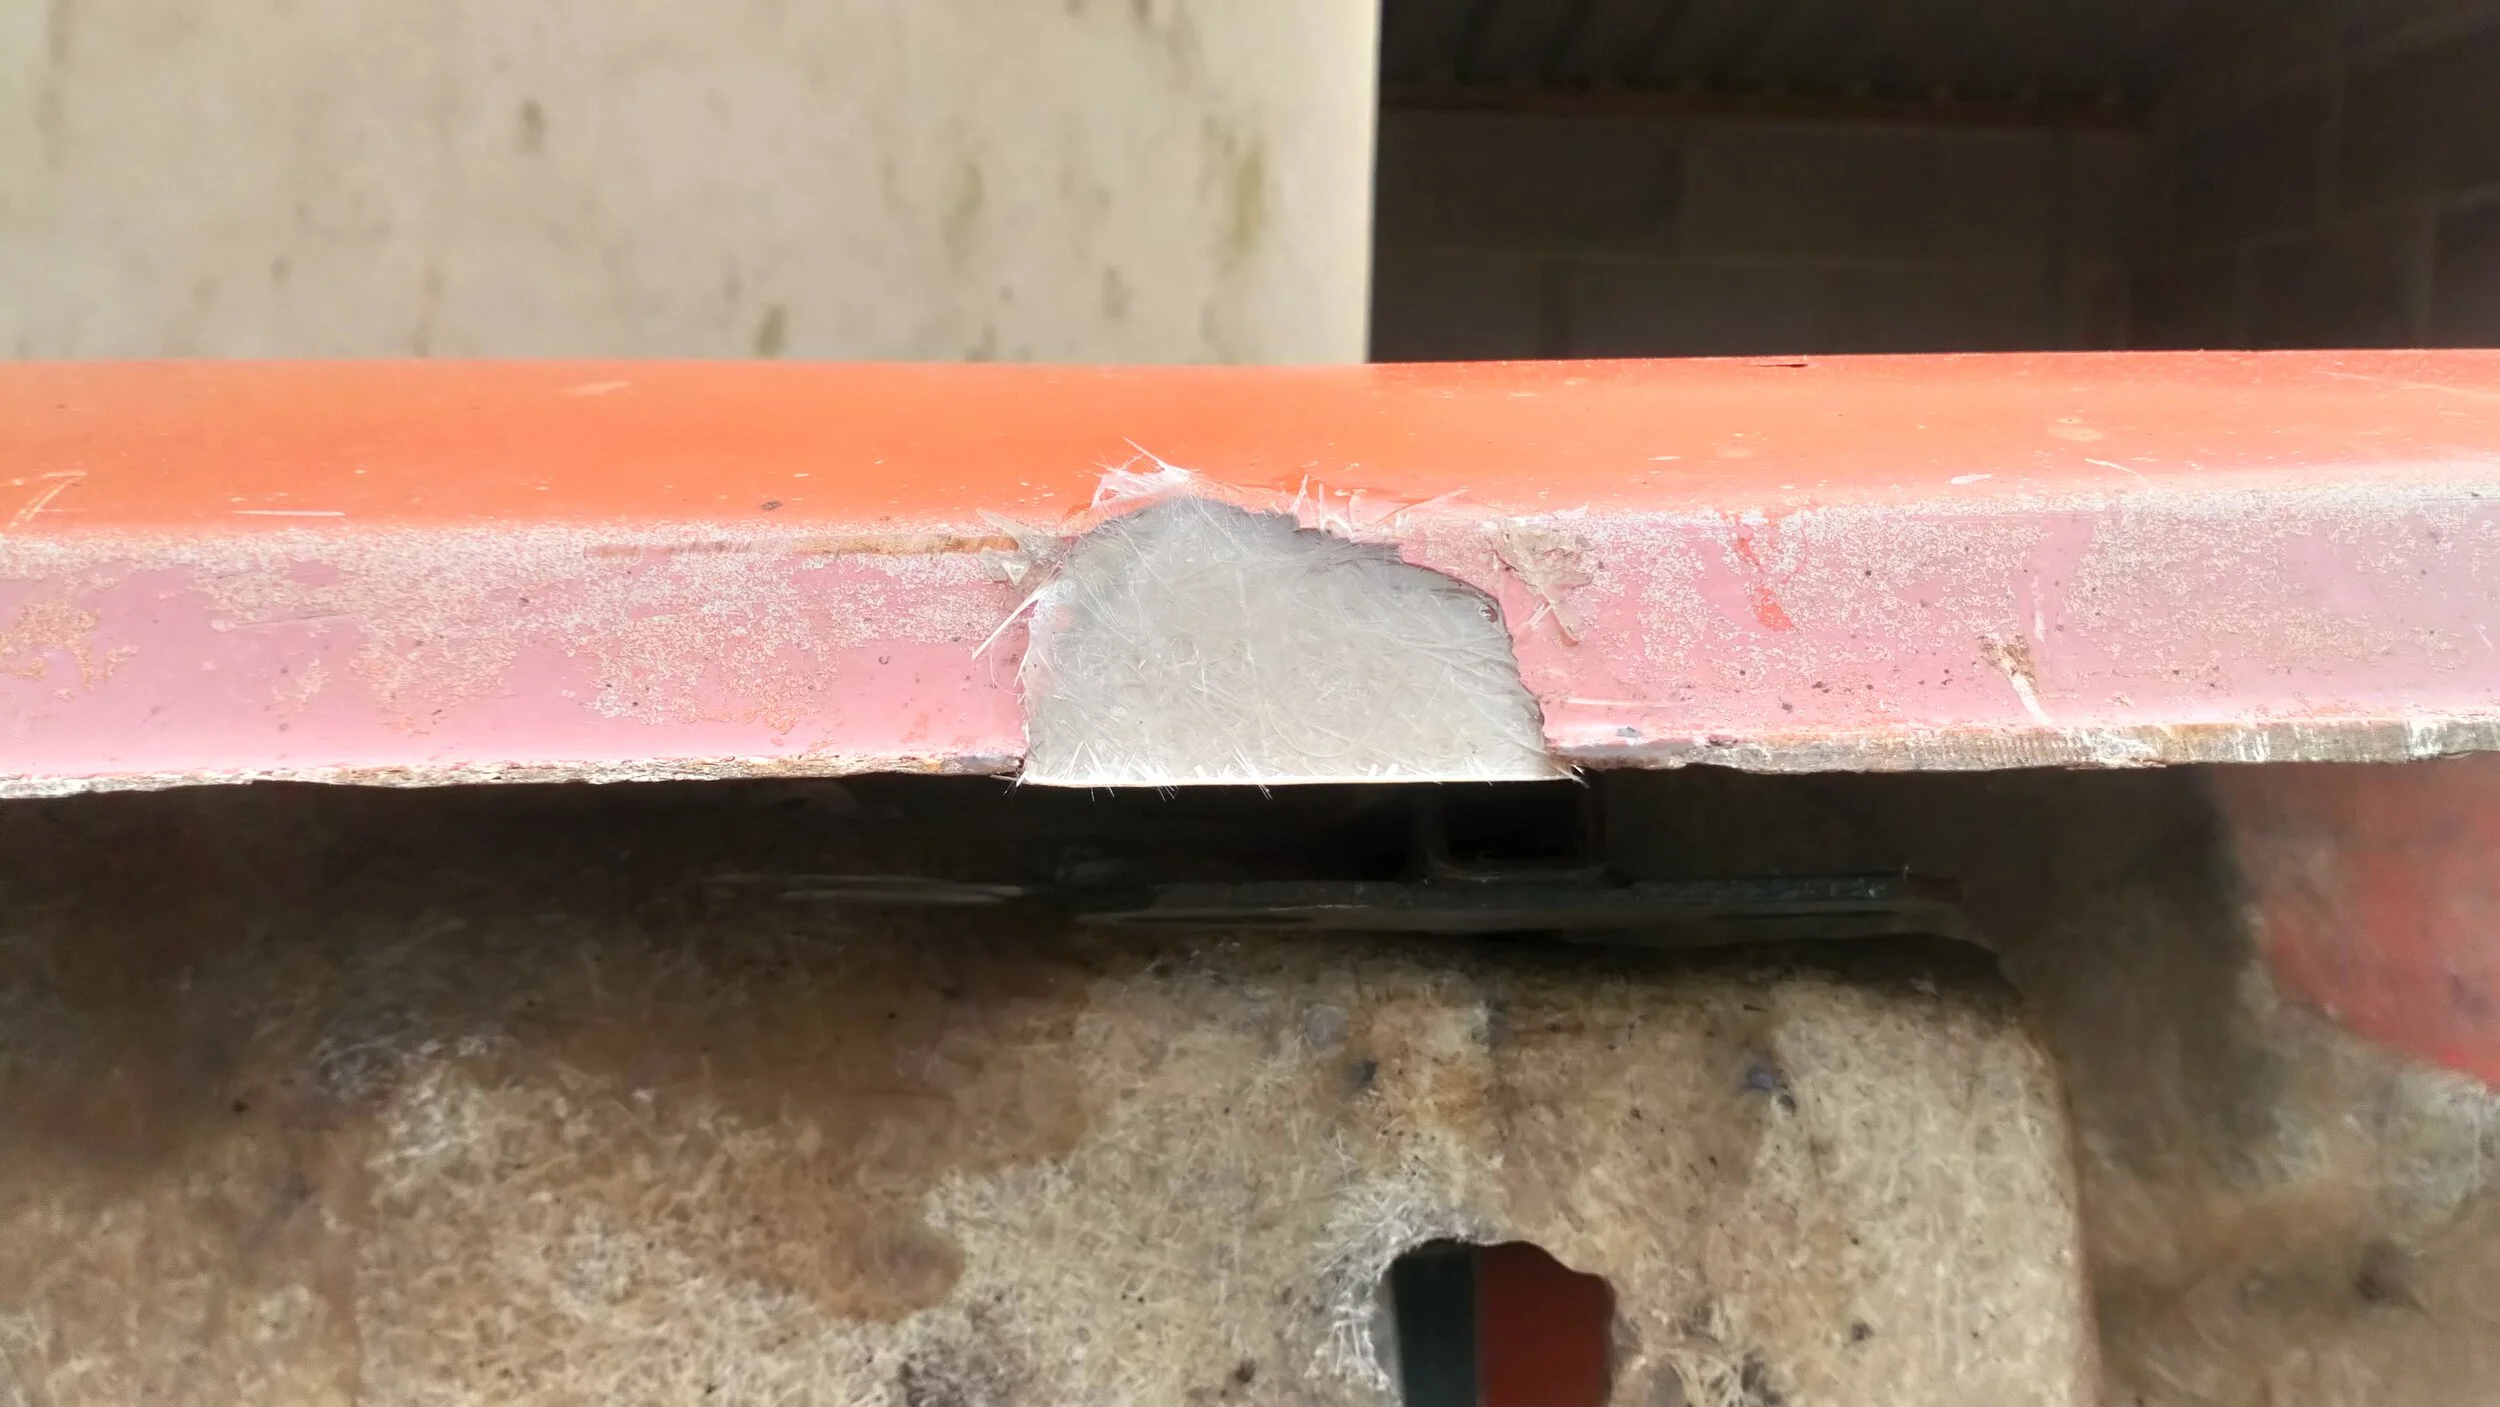
Repairs to the body were done in the spirit of making a good repair but we were not attempting to, for example, replicate the gel-coat. As long as the repair is strong, can be finished well and will hold a decent coat of paint it will be satisfactory and not eye-wateringly expensive. In general terms, all the repairs were treated the same way: loose and broken pieces of fibre-glass were removed and the edges and cracks ground back to good fibre-glass. Where pieces were missing cardboard or clay formers were moulded or taped into position. Layers of resin, glass tissue and glass mat were layed up into the missing shape. Large cracks were treated the same way while small cracks were ground lightly with a tiny burr and filled with resin.
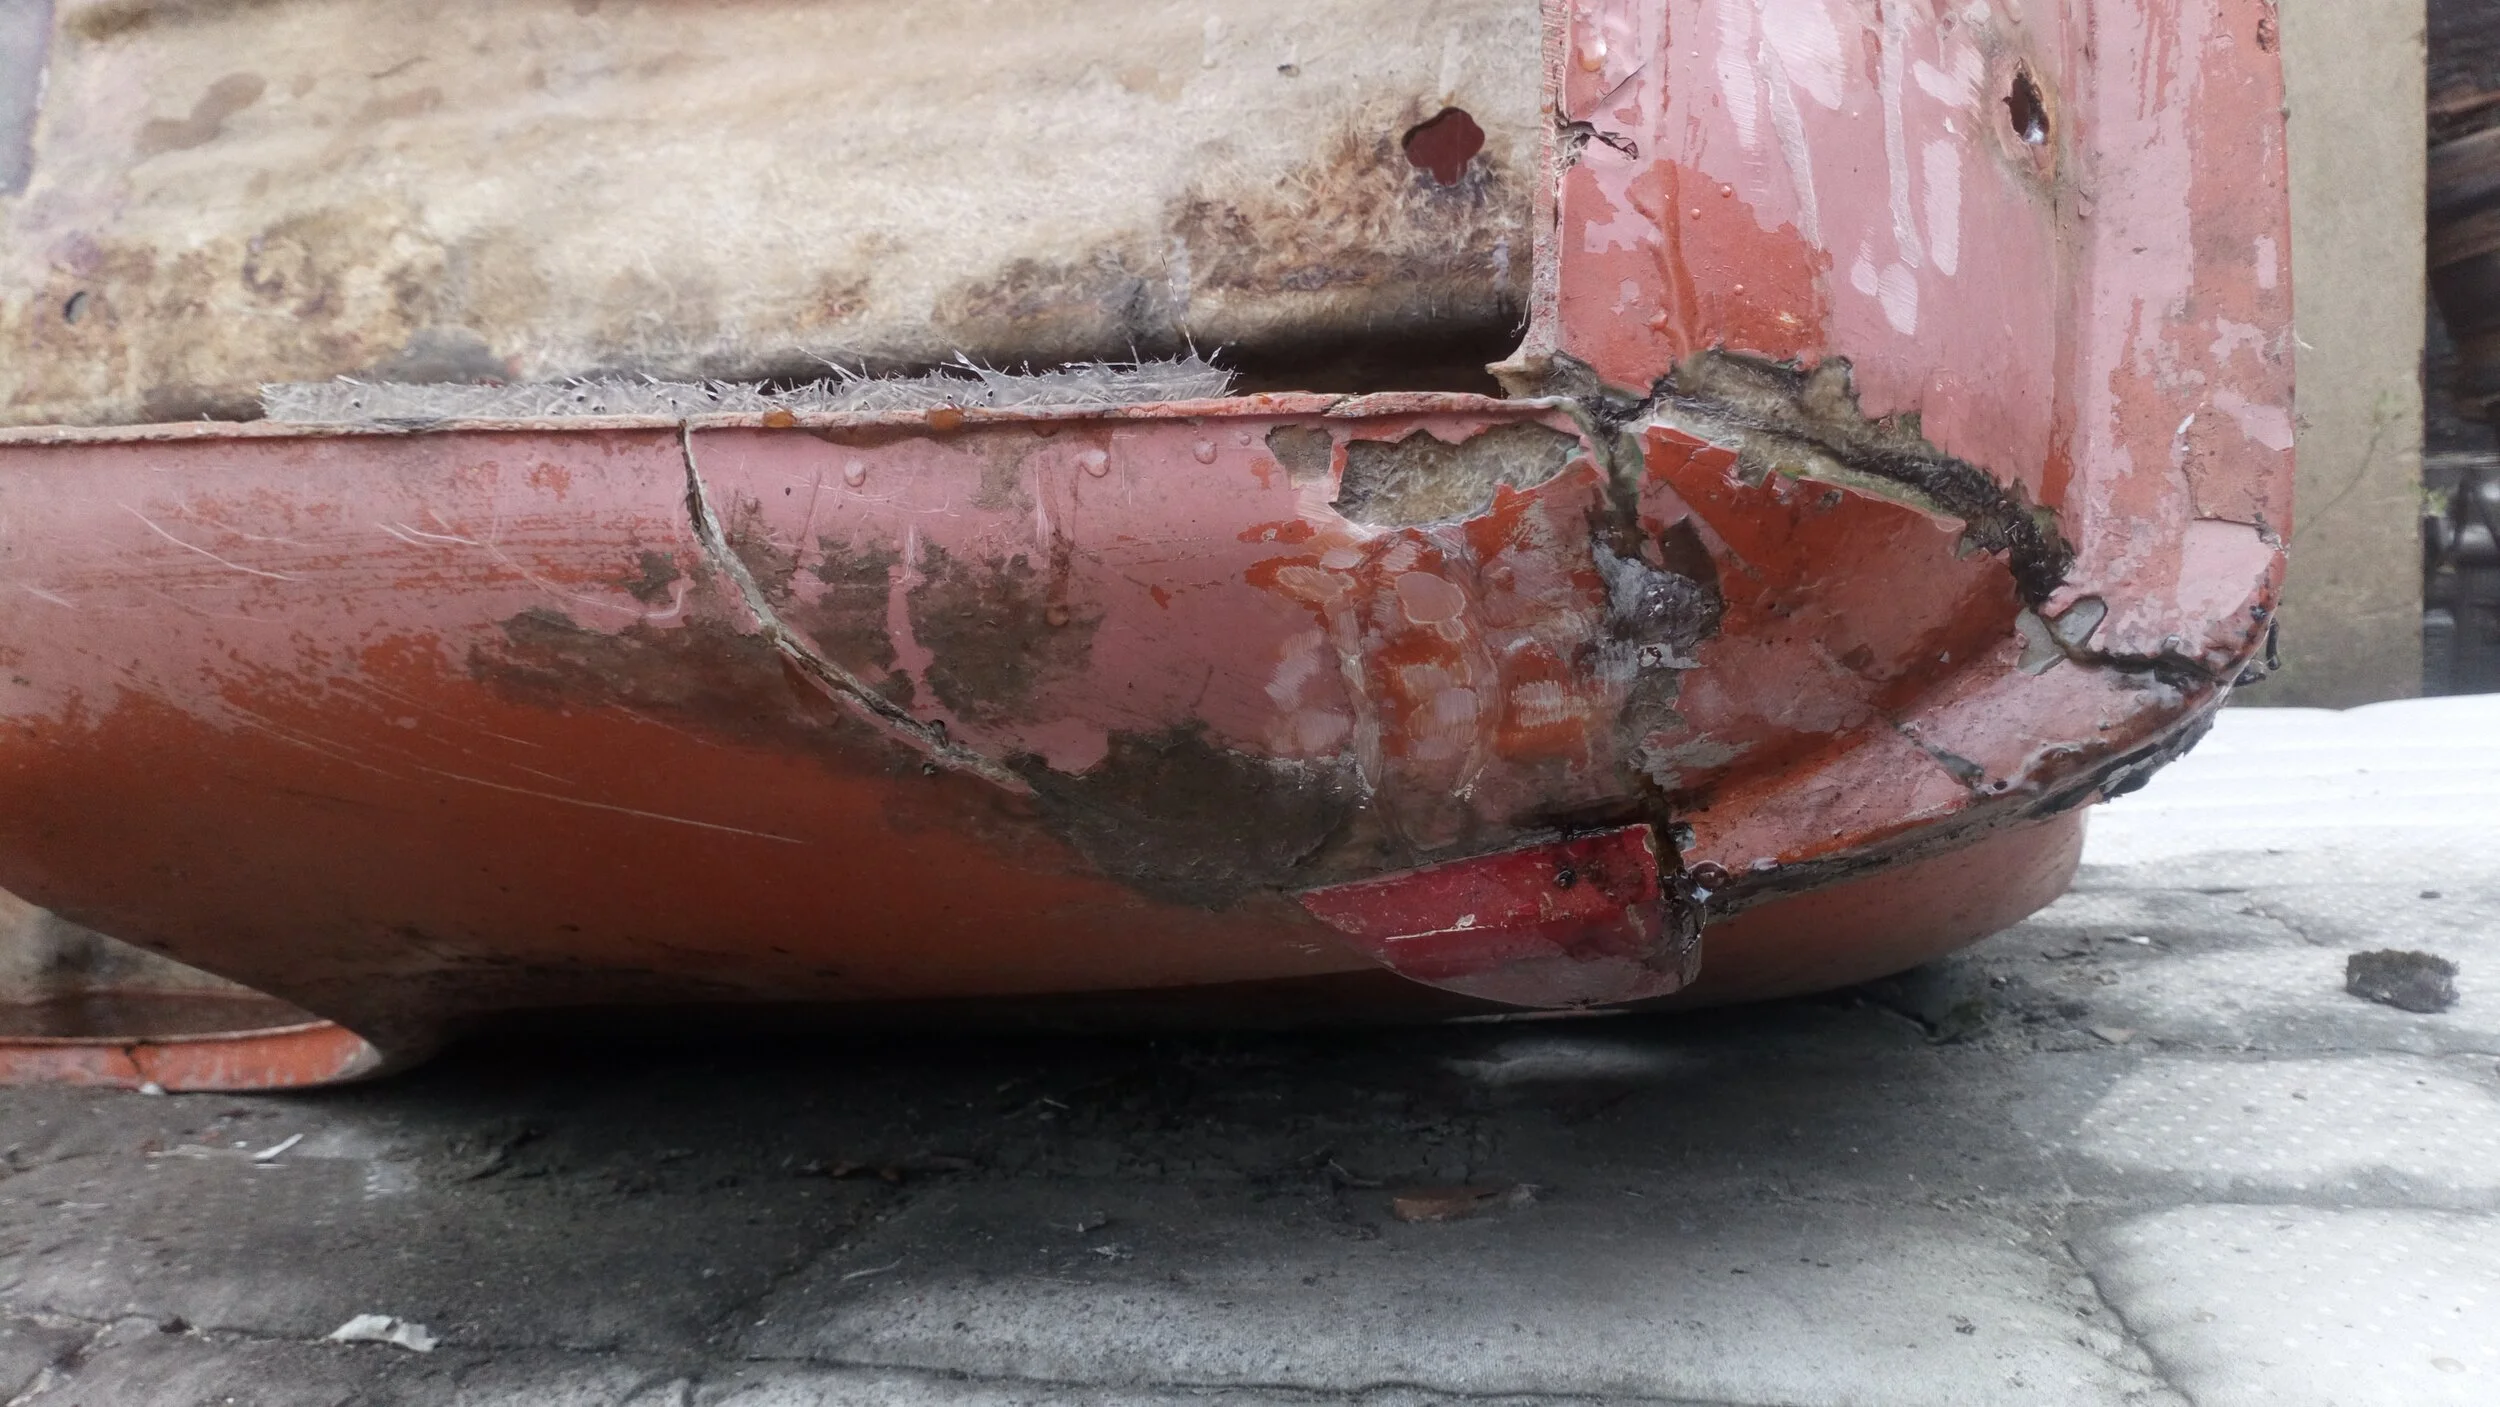
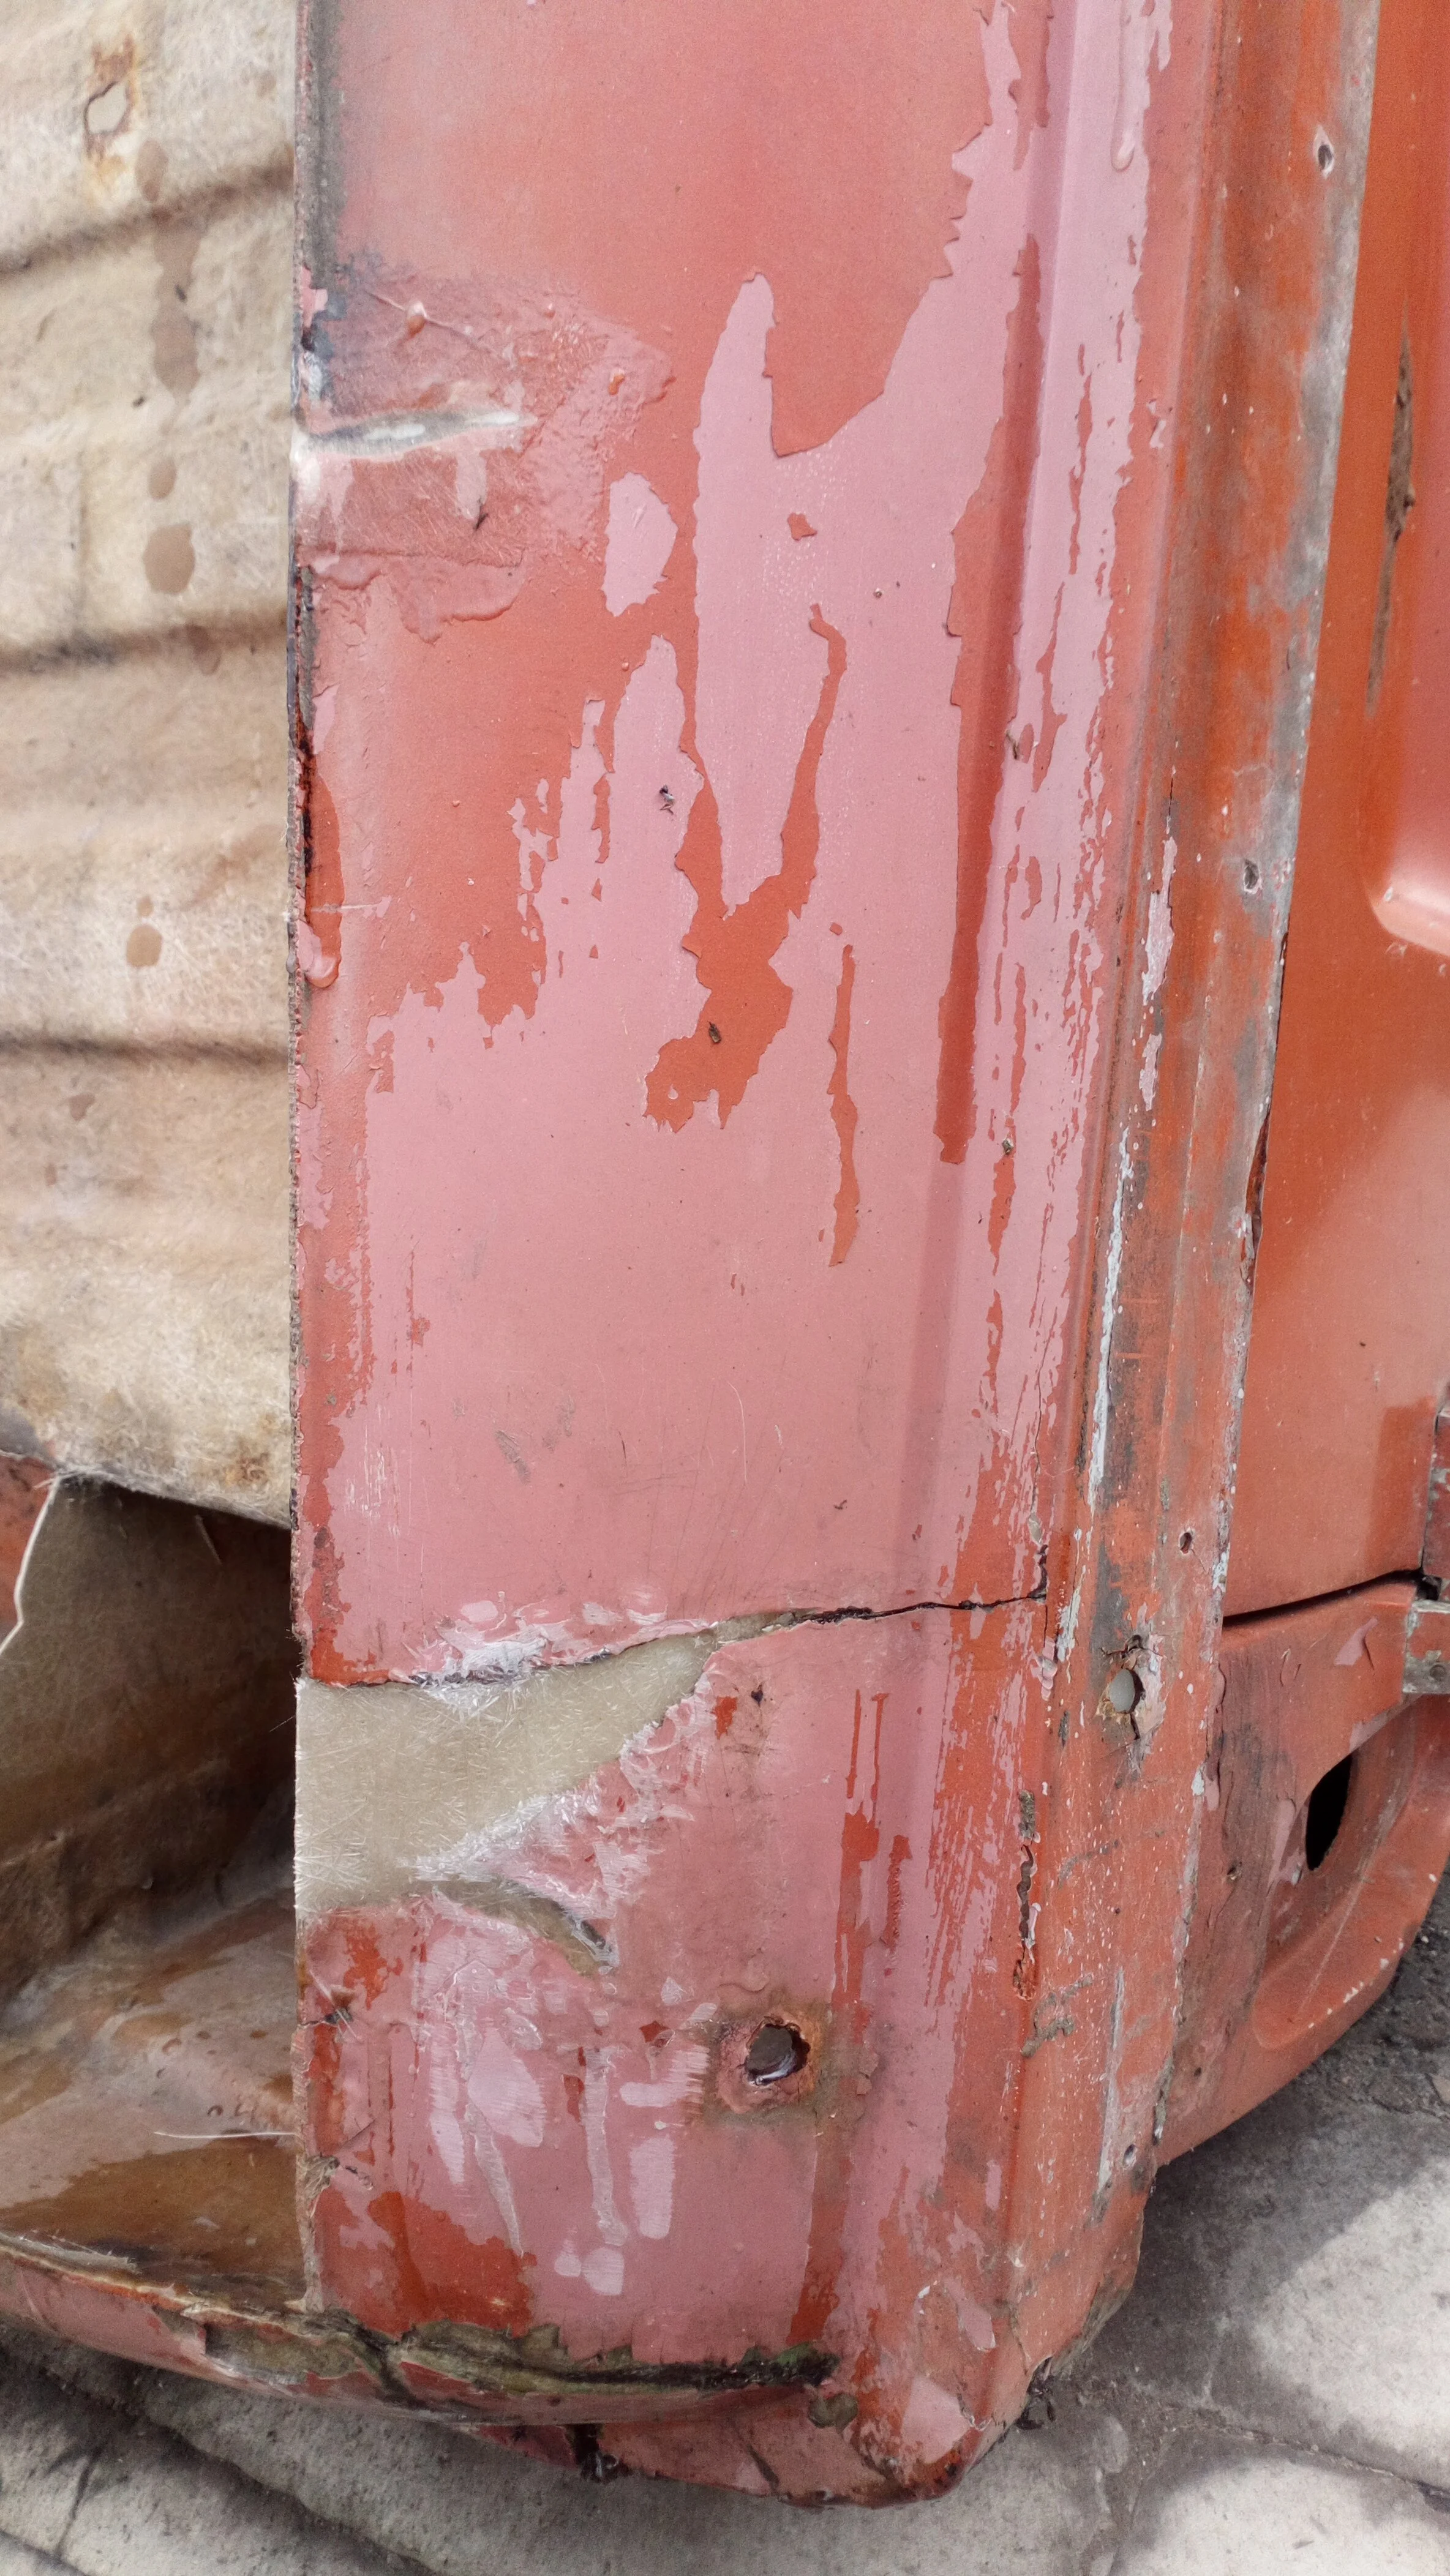
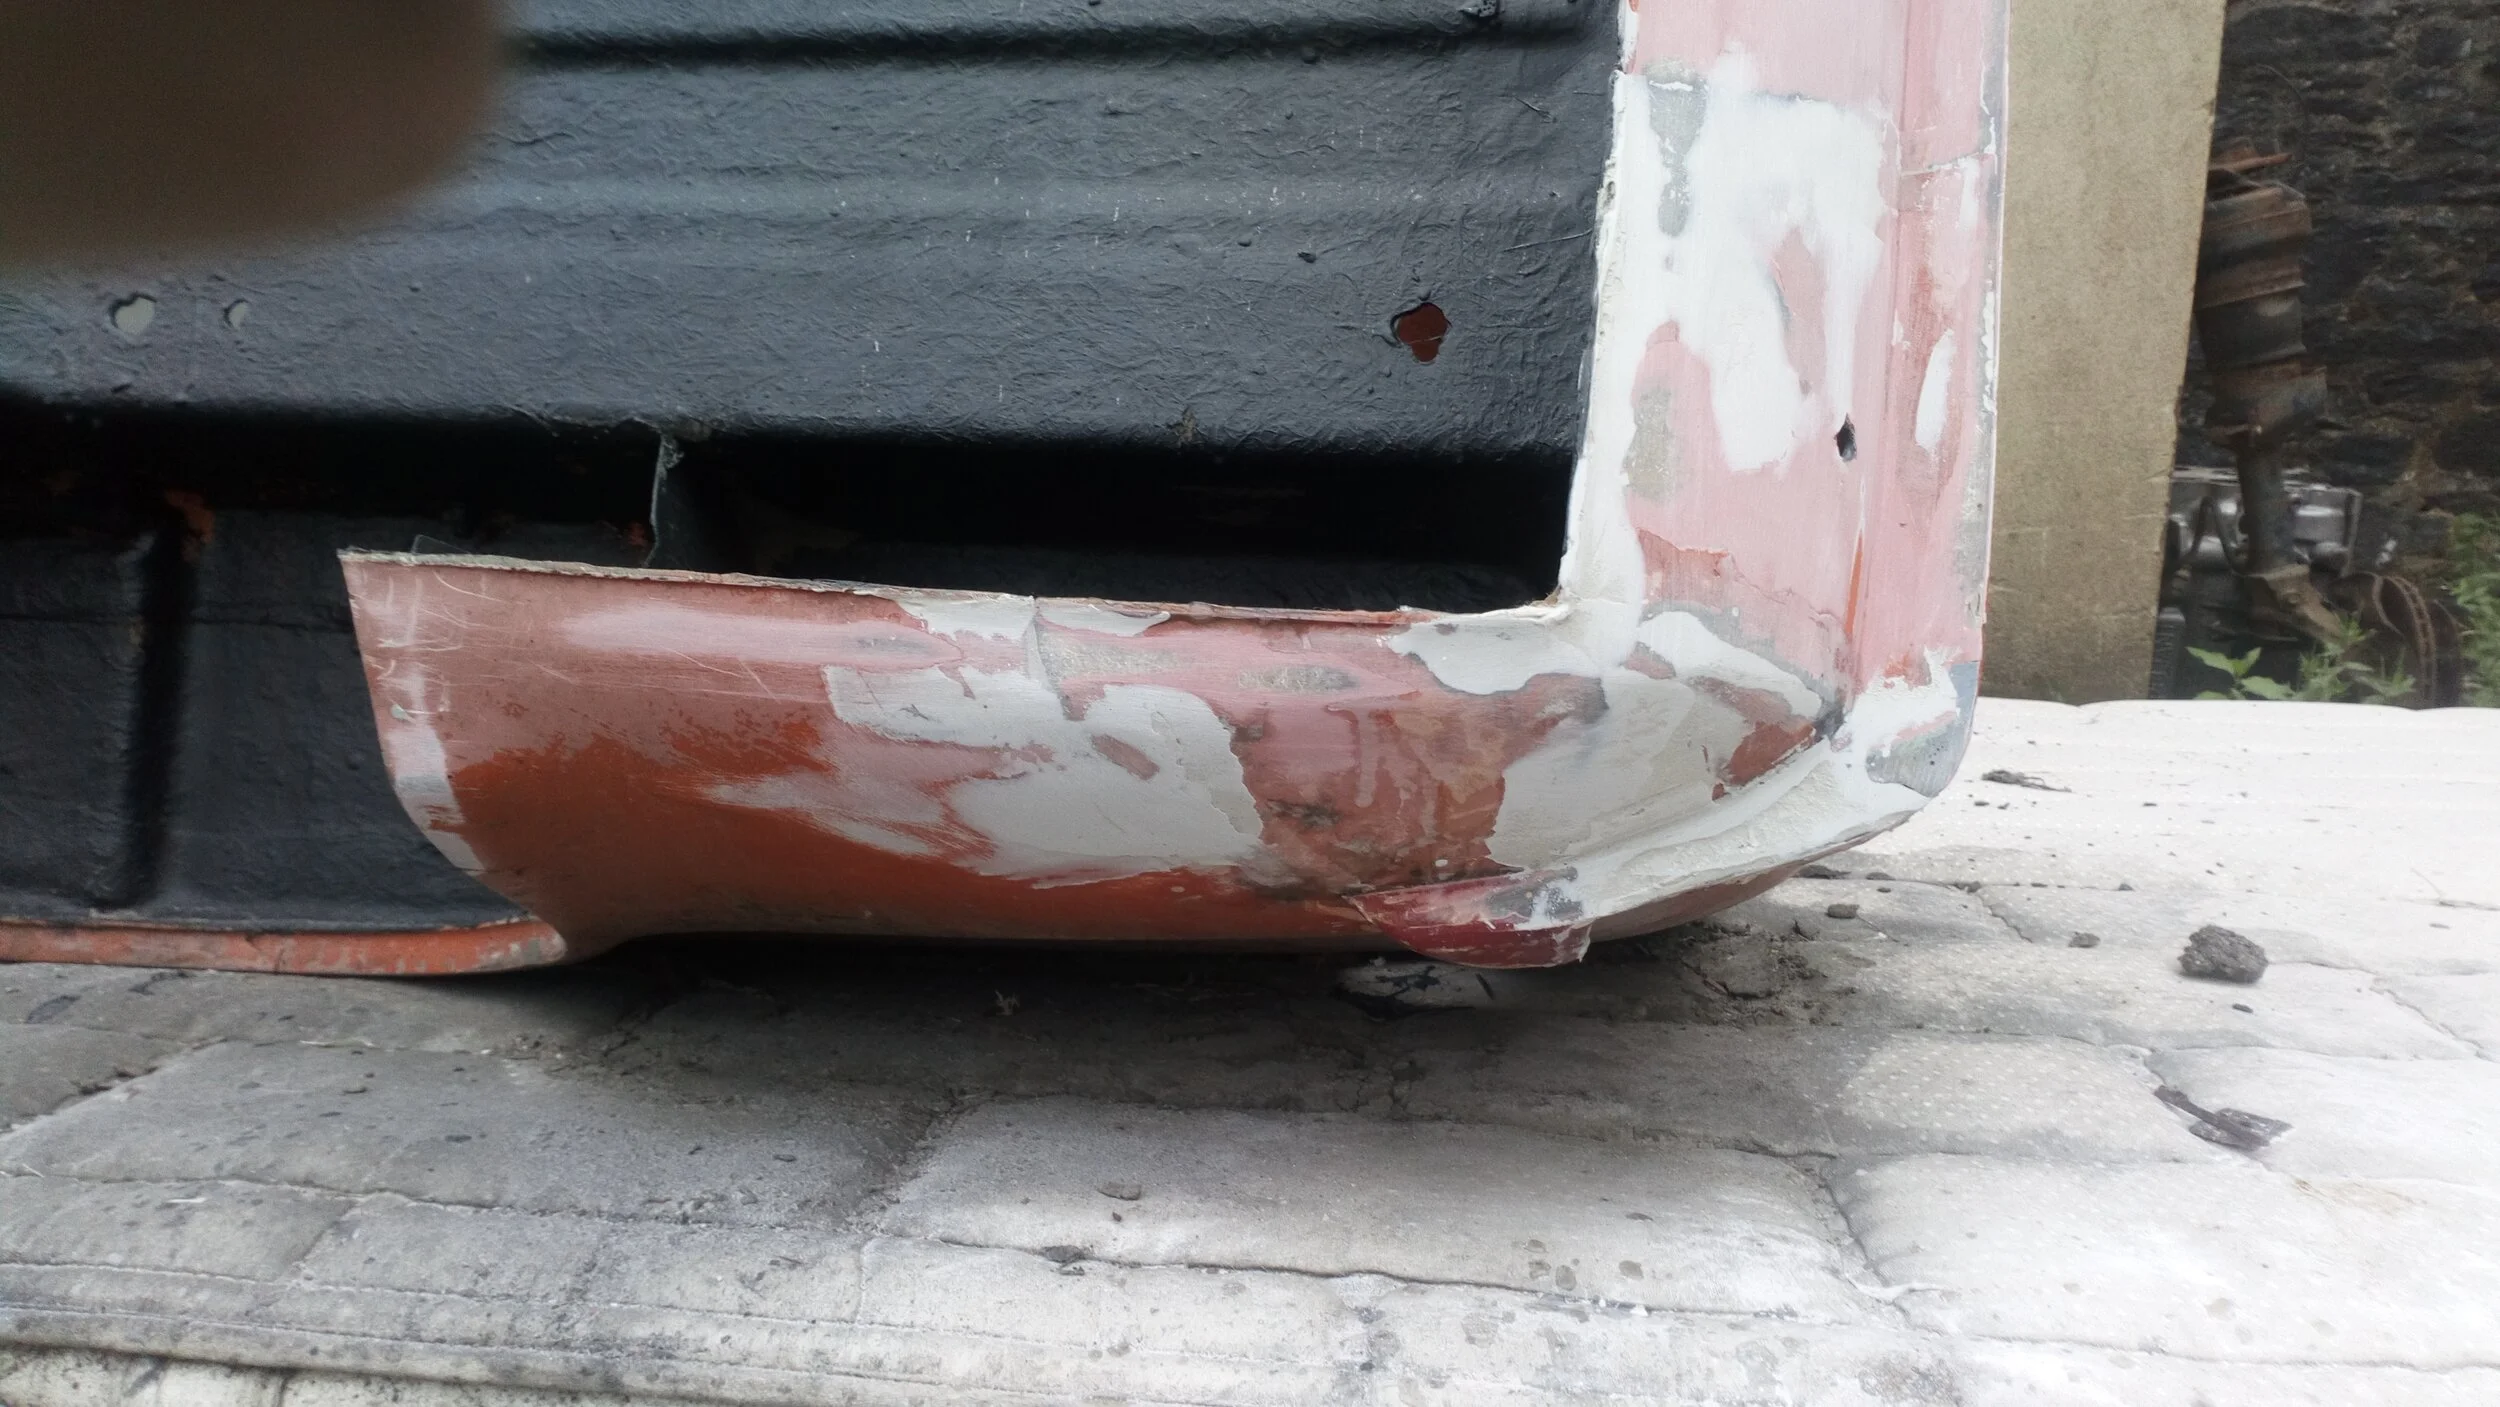
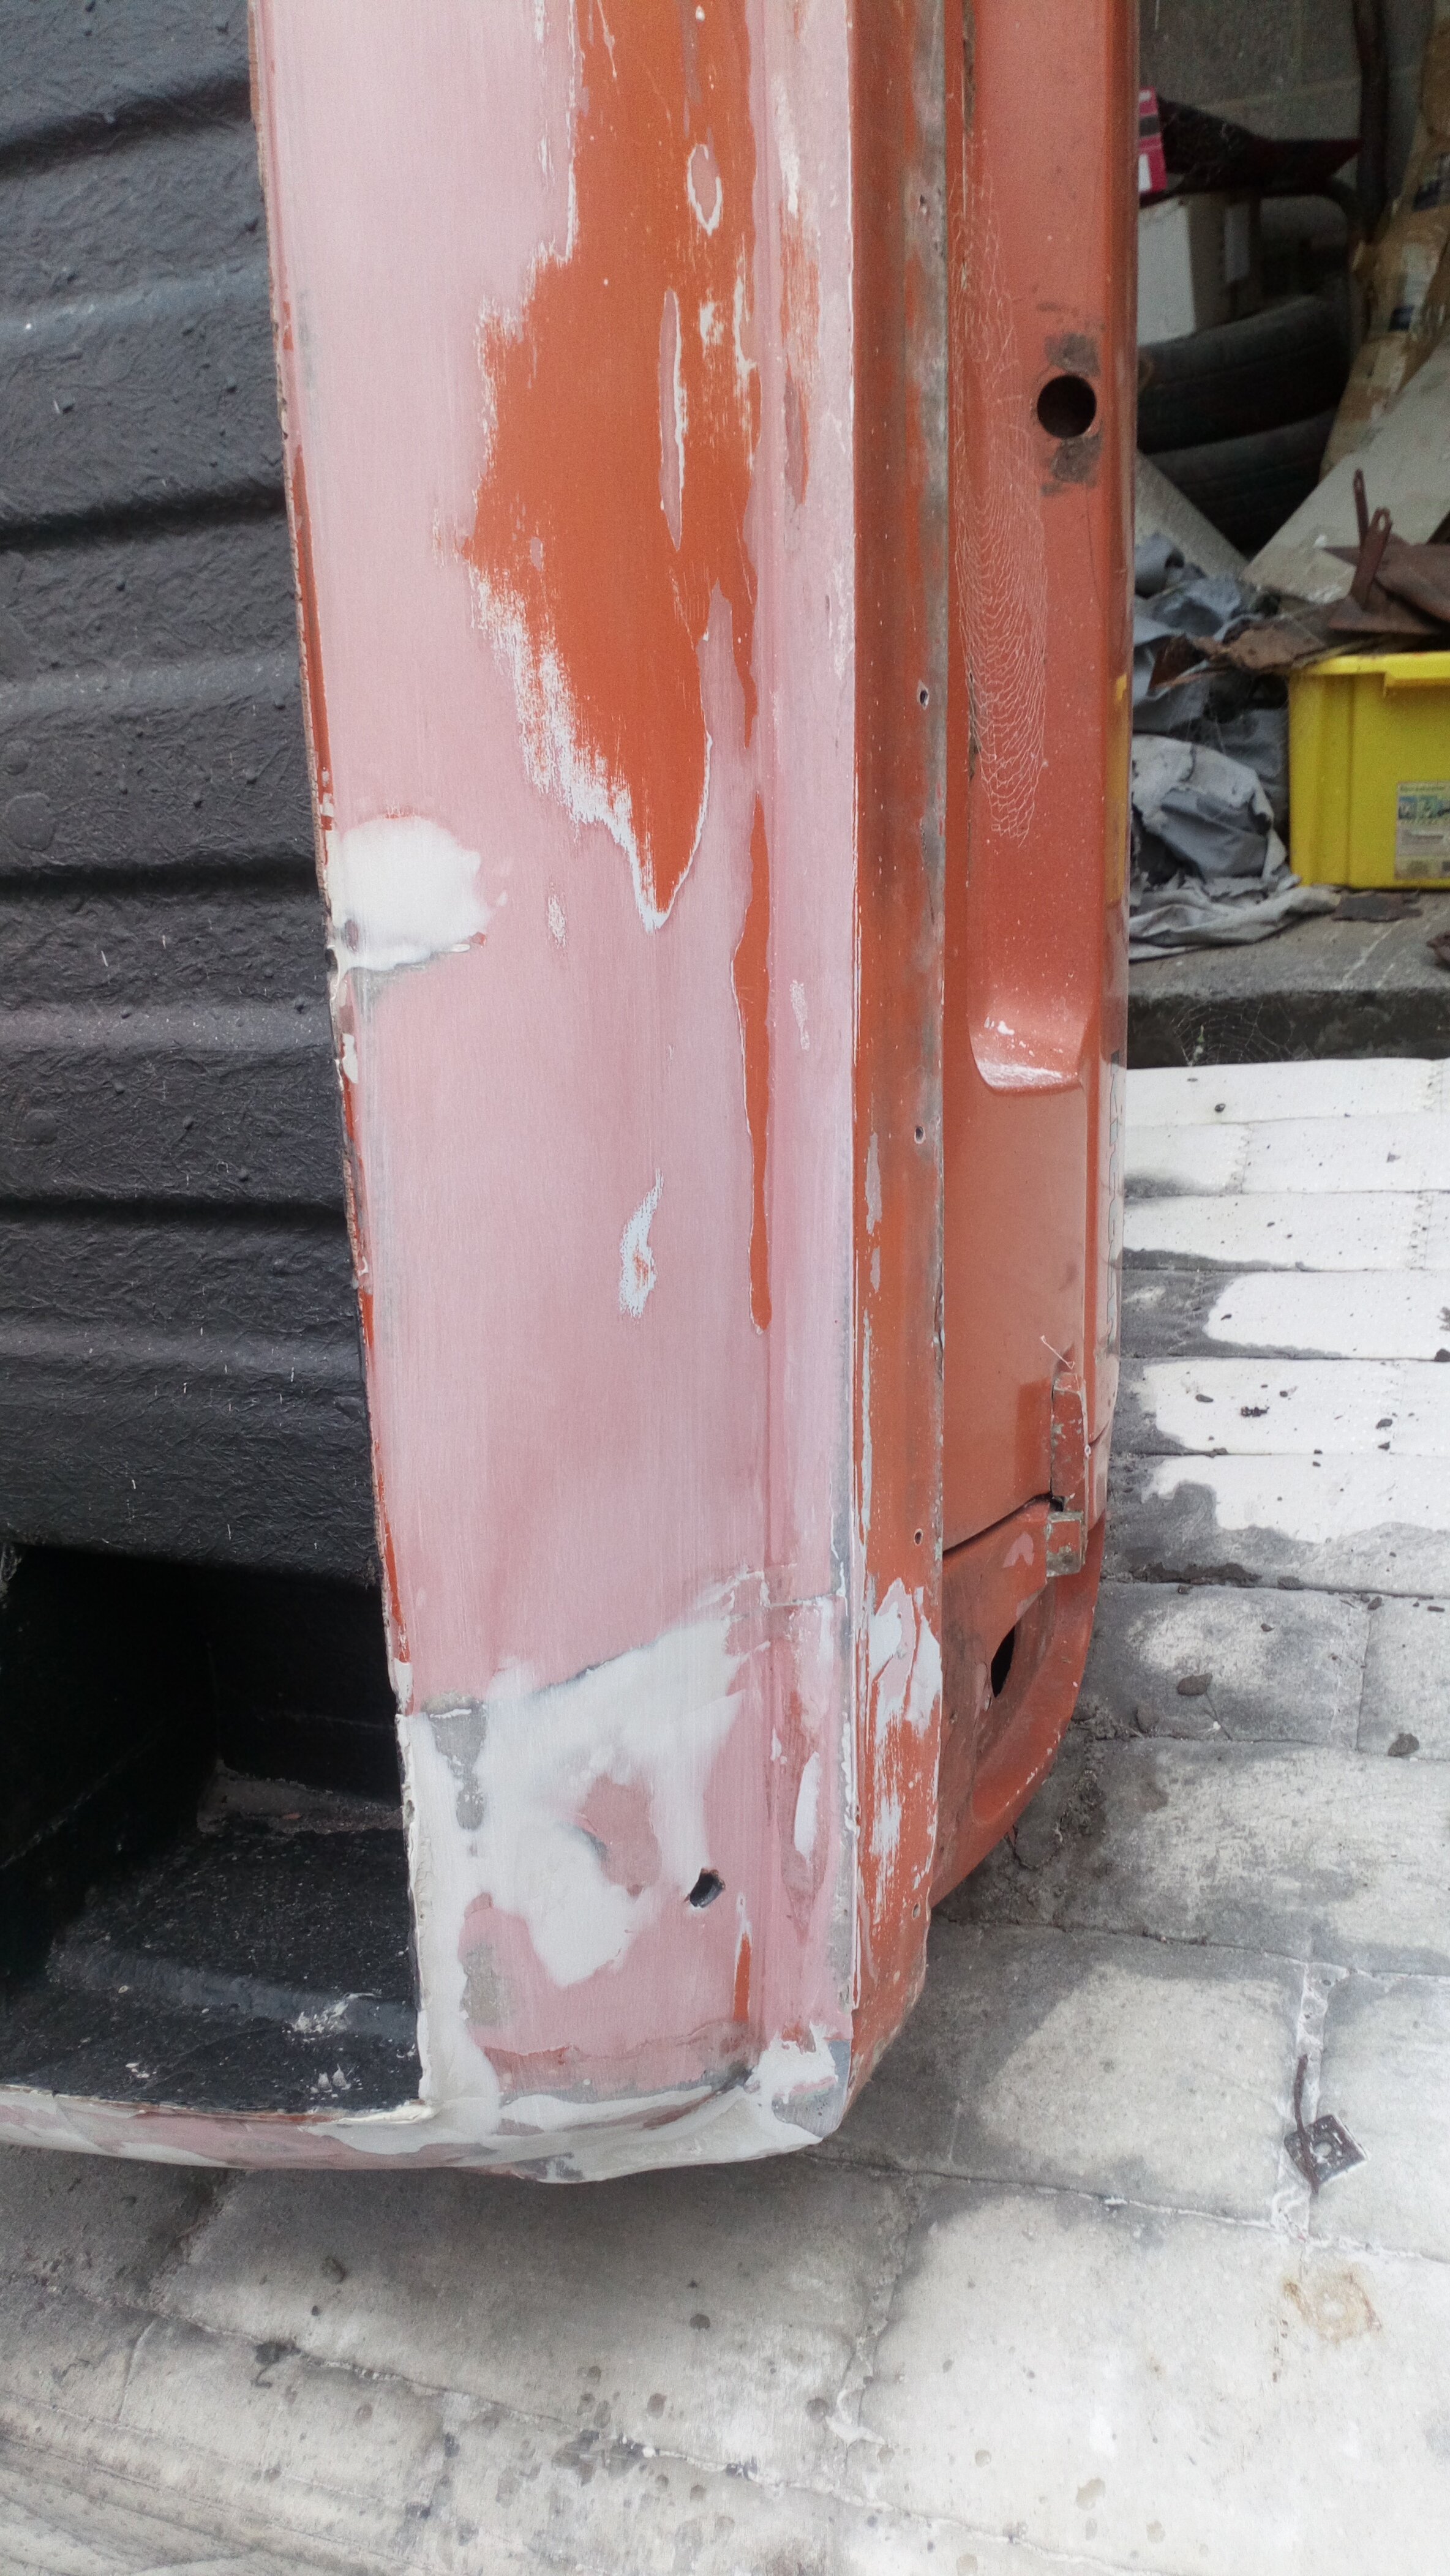
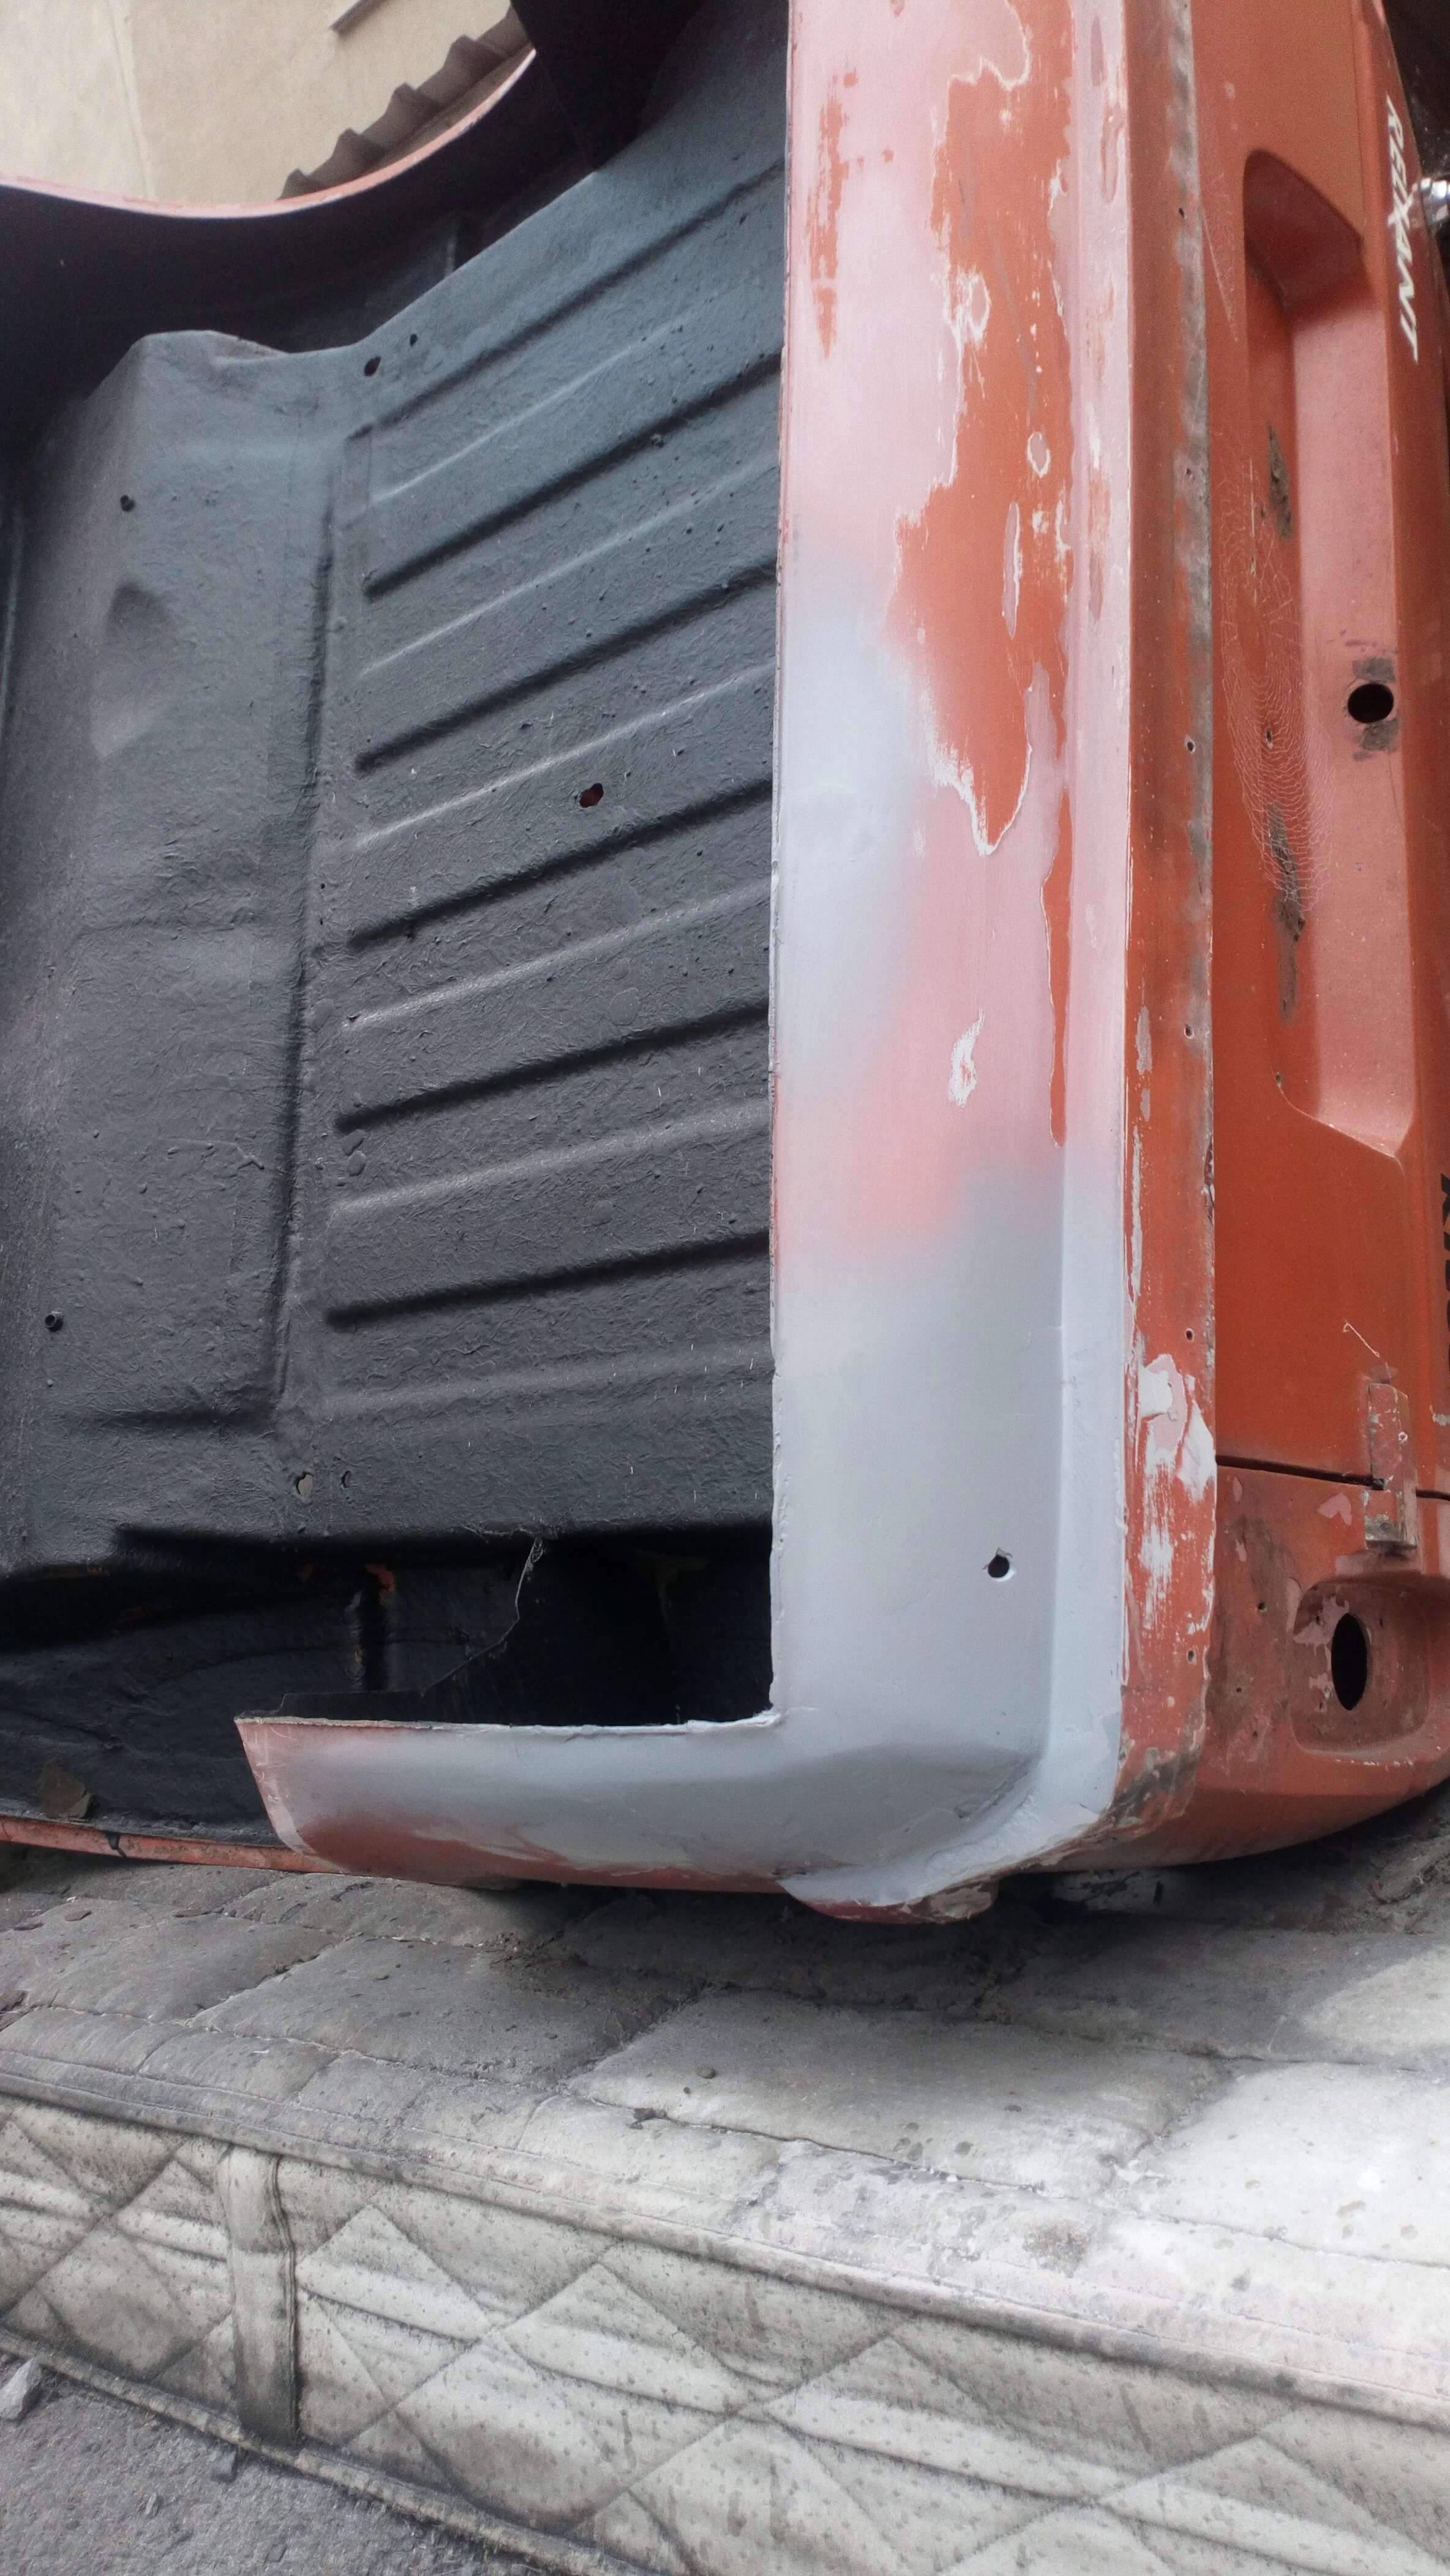
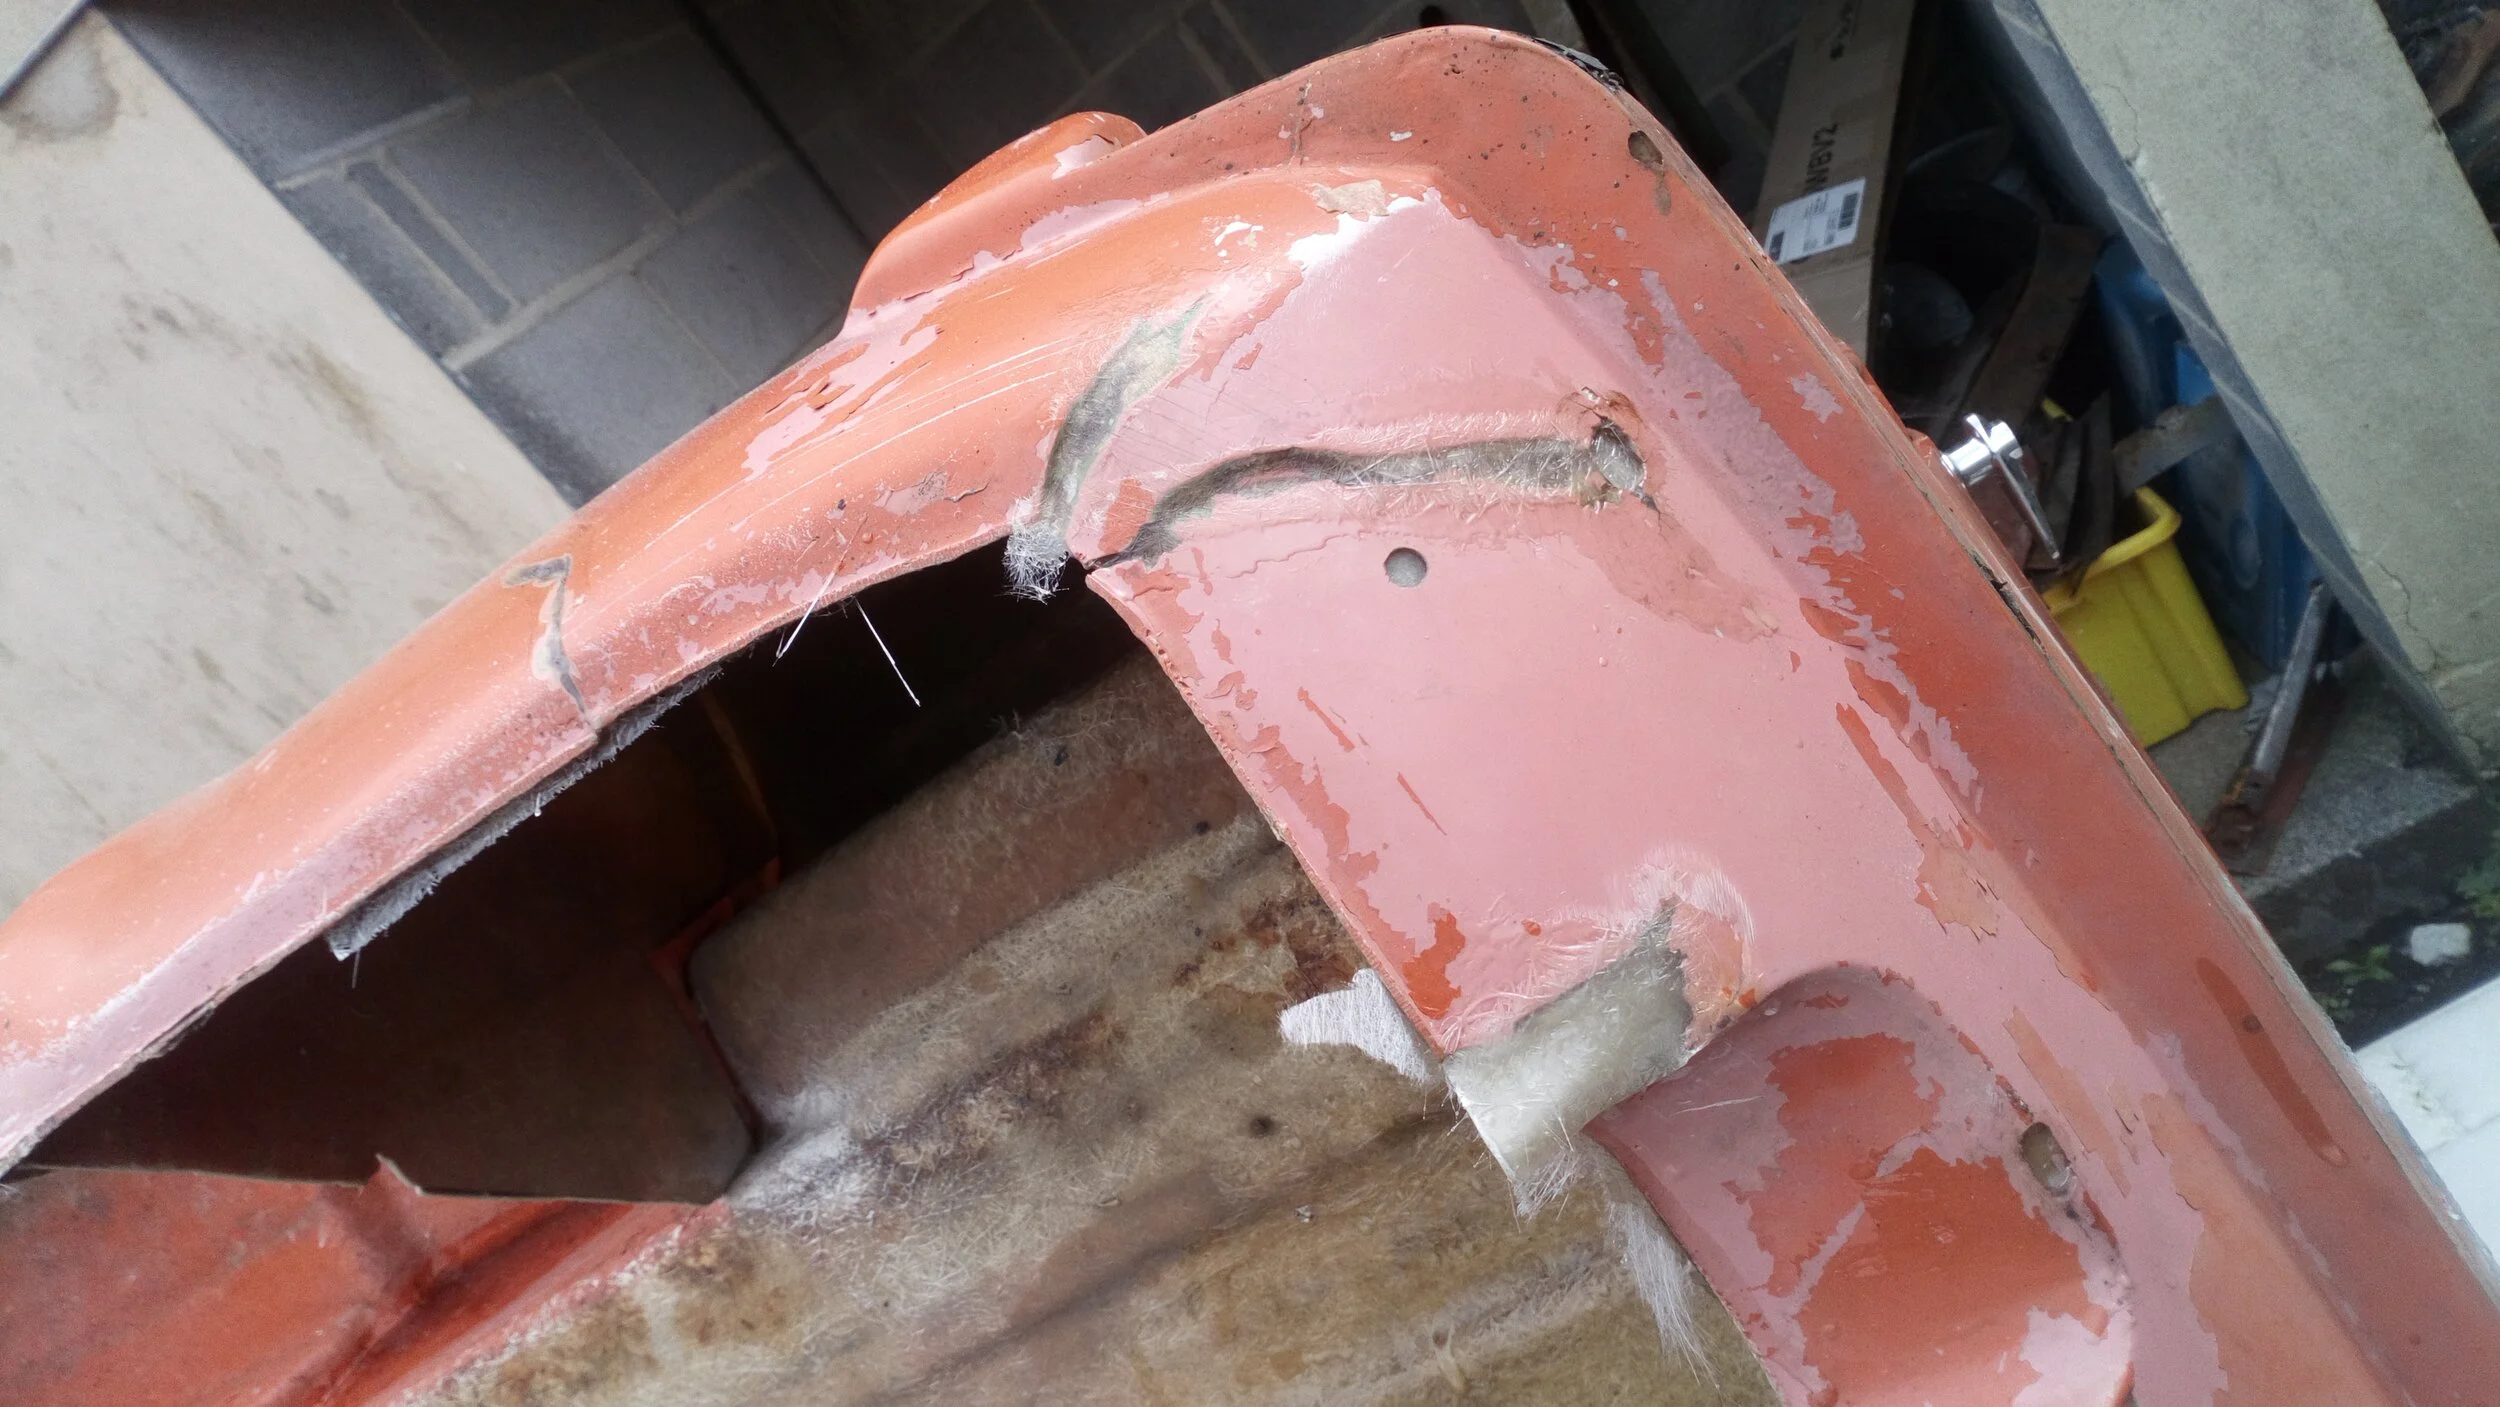
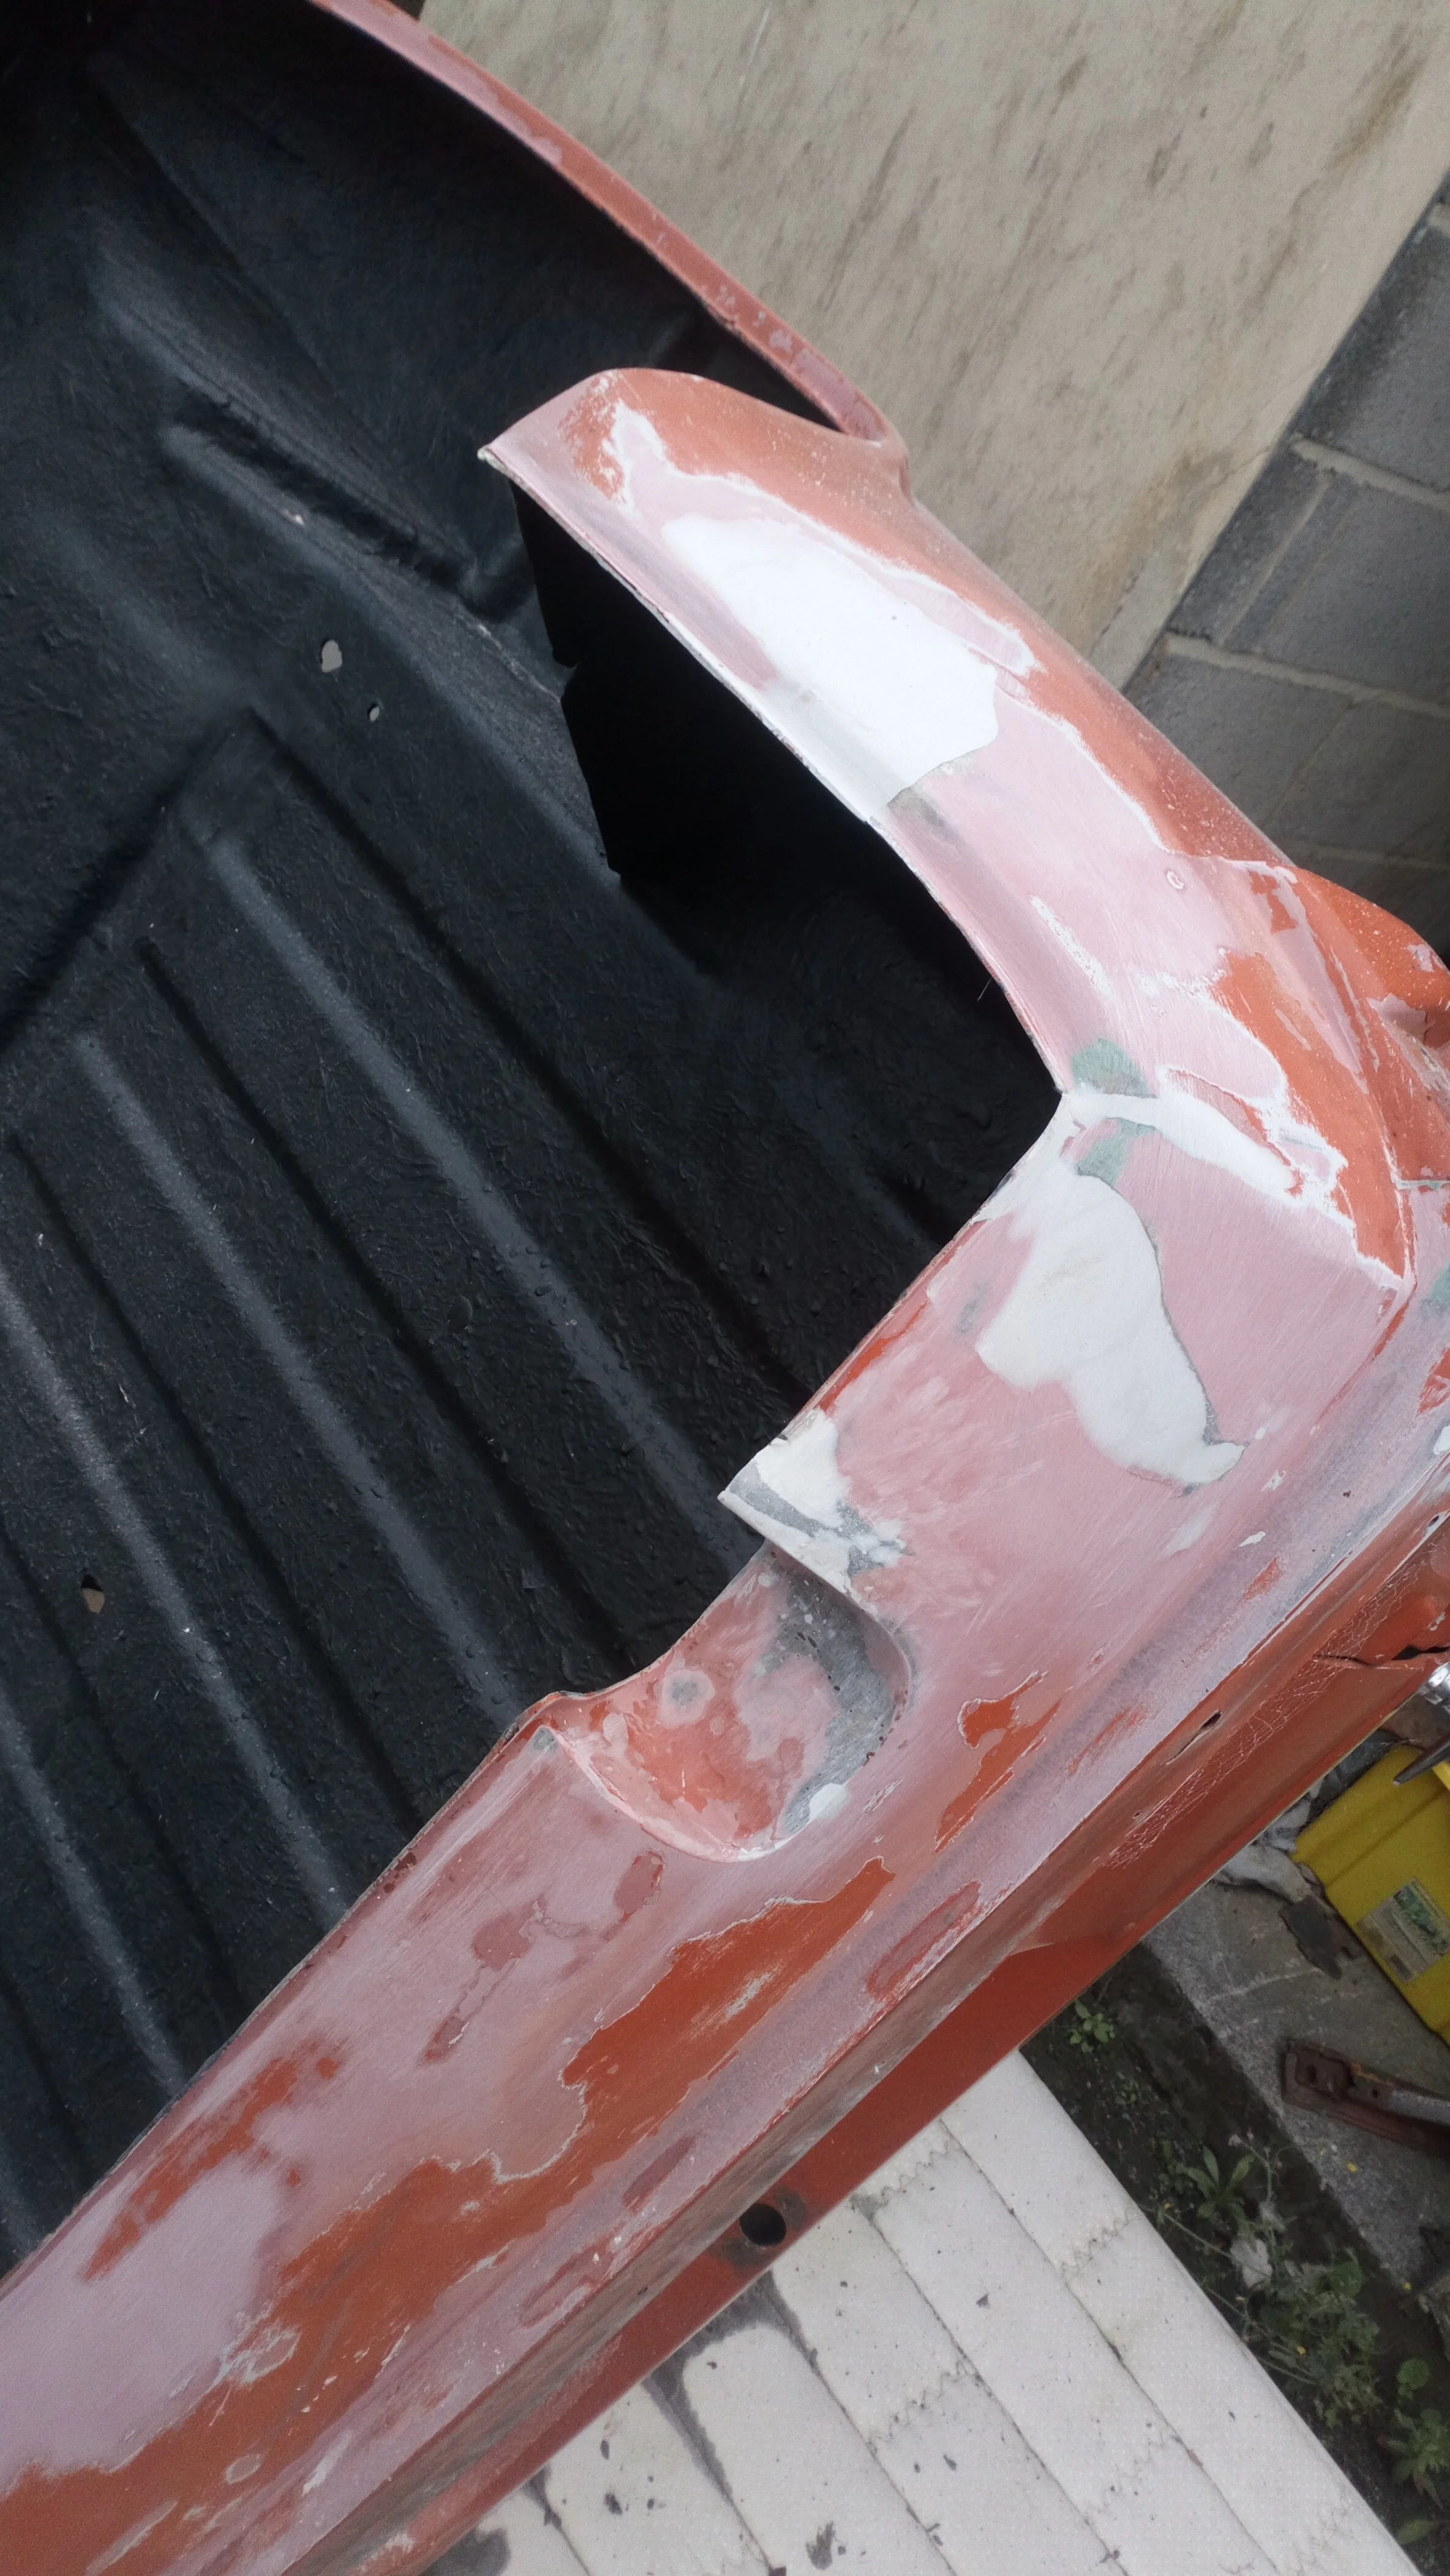
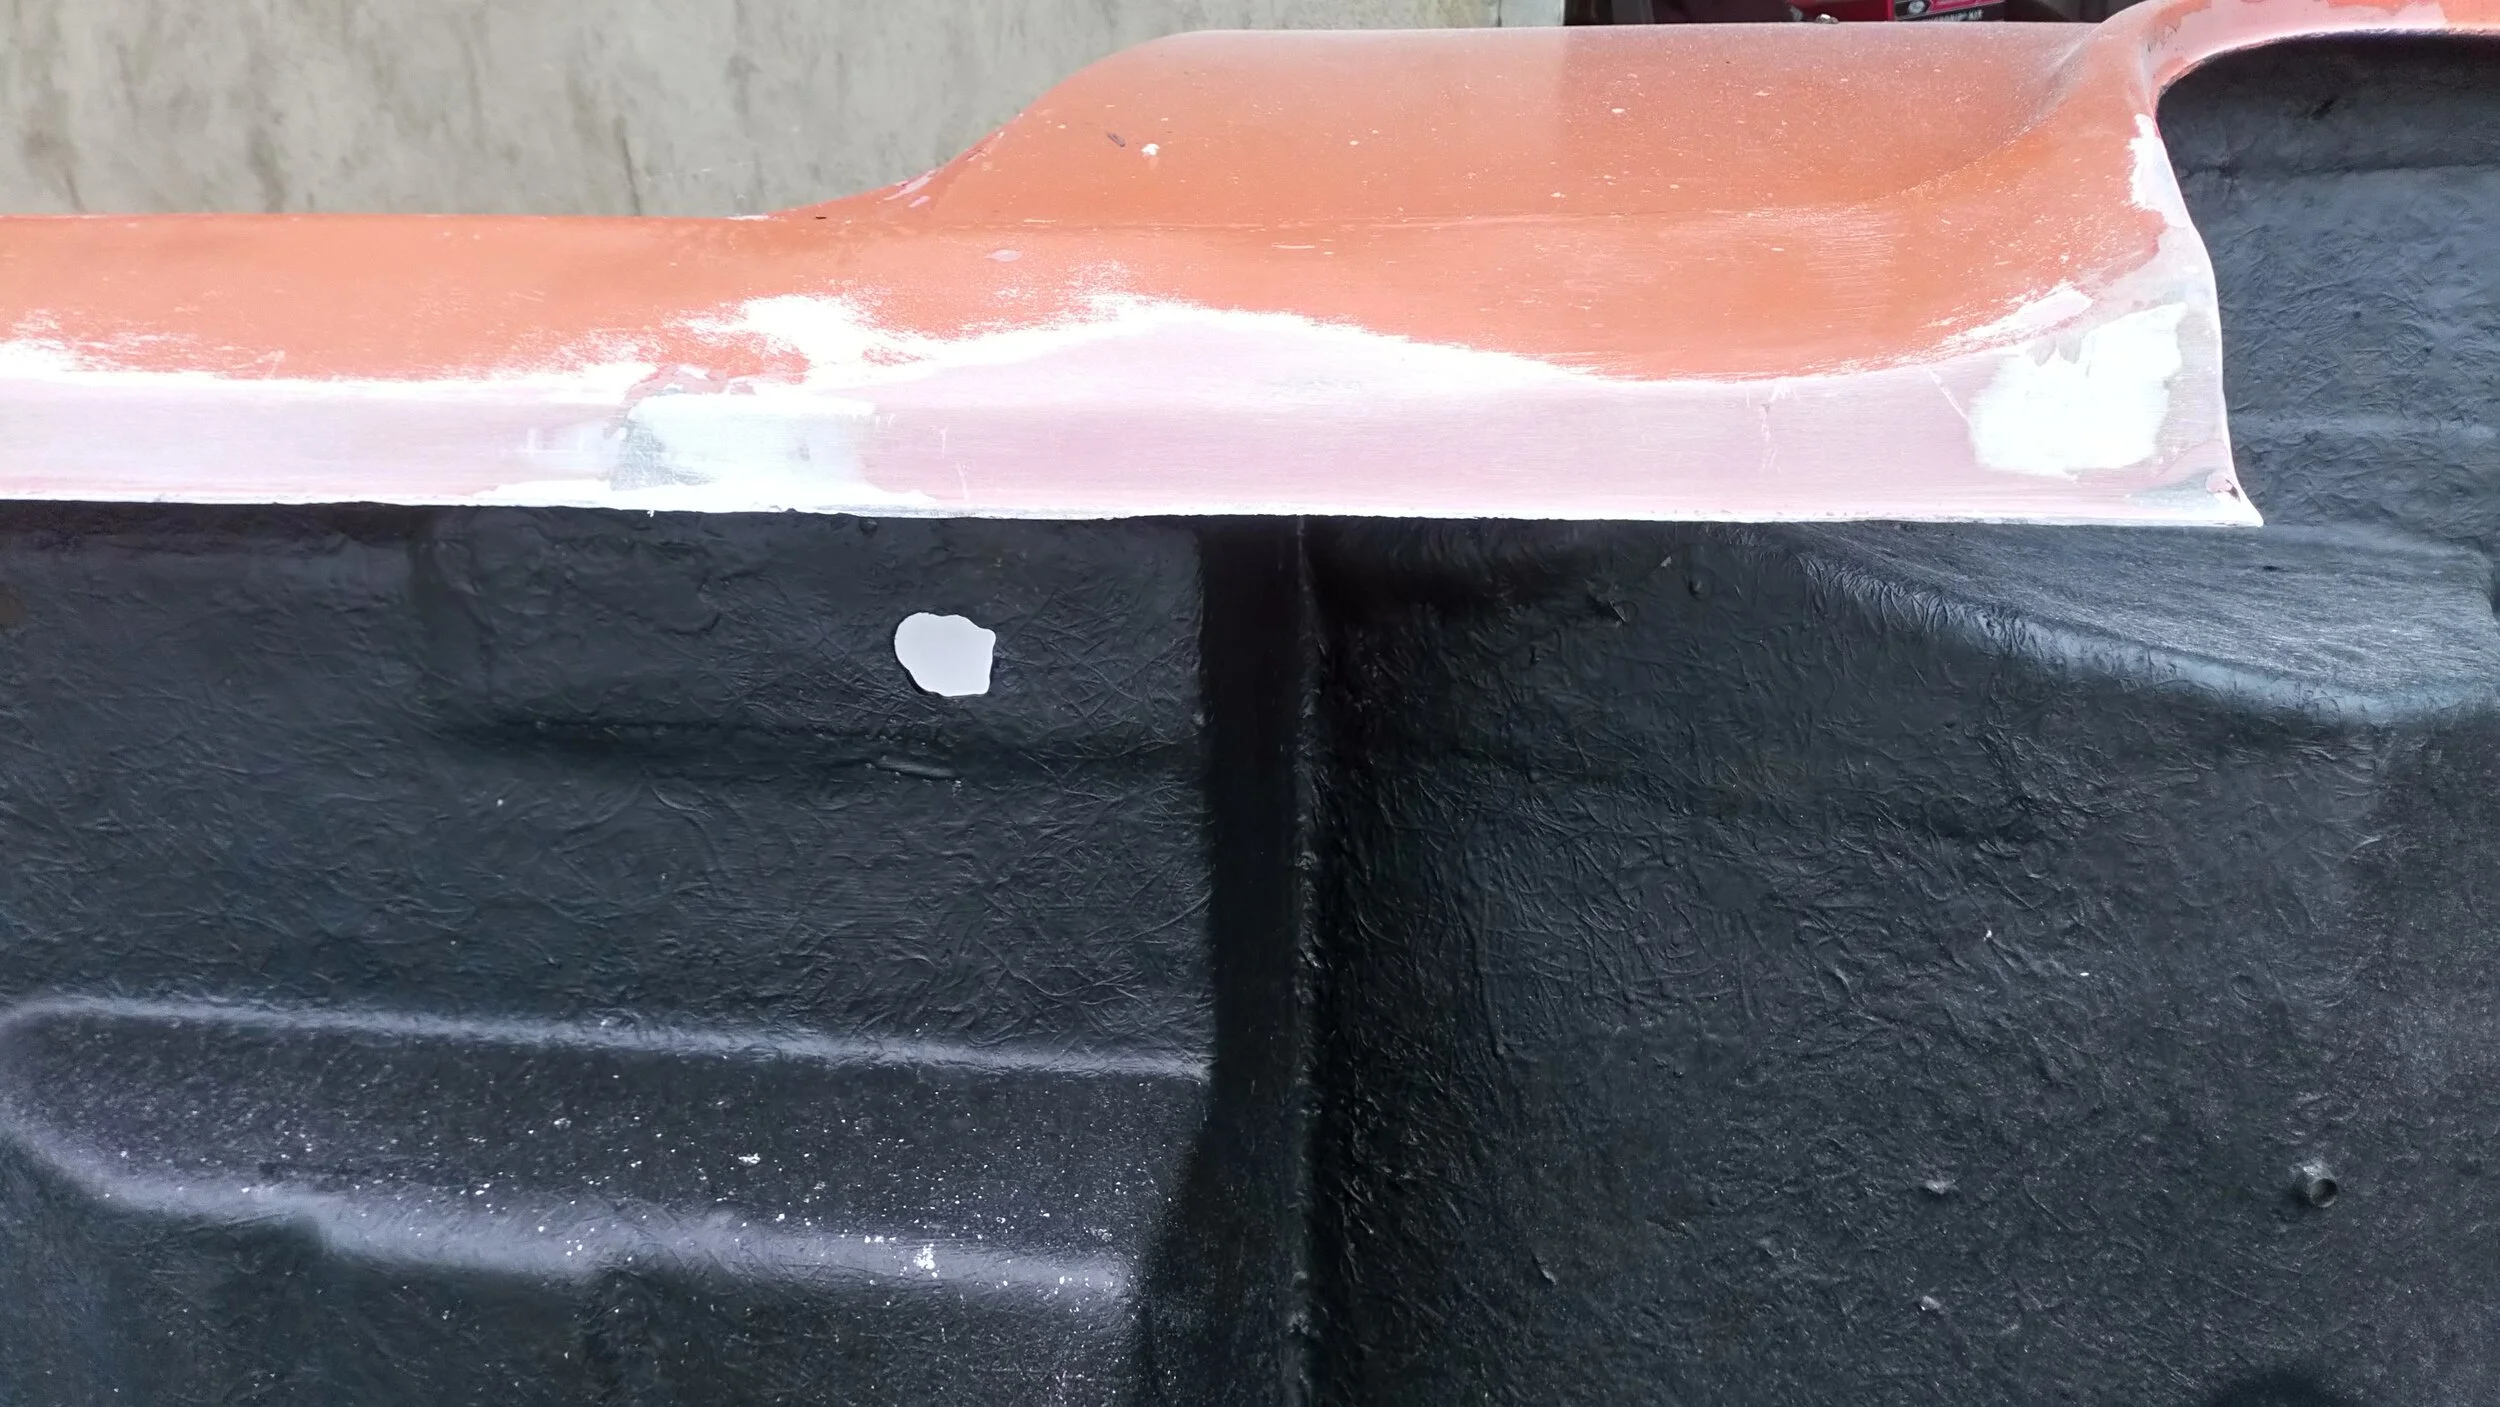
Off-side rear lower corner. Over the years this corner had clearly been broken and ‘fixed’ many times but without the advantage of the body being off the chassis and on it side. The old repairs were a mixture of resin and filler applied from the back/inside of the body over much of the dirt that had accumulated there. Those inadequate repairs were removed In pic 1. above, the hidden side has been cleaned and power-wire-brushed. Two layers of tissue and two layers of mat were layed up from behind; you can just see some of it protruding. With the area stabilised, the cracks were further ground back and fibre glass was layed up from the outside. In pic 2. above, a missing piece was layed up against a cardboard former treated with release agent. In pics 3. and 4. filler has been added to the outside of the repair and in pic 5. the area has been primed for protection and later fine-finishing.
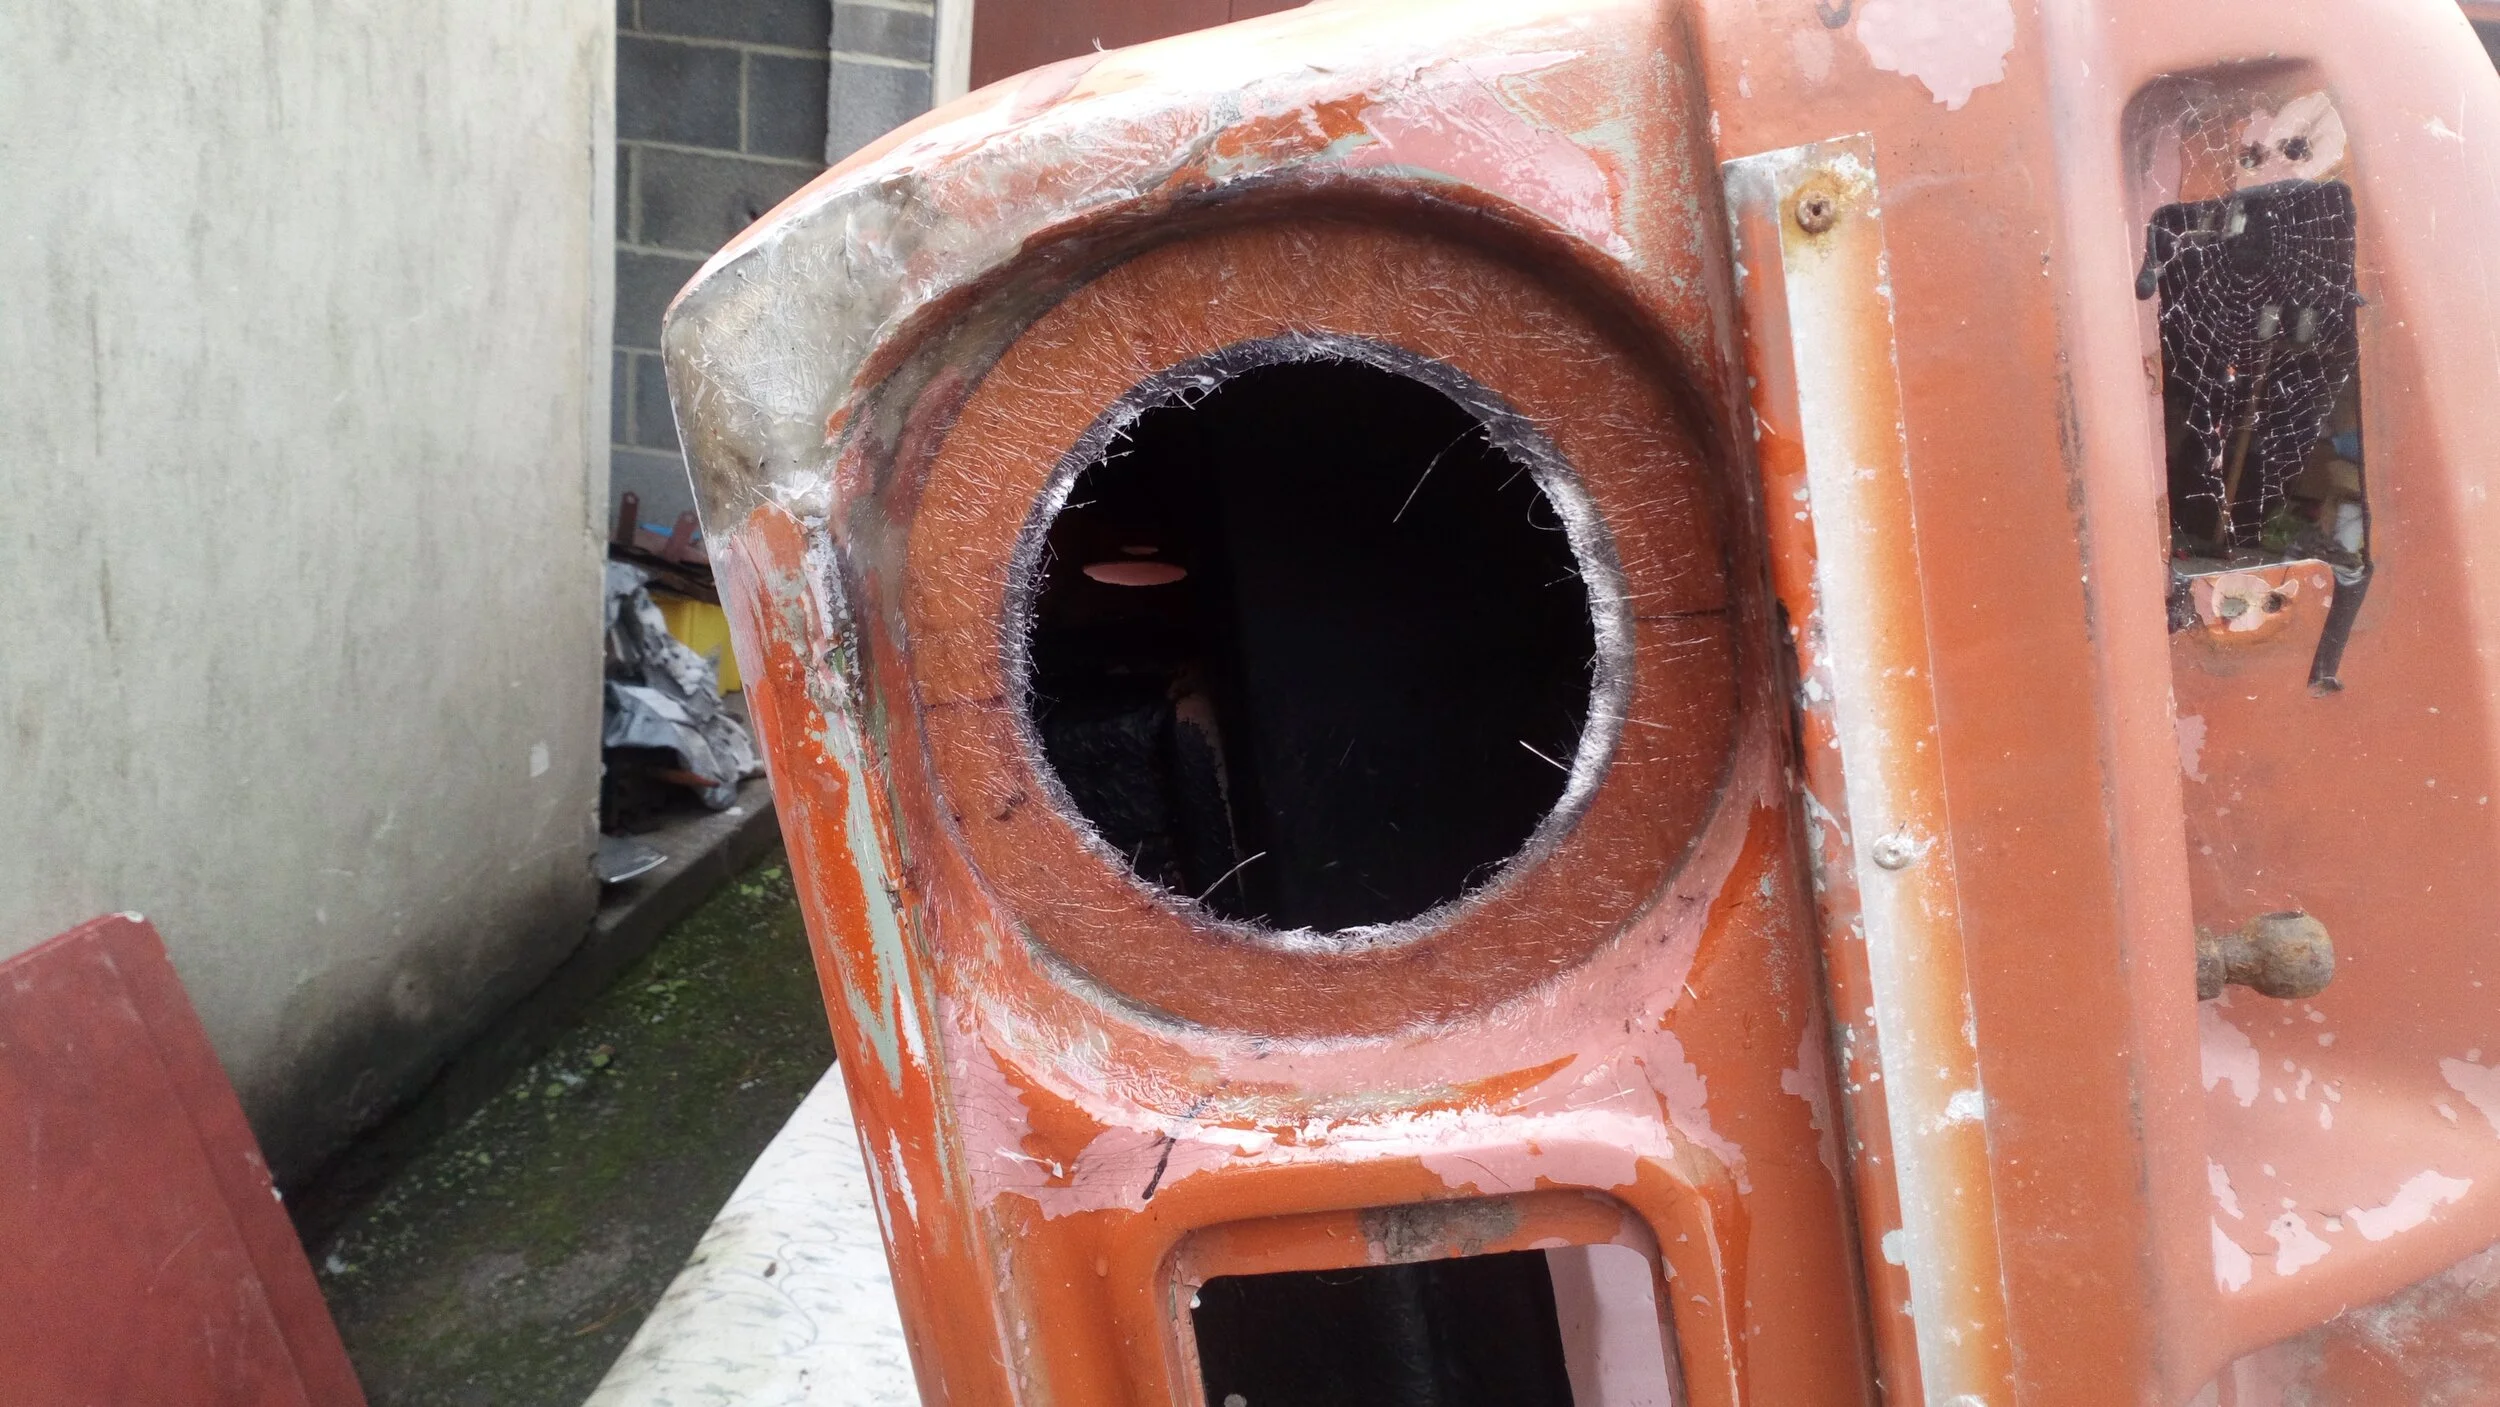
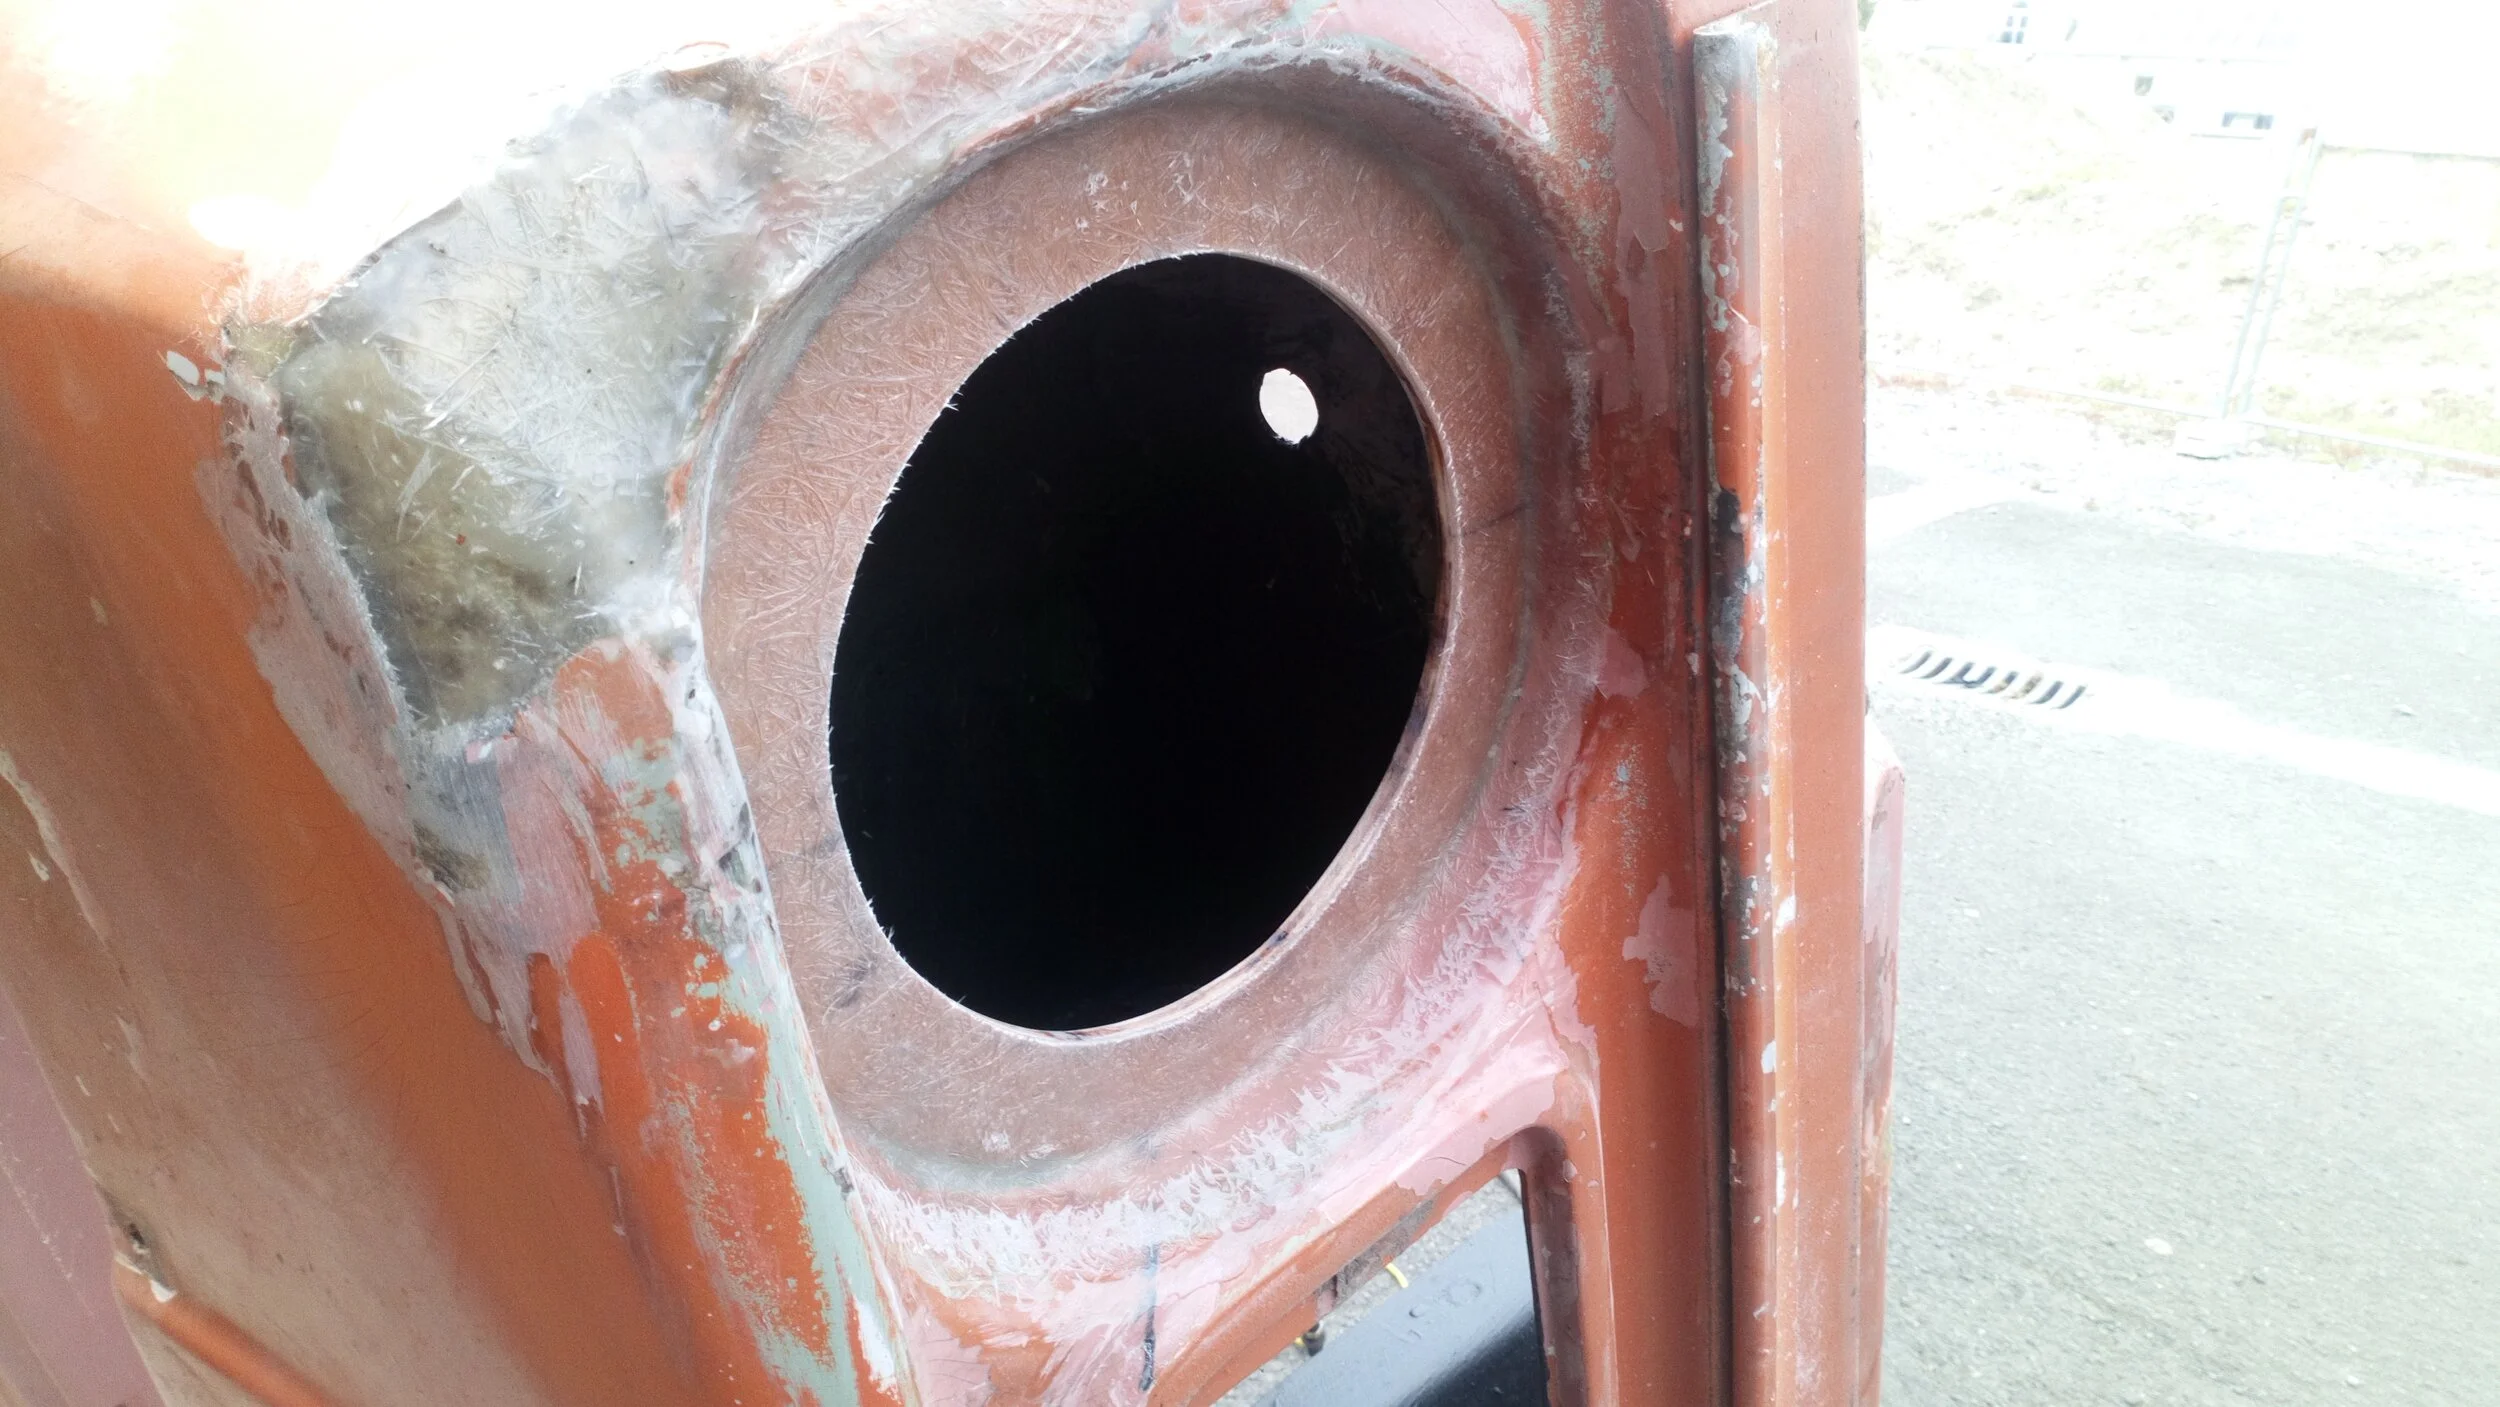
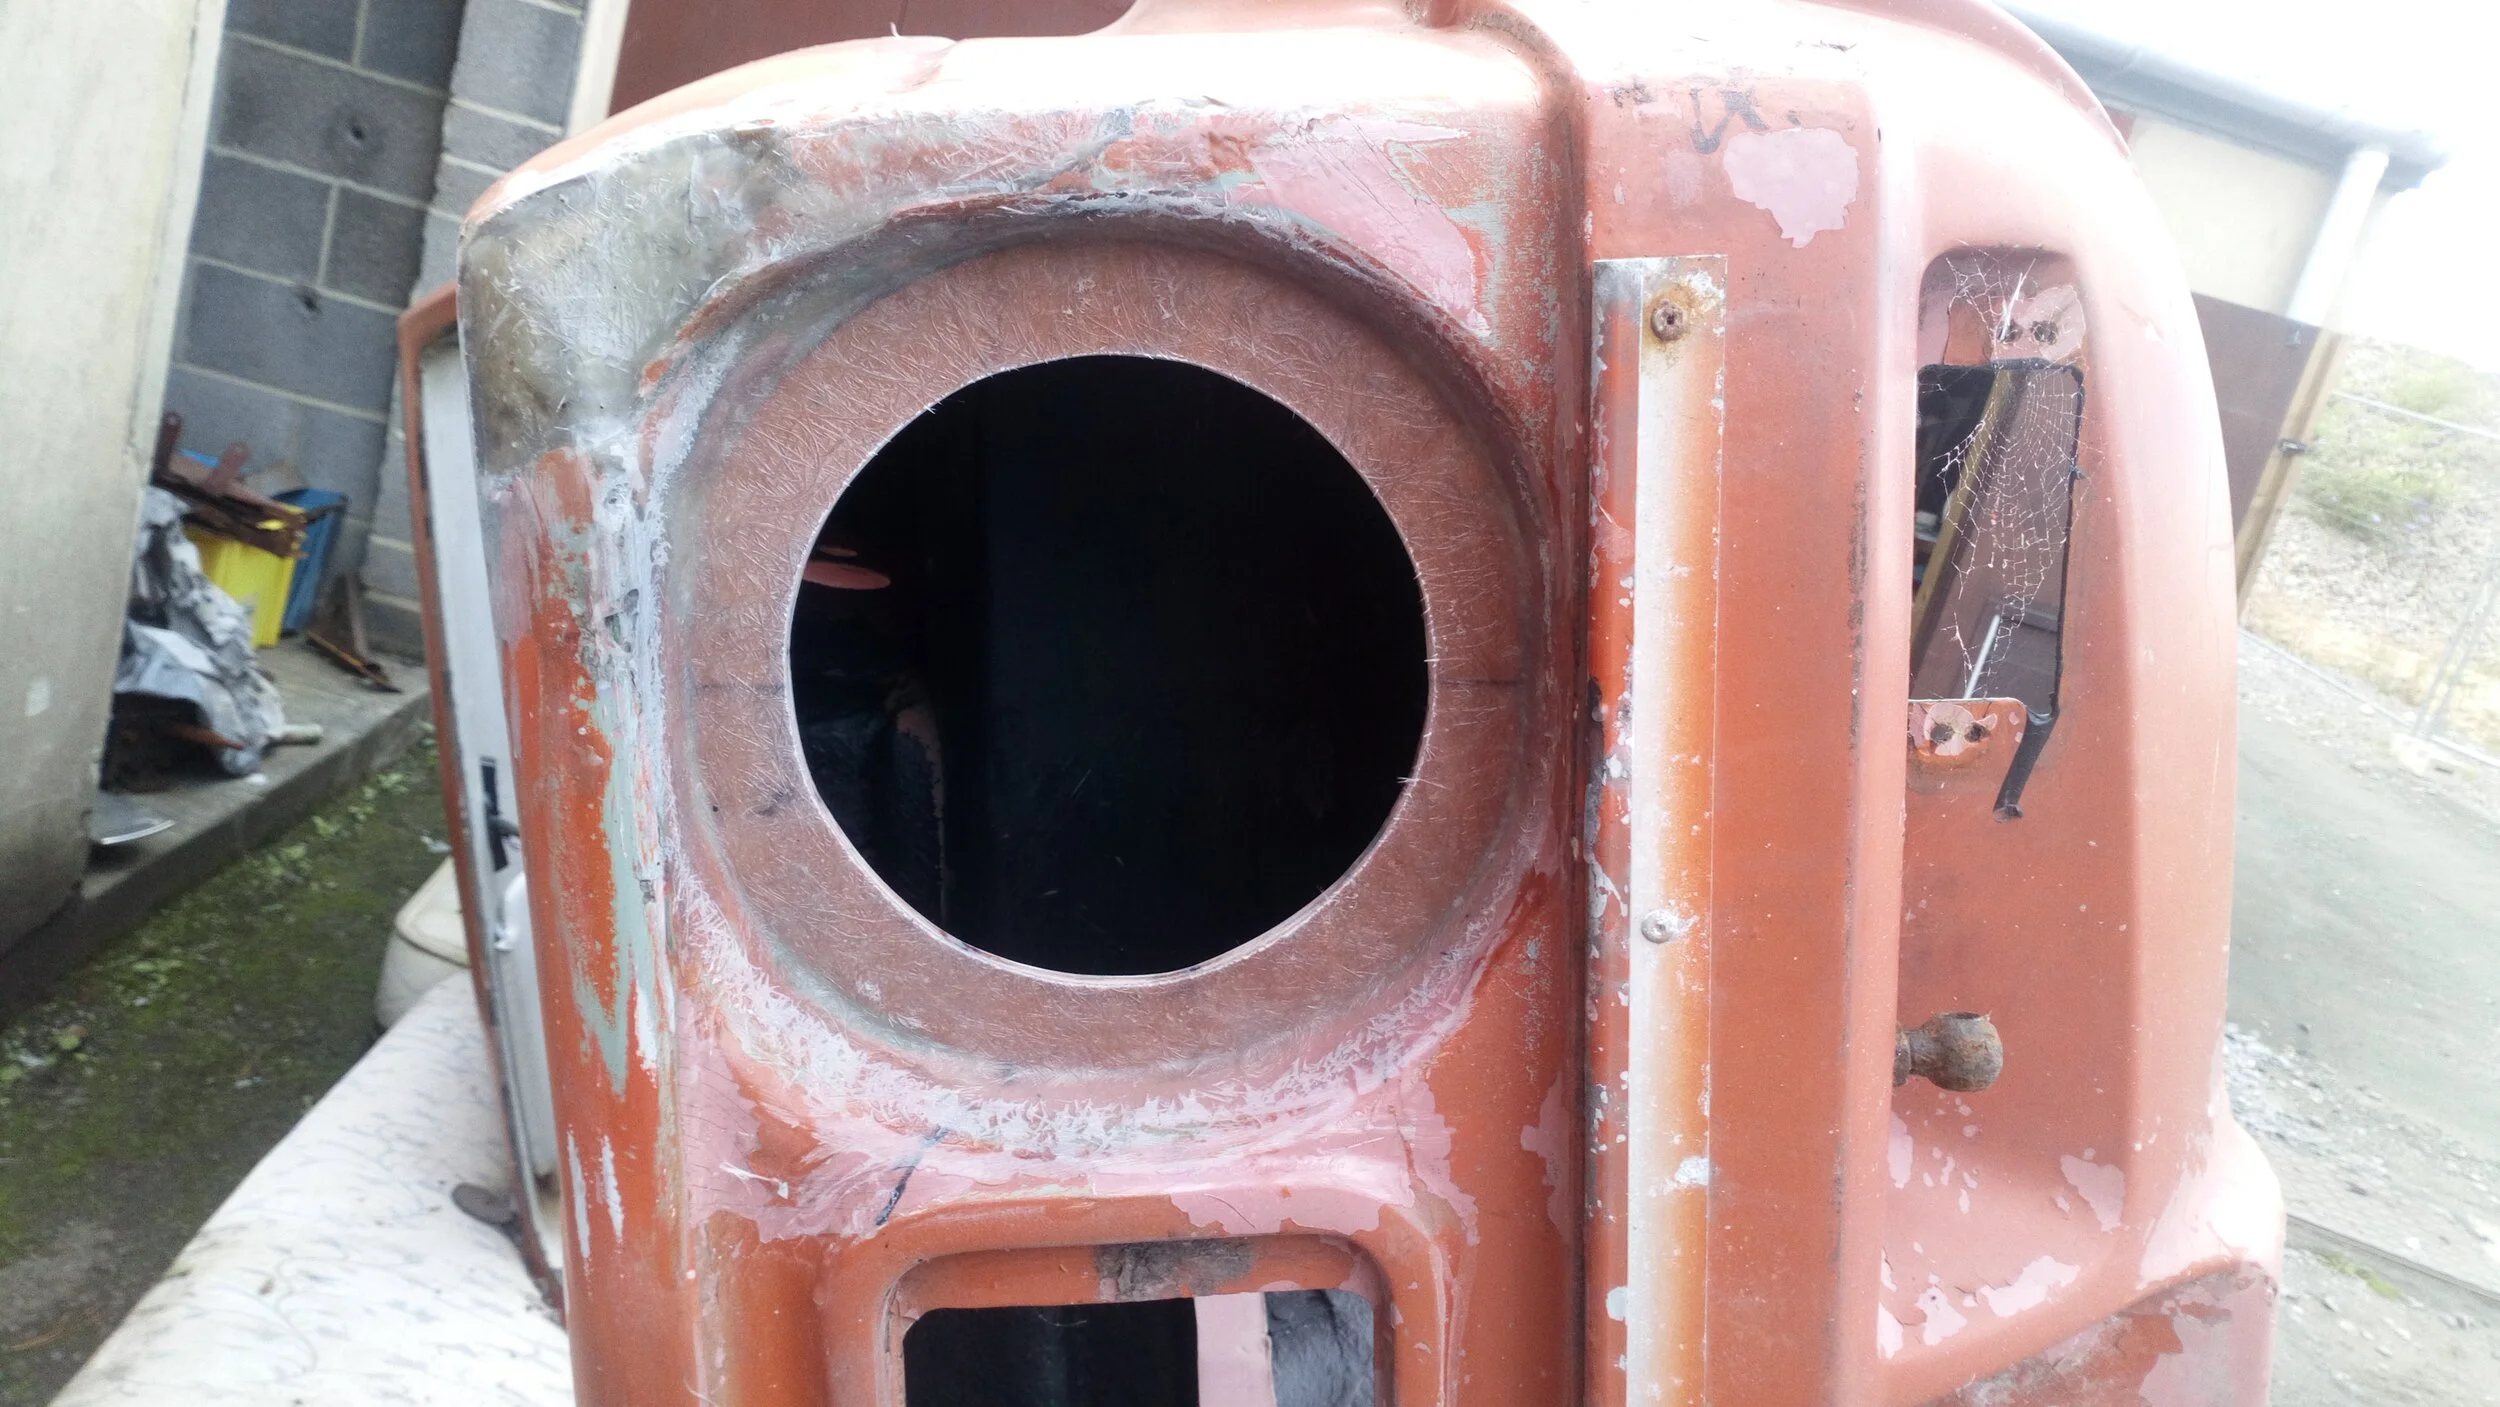
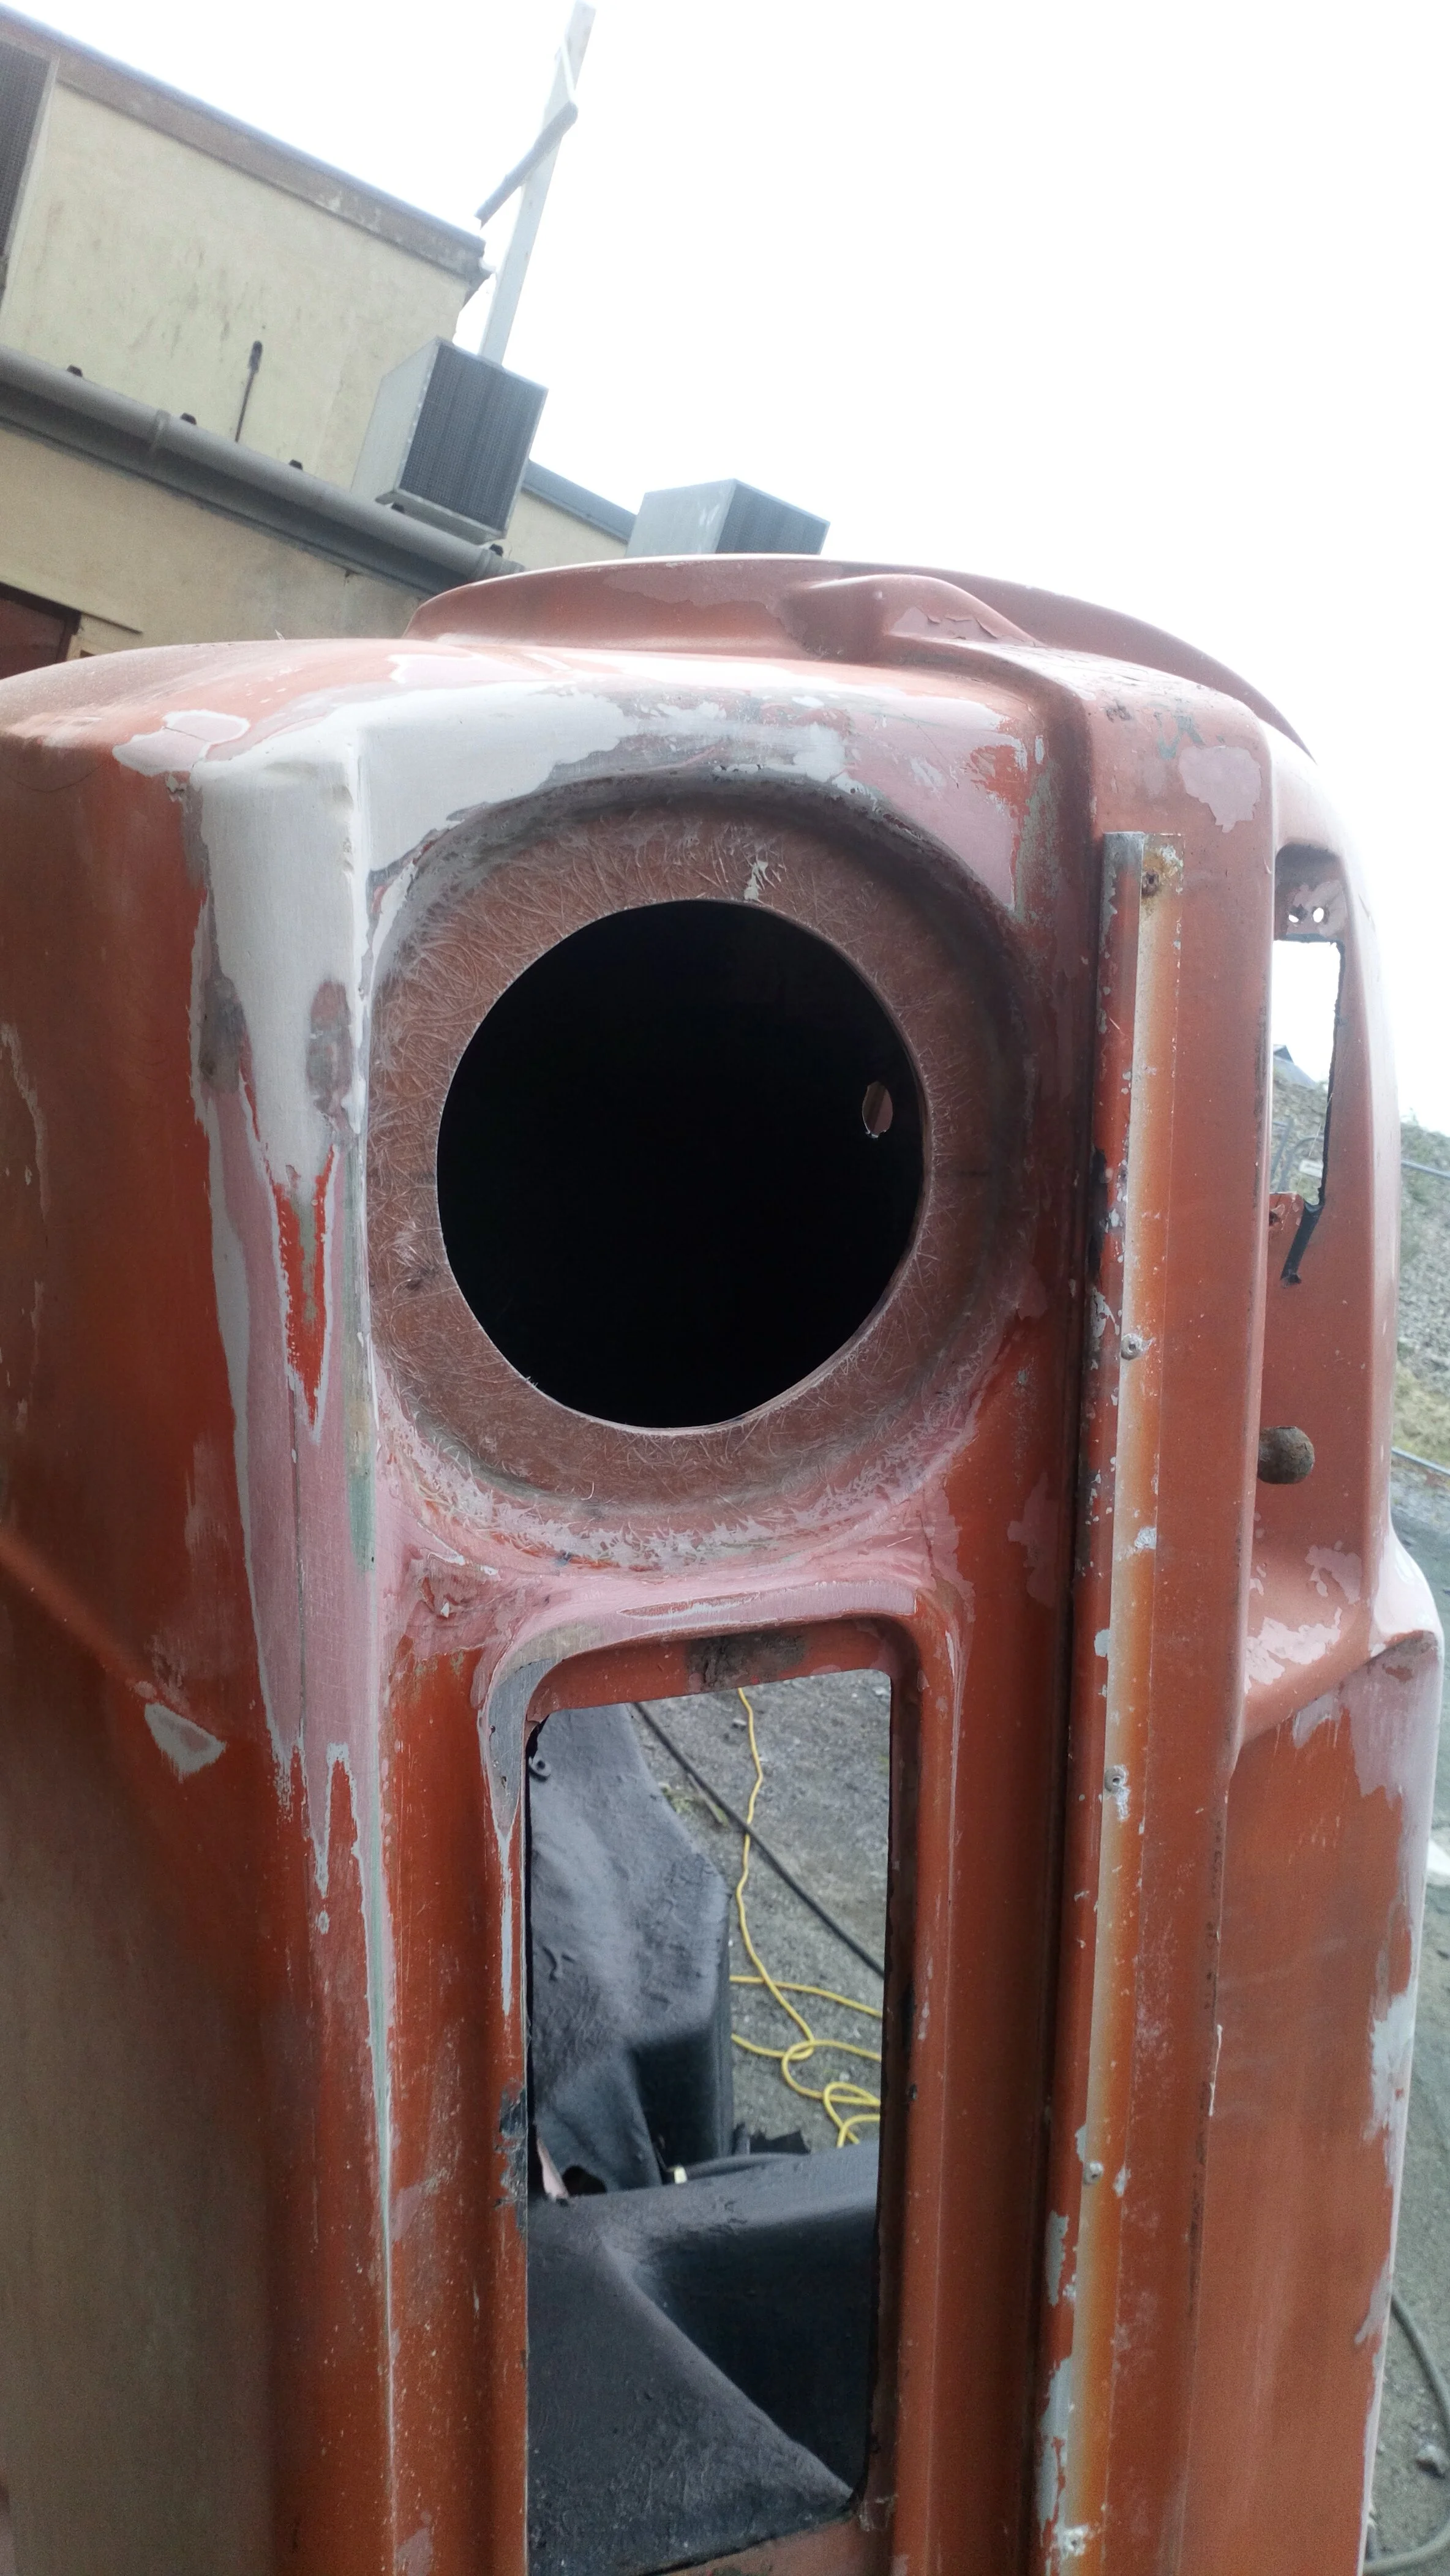
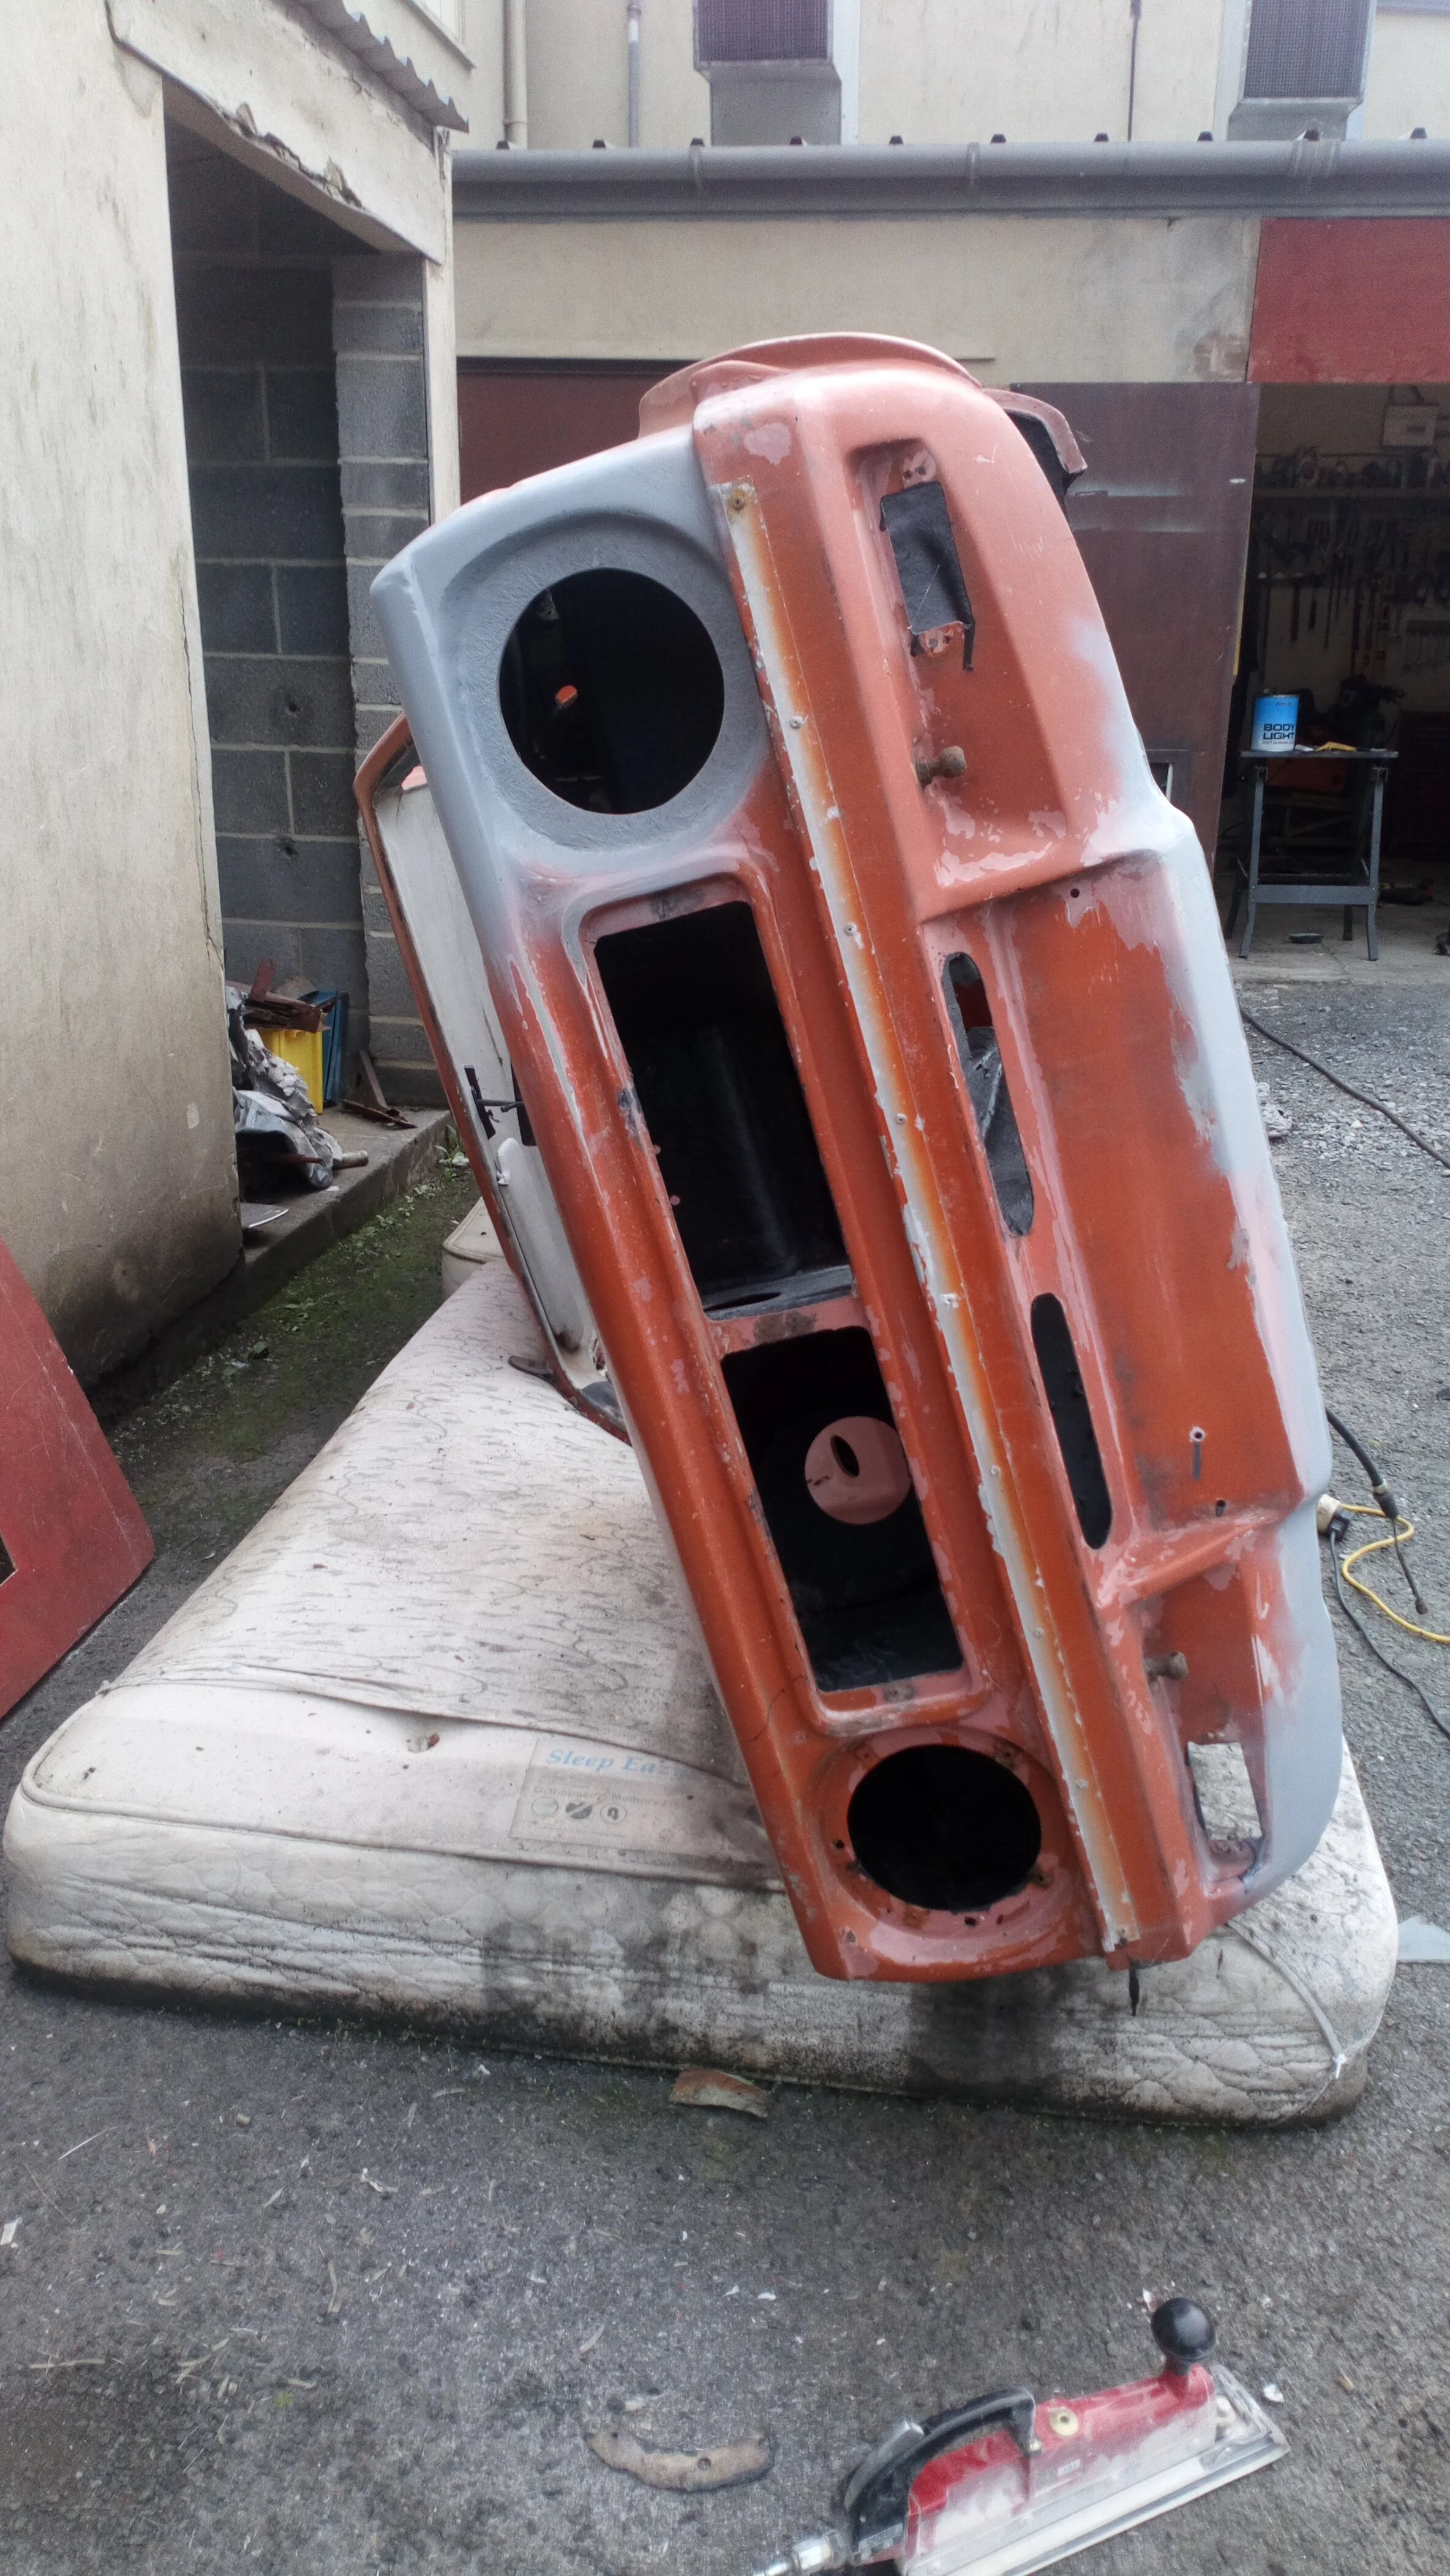
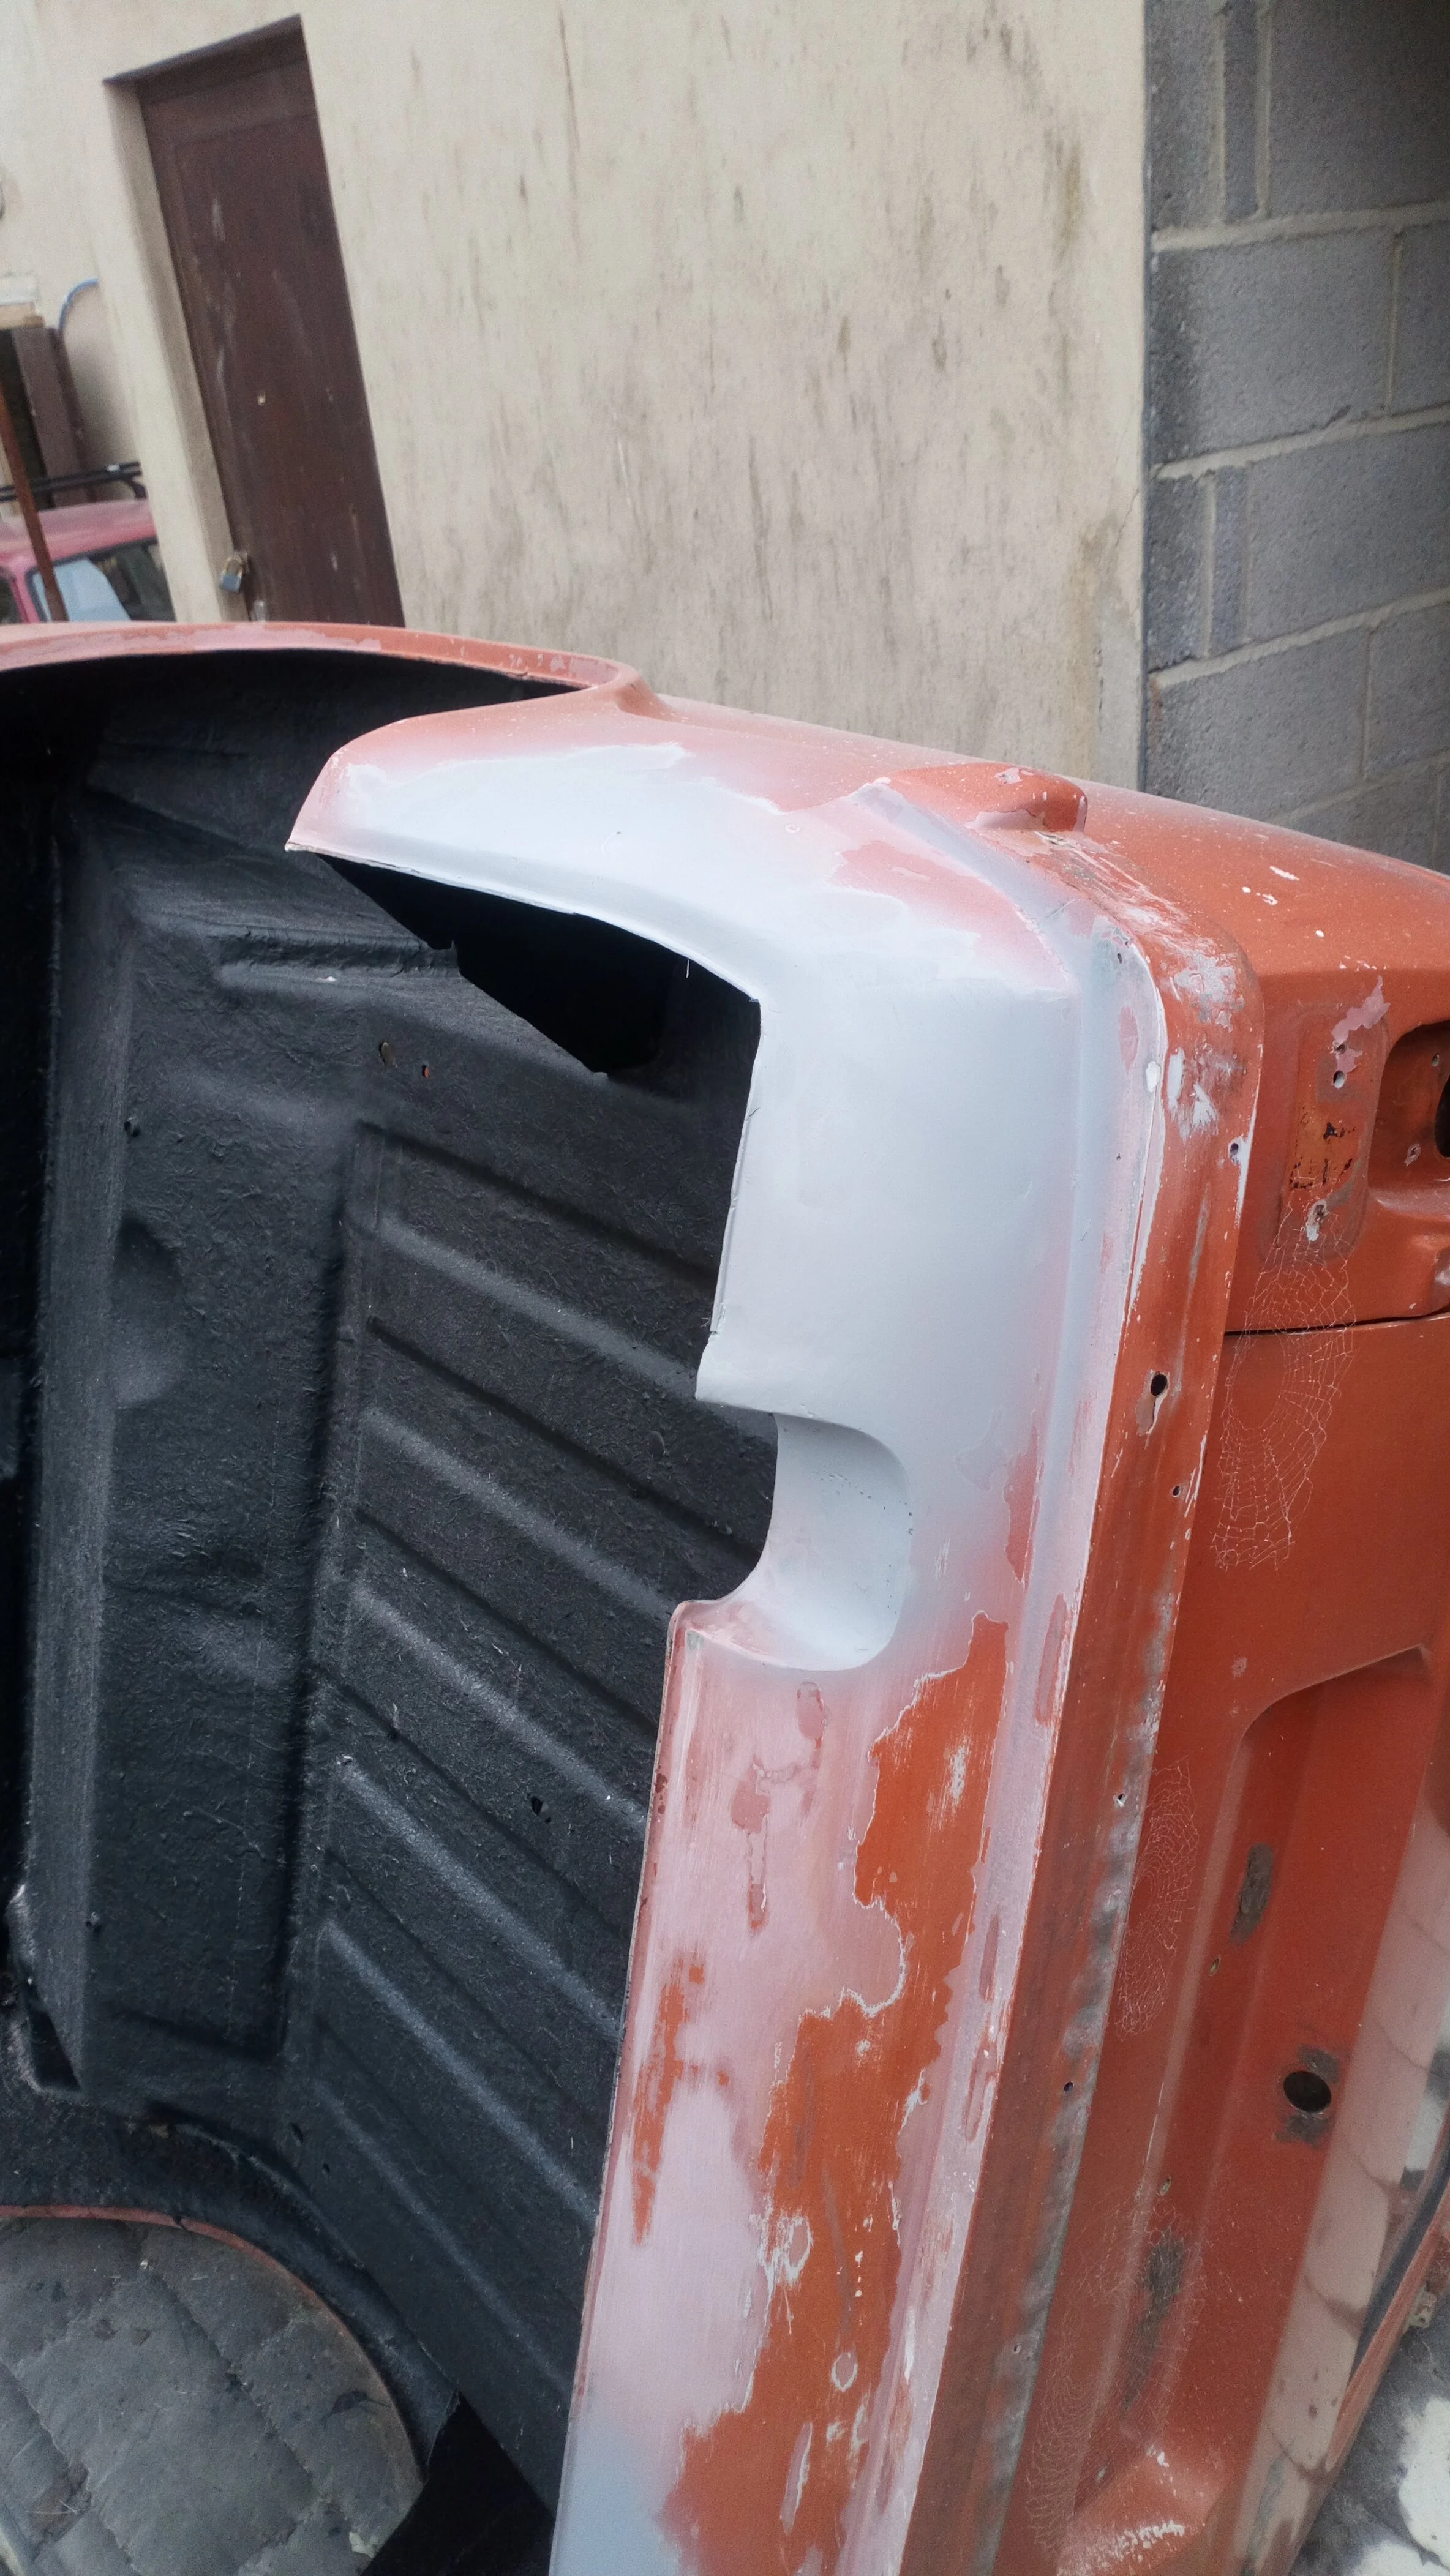
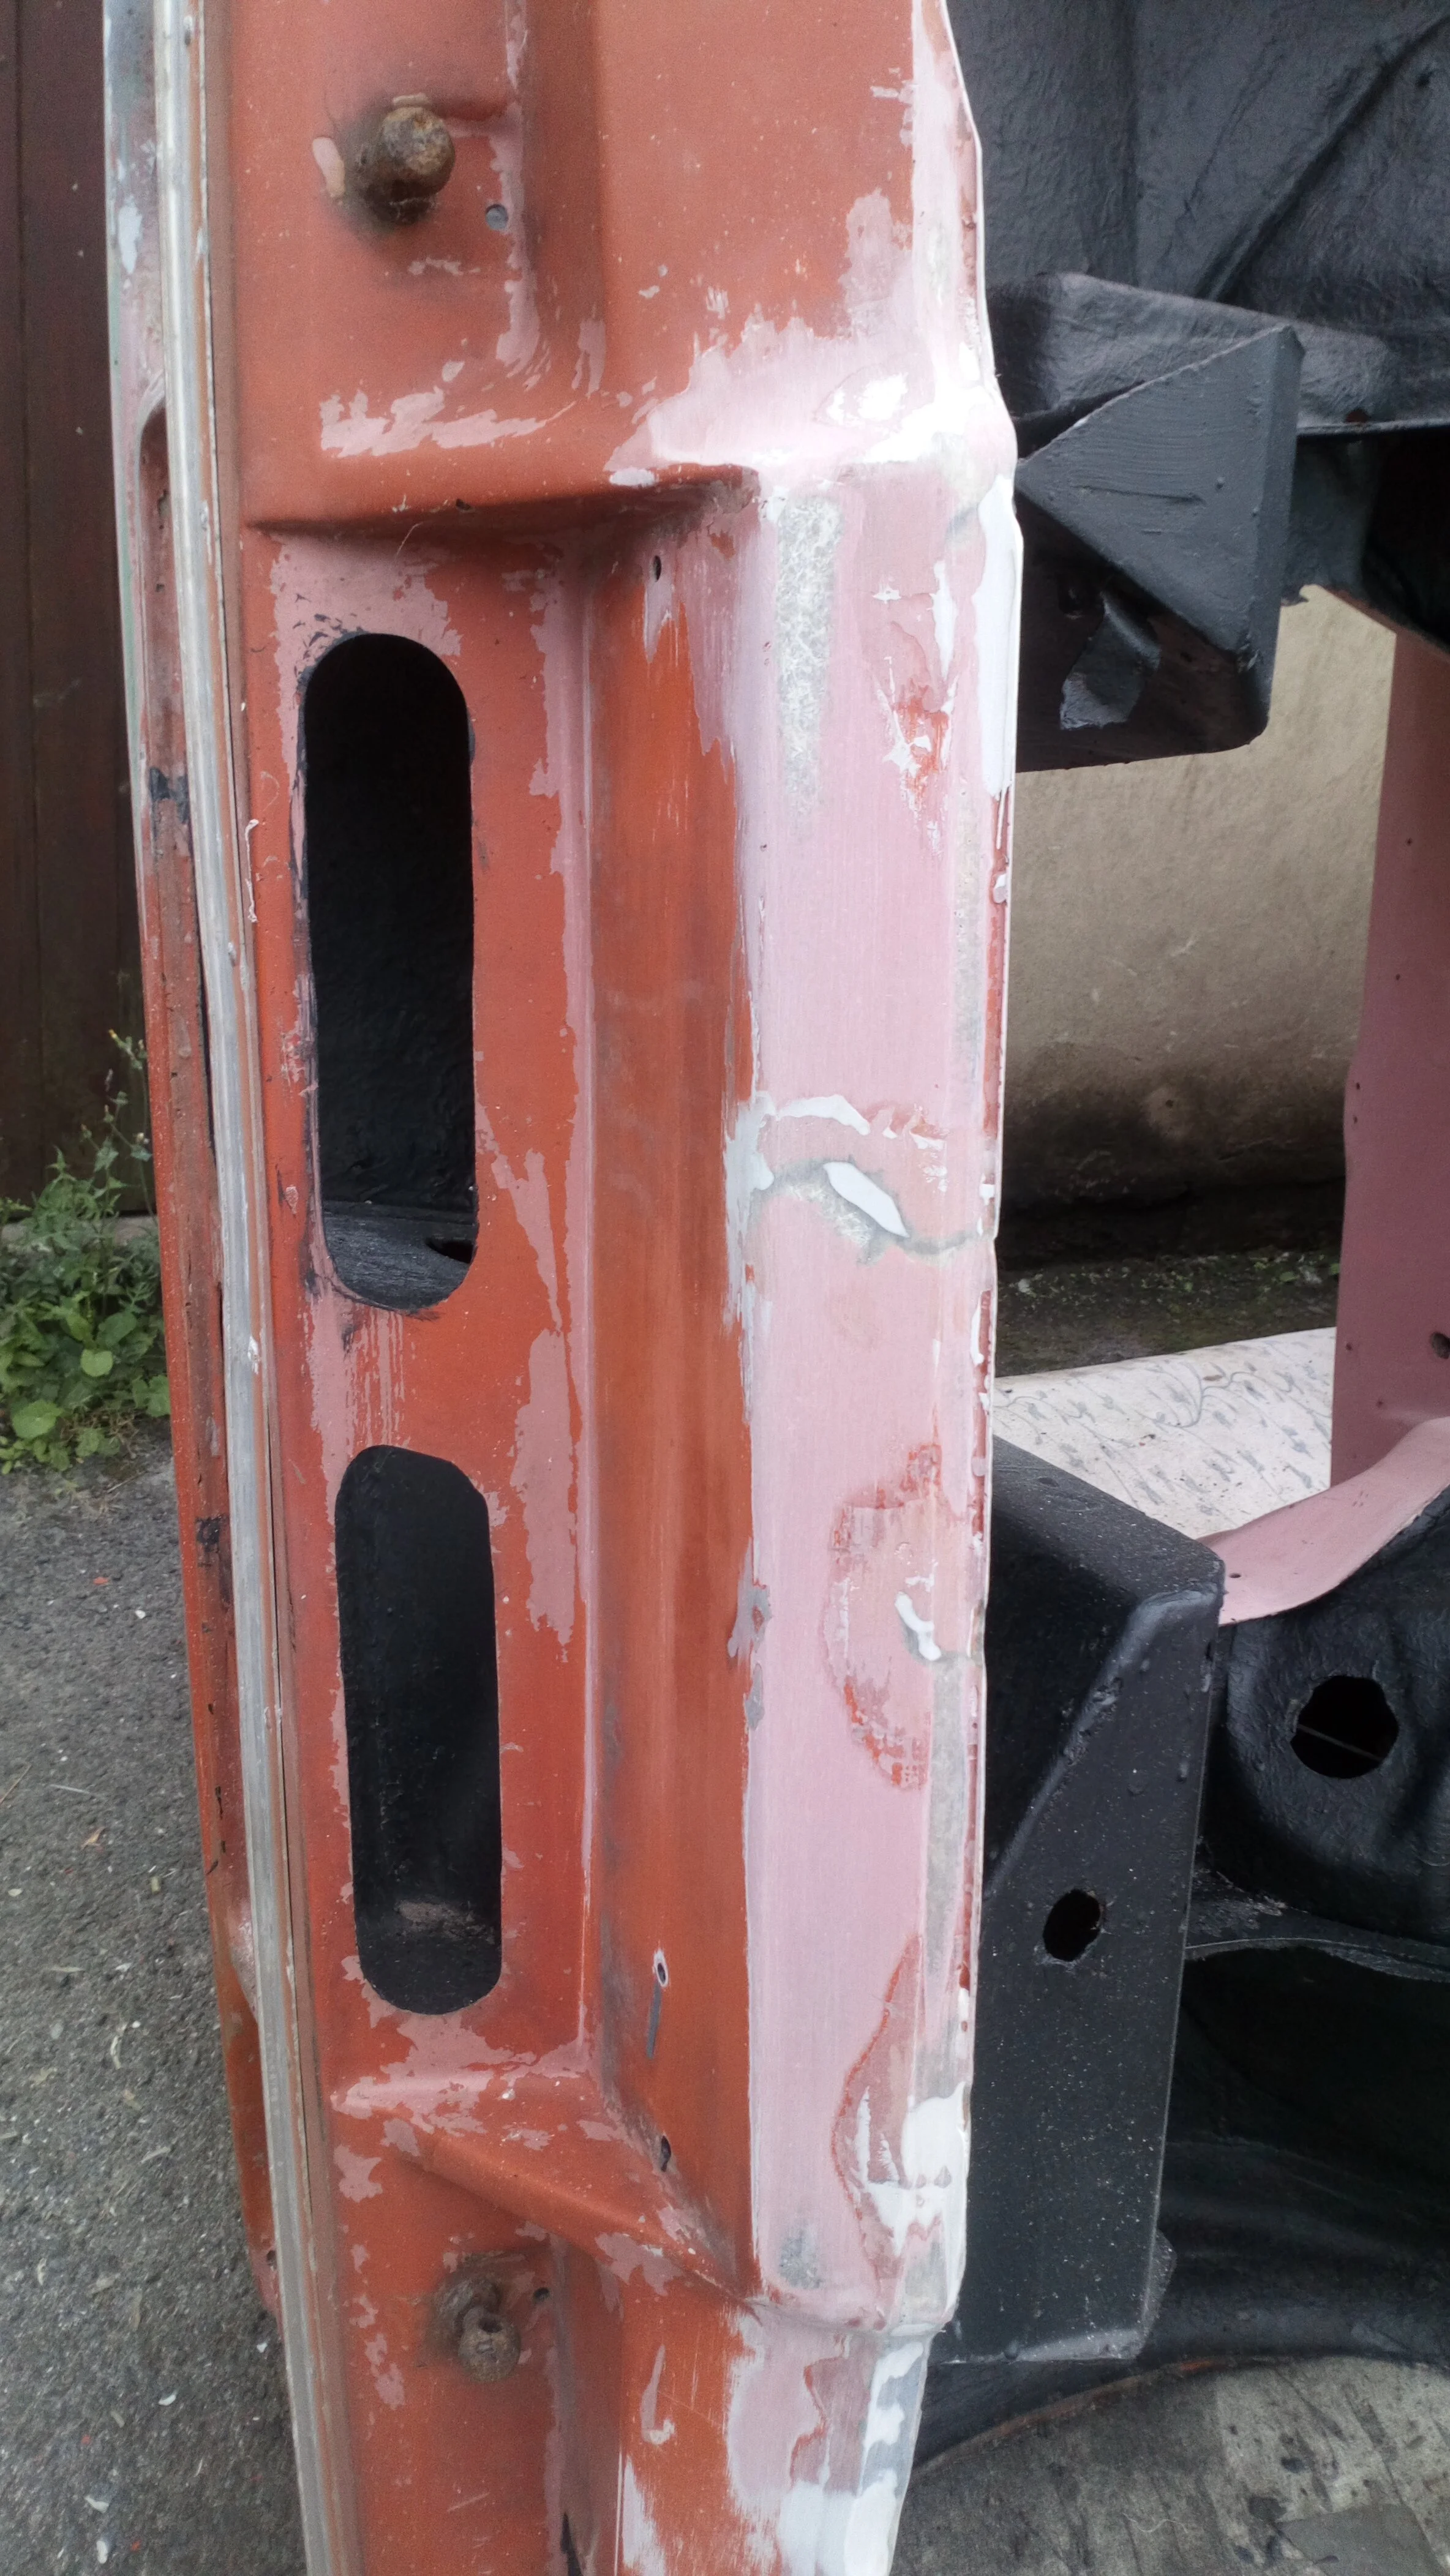
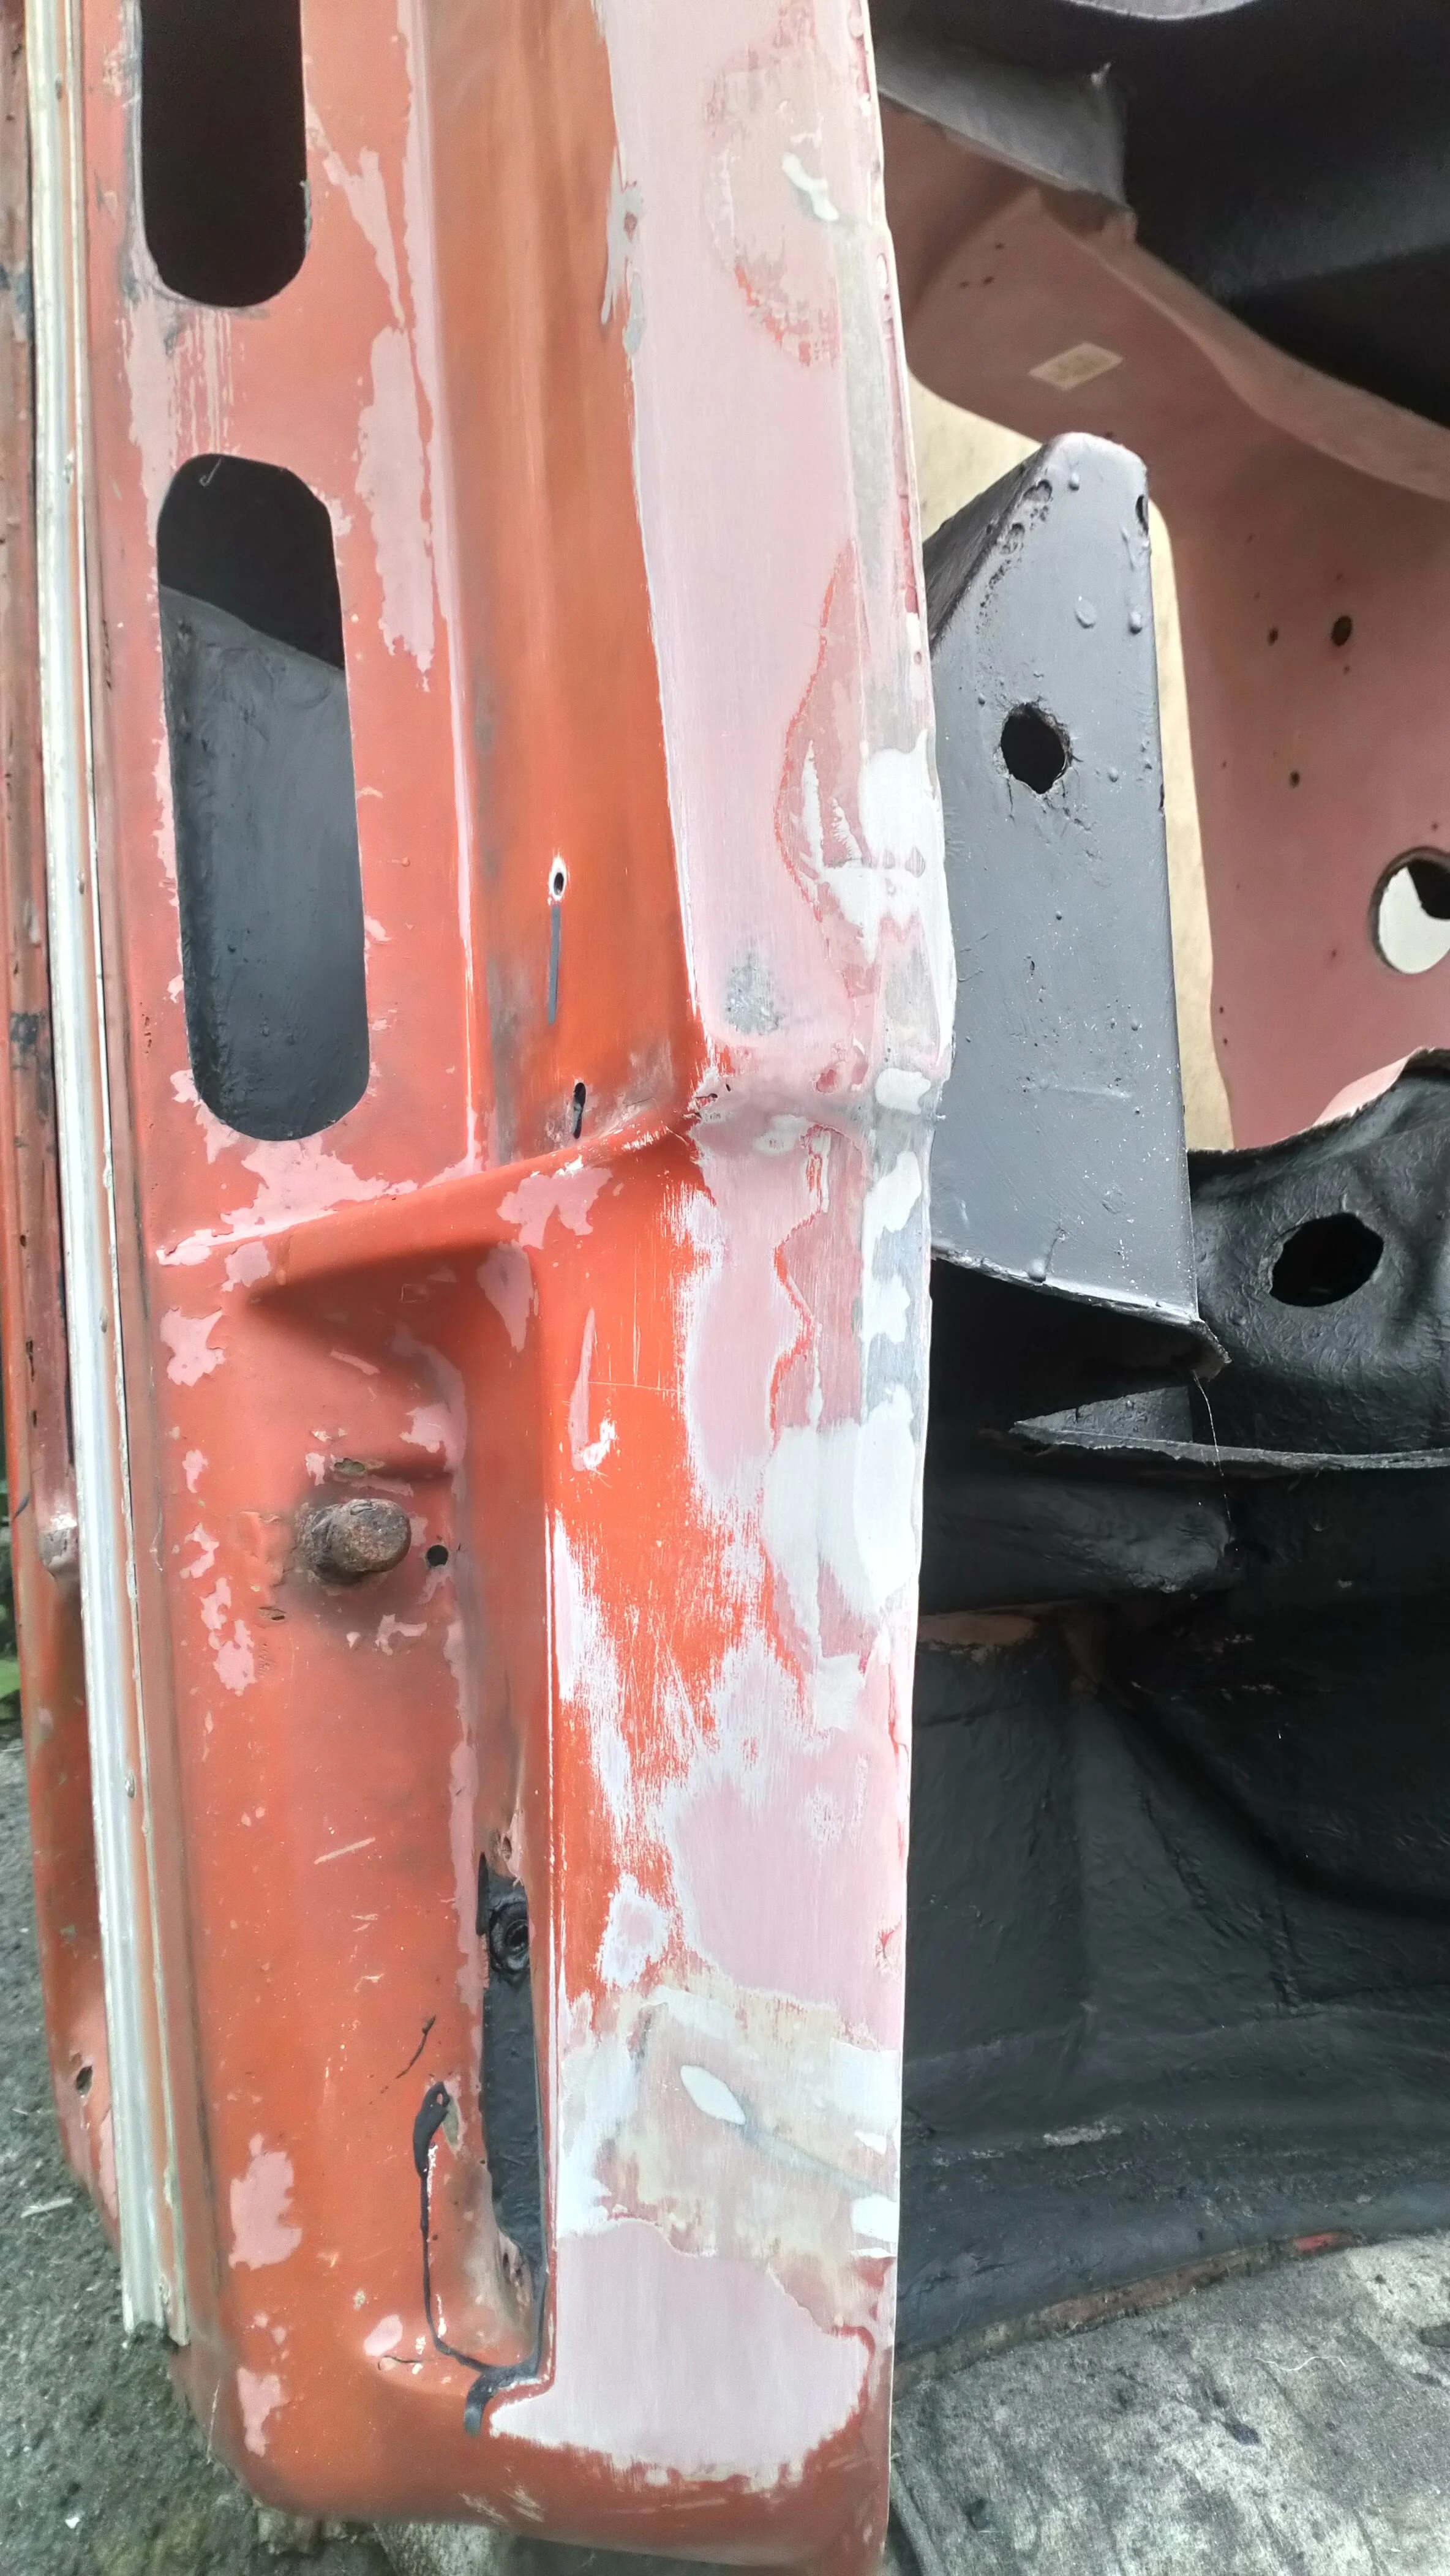
Near-side upper corner. This had at some point received a hell of a whack, the headlamp mounting ring was broken beyond repair and the corner area was a mess. In pic 1. above, I’ve already removed filler and bits of mat from behind the area and have cut out the old headlamp ring and bonded in a ring made of 3mm plywood, set 3 mm further back than the original to account for the layering on top of it. I’ve also applied several layers of fibre glass, from the front and the back, to the corner. In pics 2 and 3. I’ve added more layers and tidied it up. Pick 4 shows a thick layer of filler to regain some detail shape. Note that the filler plays no structural role - it is simply there for aesthetic reasons. Pic 5. shows a coat of primer prior to detail finishing and similar repairs to the bottom of the front lower valance.
Other repairs. There were numerous other repairs done while the body was on its side. And there were many more to come but they would have to wait until the body was mounted on the chassis.
Next time… We see the body reunited with the chassis at last, some more body repairs and lots more.
STAY TUNED!