Groovy Baby Engine - Reliant Kitten part 3.
We even had to change the block.
Like everything else on this tiny little car, the engine is diminutive and very light. It was out of the thoroughly dismantled car when it came to me and was seized solid.
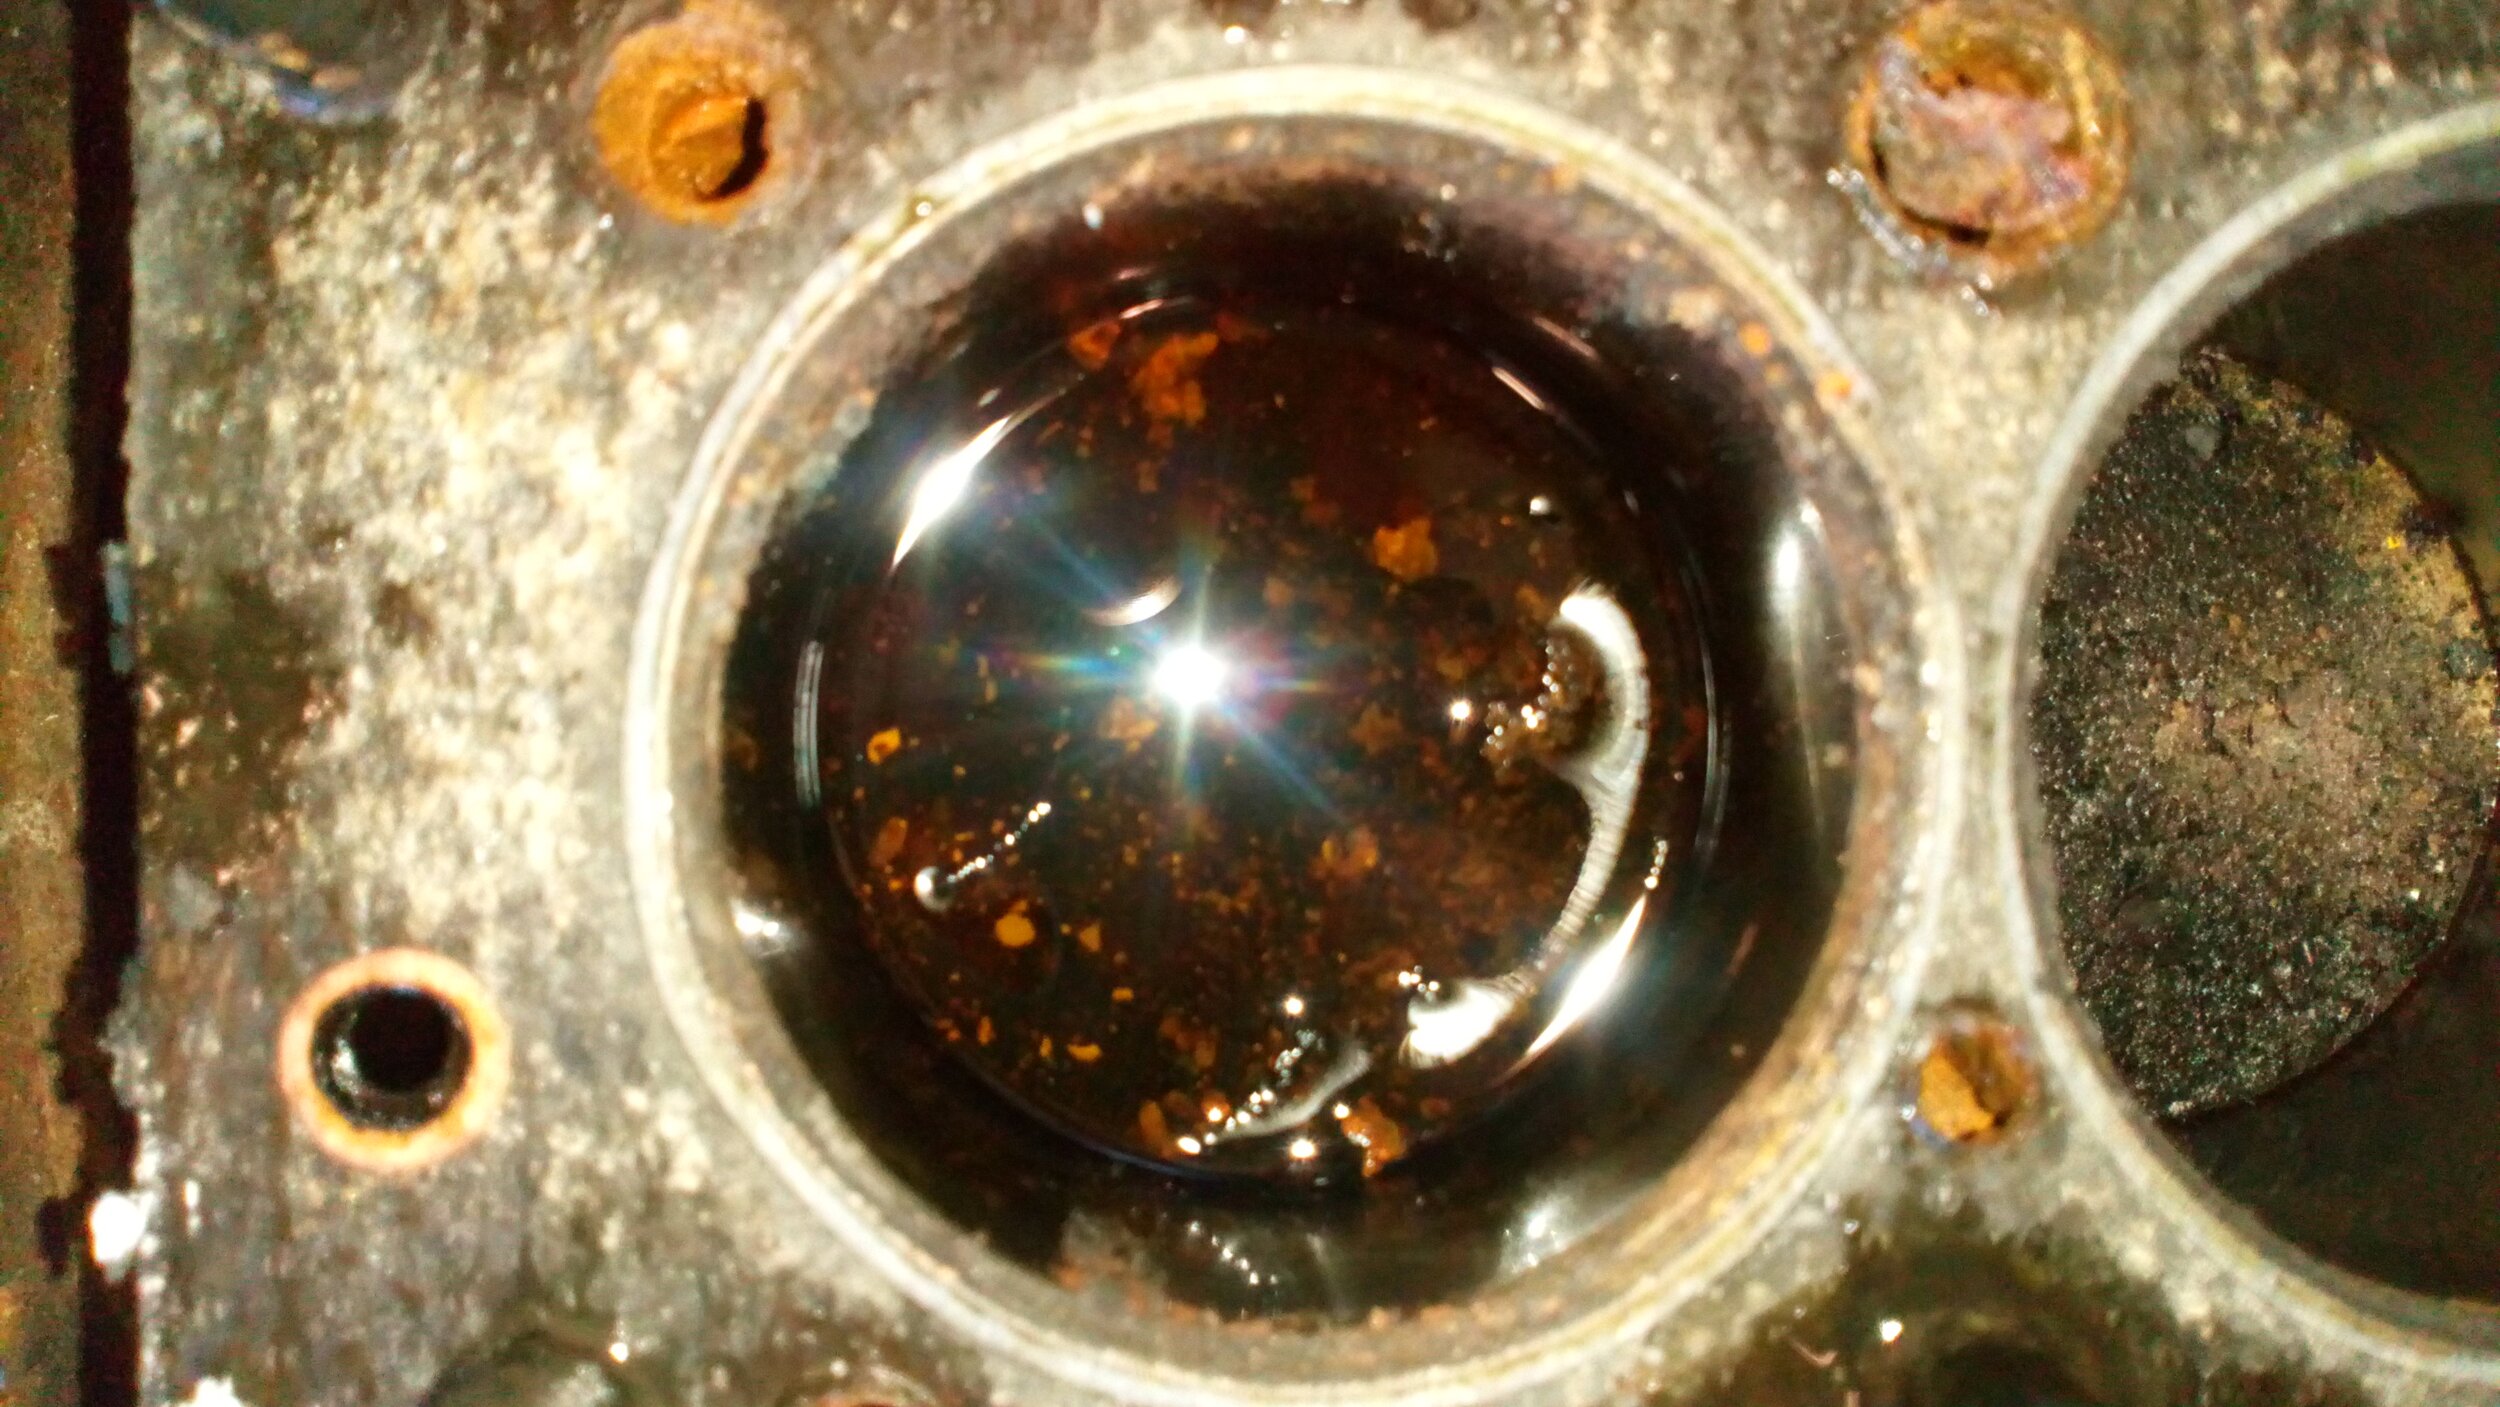
After a good clean with de-greaser and the pressure-washer, it was time to see if it would turn; it wouldn’t. The crank pulley nut, like everything on this engine, is tiny so brute force was out of the question. A quick look down the spark-plug holes told its own story; water, rust and oil sludge in abundance. The next step was to remove the gearbox (thankfully that seemed to change gear effortlessly), and all the ancillaries and start taking the engine apart.

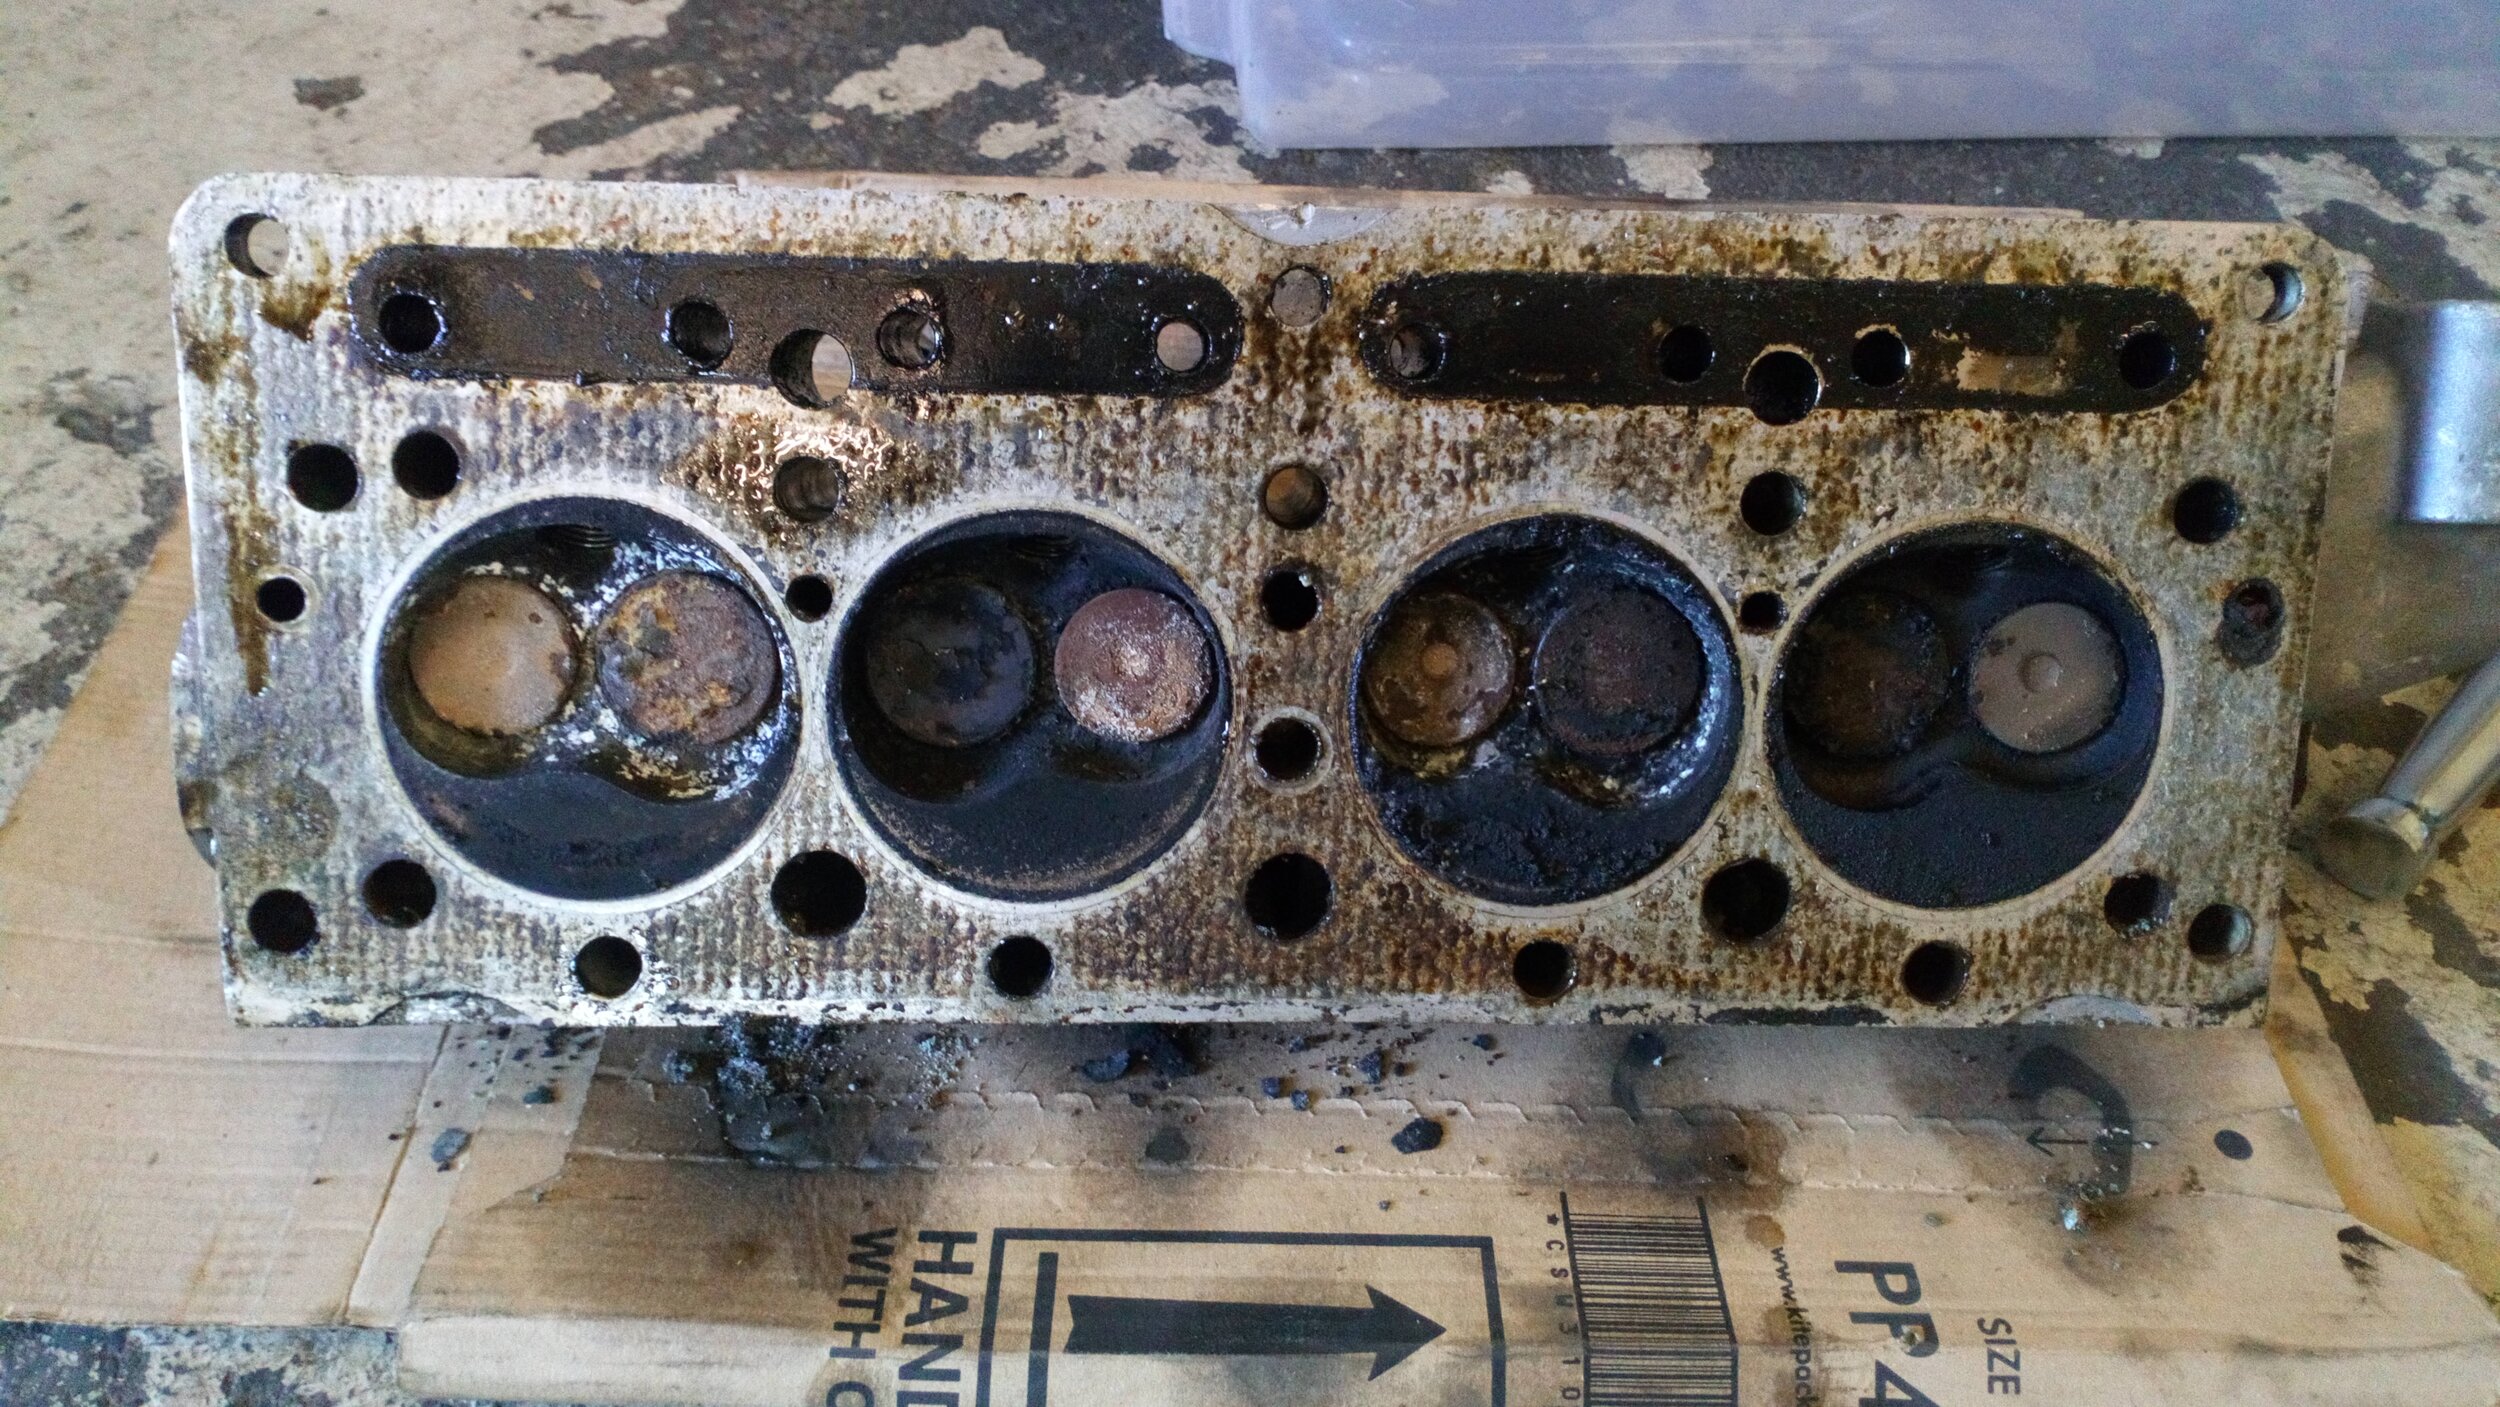


With the cylinder head removed, all became clear. Cylinder numbers 2 and 4 had been flooded with coolant from several head-gasket breaches but at least the cylinder head was mechanically undamaged. The valves, though looking cooked, would probably clean up. But I did wonder, because the head did not remove easily, if the cylinder head and/or the block had warped due to the engine being run very, very hot at some point.


Though suffering from over-heating, each valve seemed largely undamaged. The crank shaft had clearly suffered but was good enough for a regrind with the taper and ovality of all journals being not so bad as to make the crank scrap. Before the block was thoroughly stripped and cleaned, it looked as if a re-bore would sort it out but that was not to be.


Upon detailed inspection, the original block was shown to be cracked all the way through between cylinders 2 and 3 where the central cylinder head stud screws in. It was lucky that a previous owner had picked up a spare 2nd hand block at some point. But it had clearly been left out in the open for quite a while; the cylinder liners were very rusty and one of them was missing a section towards the bottom of the bore. But with two blocks there were at least a good selection of usable studs. Normally when rebuilding, I would replace all cylinder head studs with new ones, but the torque figures are so low on this little gem of an engine that I was able to use the best of what we had. The old studs on the 2nd block were really, really problematic to remove; electrolytic action between the aluminium block and the steel studs had fused them together. A lot of soaking in penetrating oil followed by heating the block with a propane torch and melting wax down the threads did the trick for all but one. I welded a big nut onto it but the stud just sheared off when attempting to turn it. Nevertheless, with all else stripped off, I gave the cylinders a light hone to free them of rust so I could measure them.
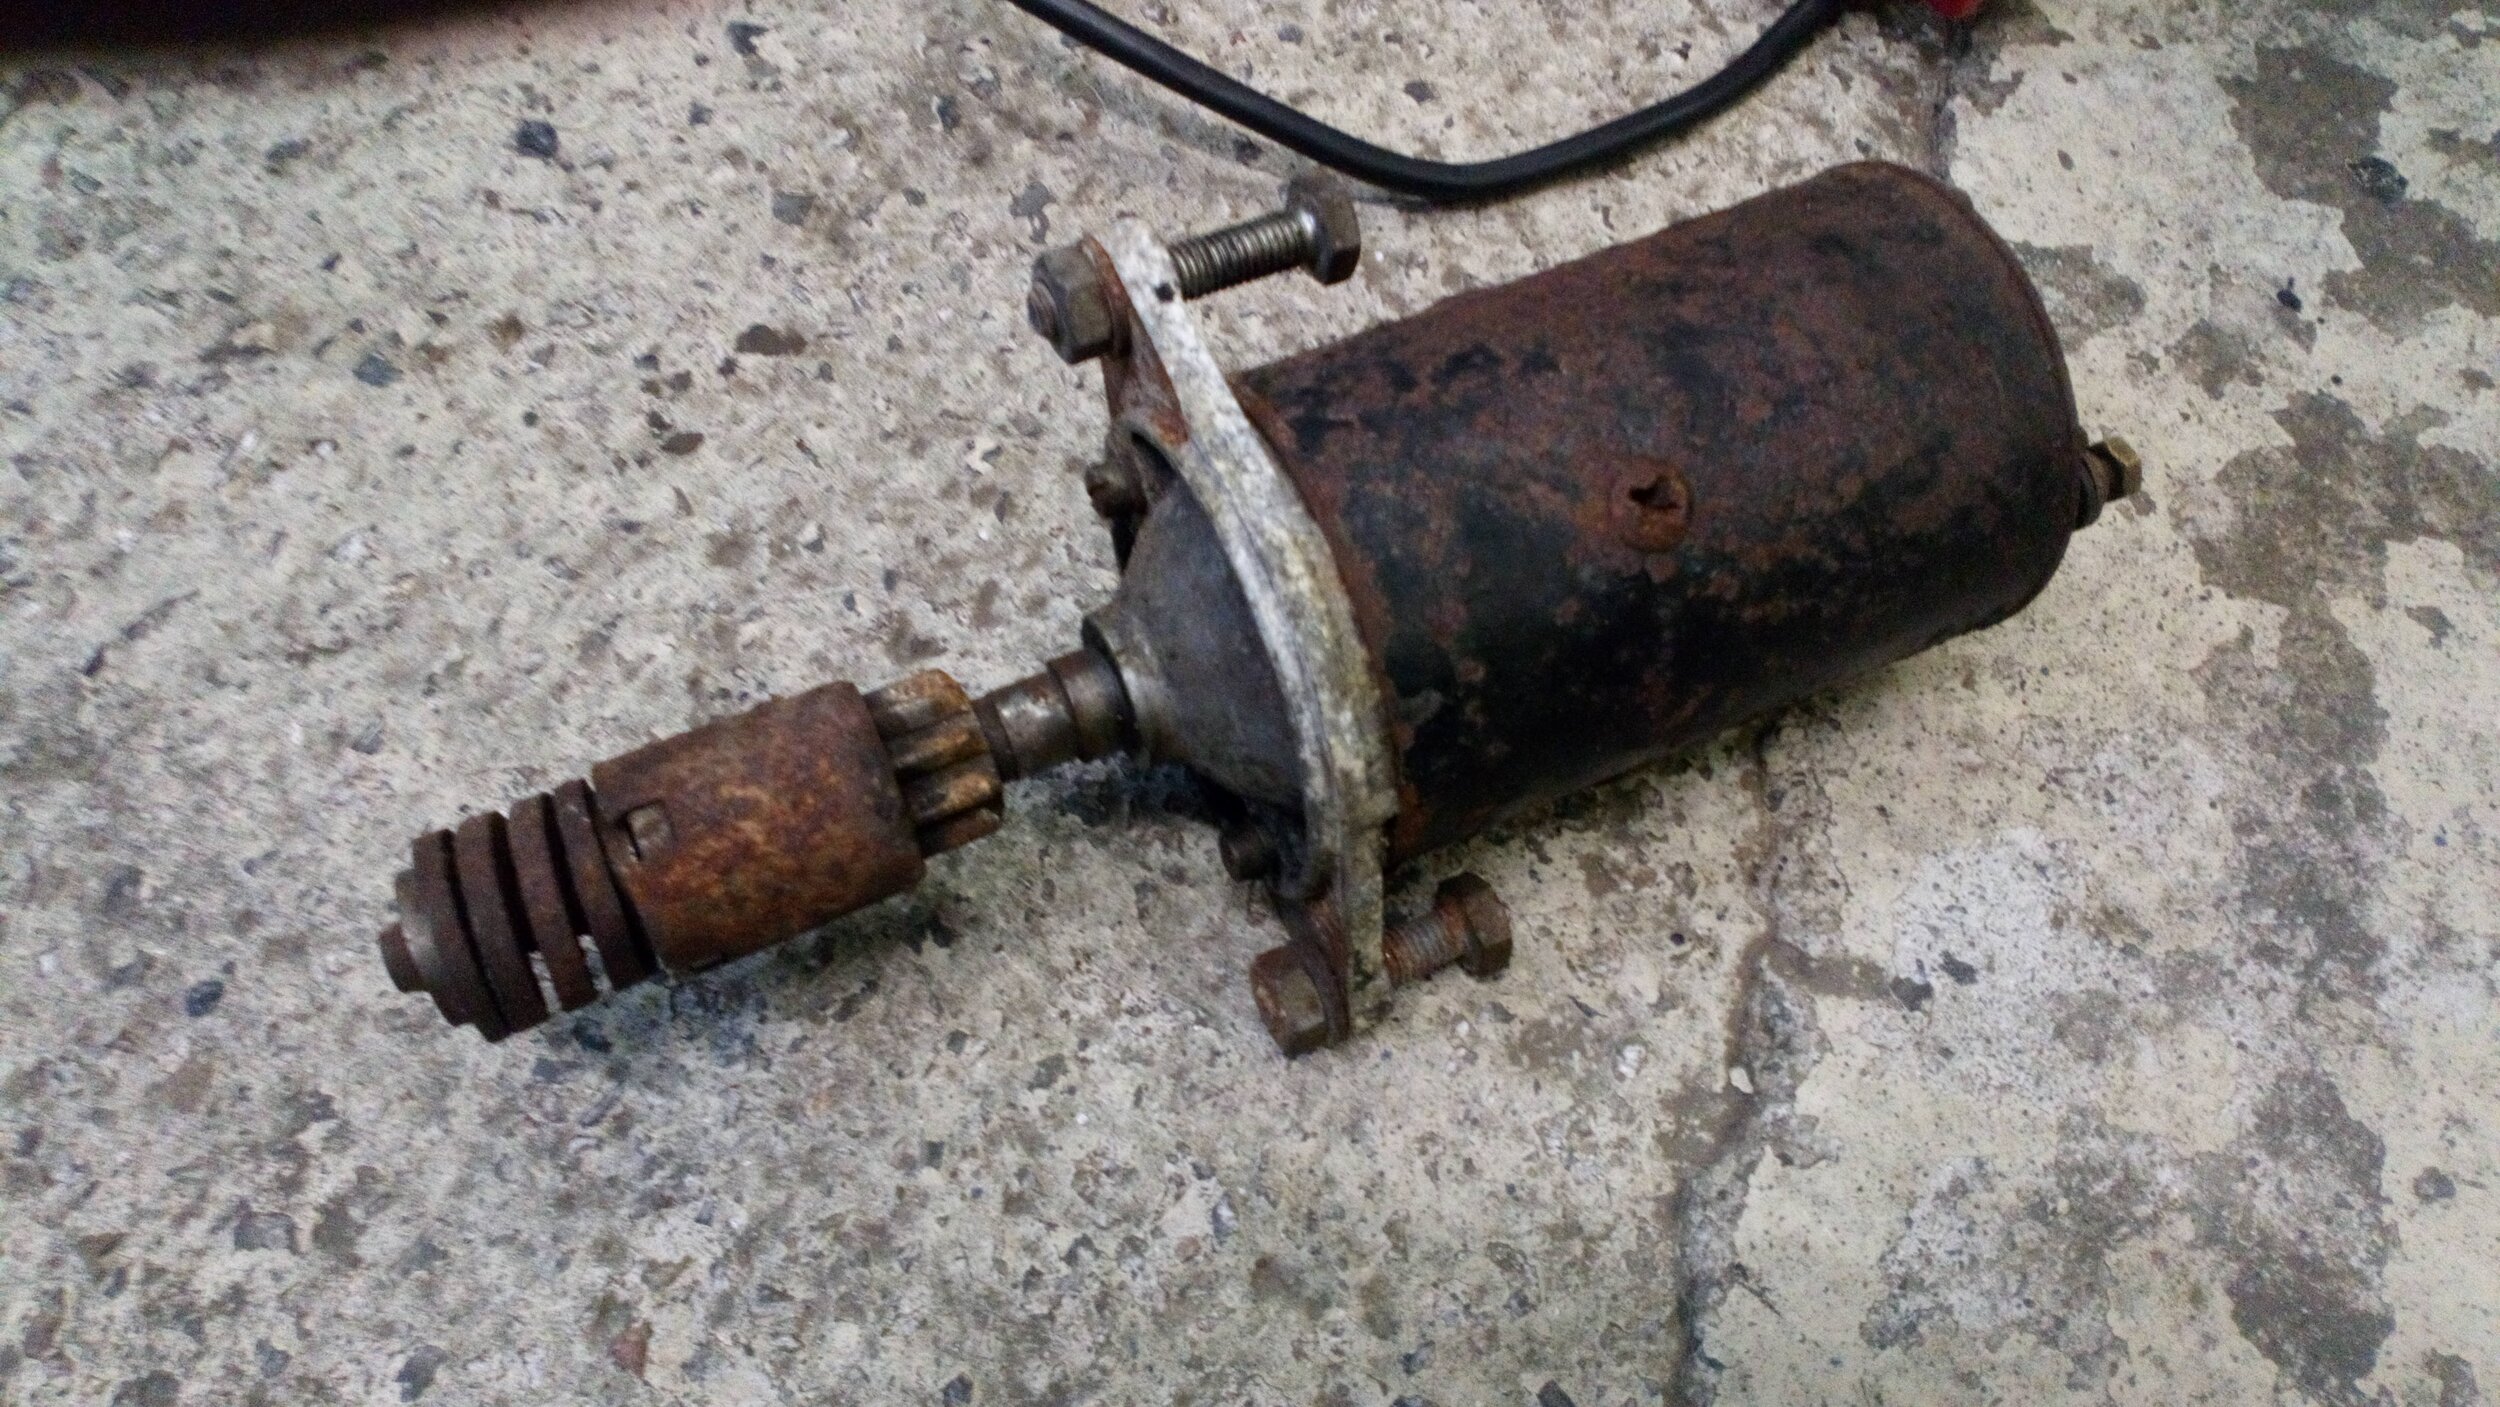
Like the crank, the bores were able to be machined and still be serviceable. The machining was split between two suppliers; Lemar Engines in Totnes and Paul Inch Race Engines in Plymouth; I usually entrust all my machining to Lemar because Andy does really excellent work and he’s close, but he was so busy I took most of the work down to Paul’s in Plymouth. Long story short; the crankshaft was reground, the 2nd block had its broken liner replaced, all liners were re-bored, the broken stud was removed, the top of the block was surfaced, the cylinder head was surfaced and the little-end connecting rod bearings were renewed and reamed to size. While all that was going on, there was time to order new bearings, pistons and rings and various other parts. I also got stuck in to refurbishing many of the engine’s ancillaries and external parts.


Next Time…
With most engine parts refurbished and repaired it was time to collect the machined parts from Totnes and Plymouth and begin the engine assembly.
Stay Tuned!